This post may contain affiliate links. Please read our disclosure policy.
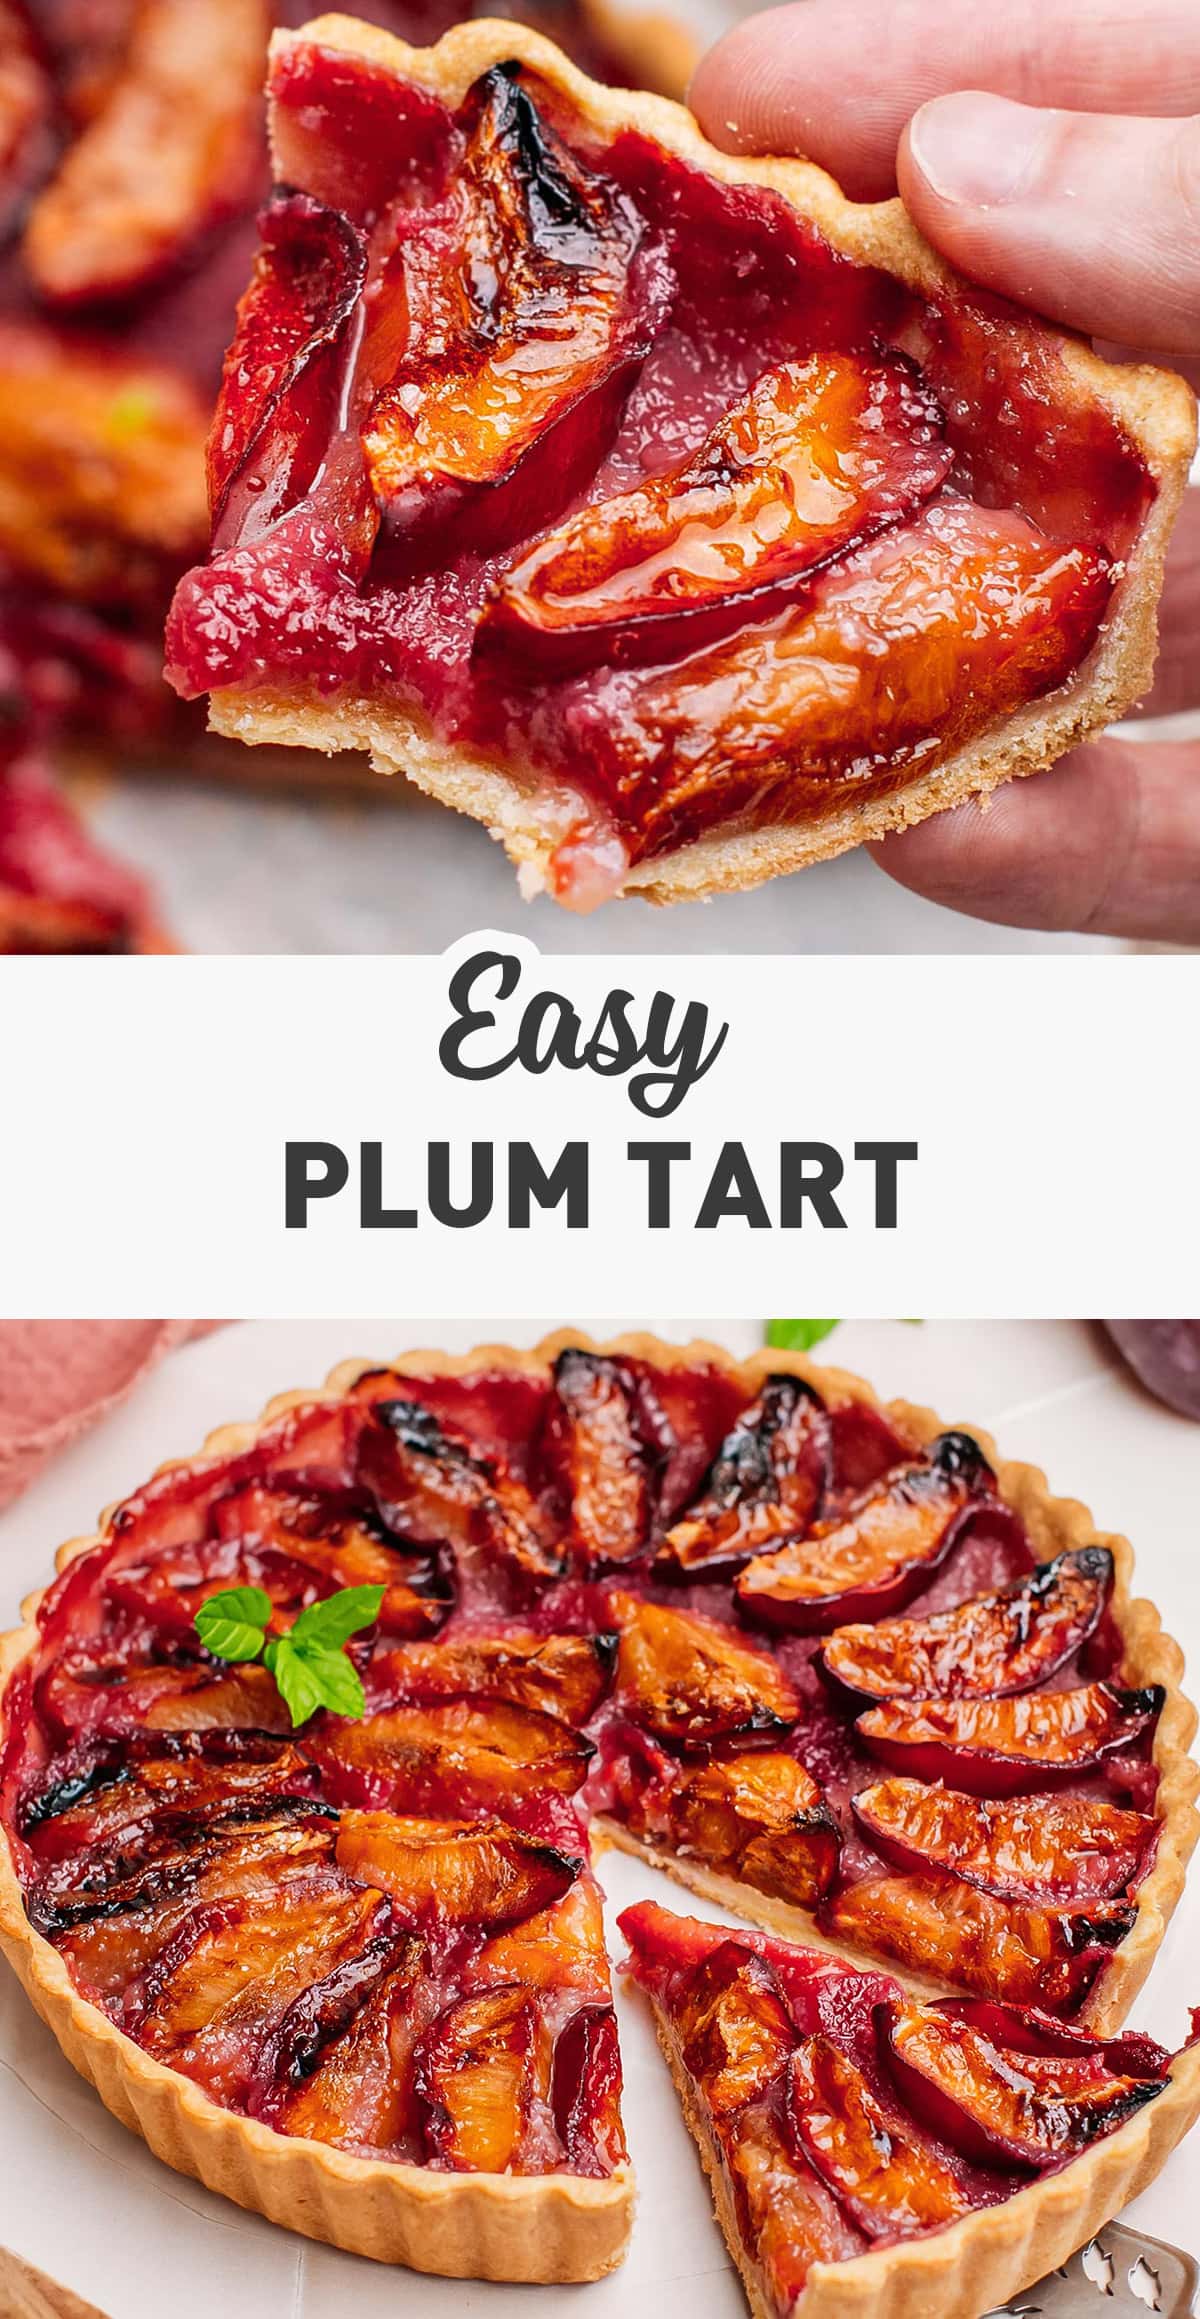
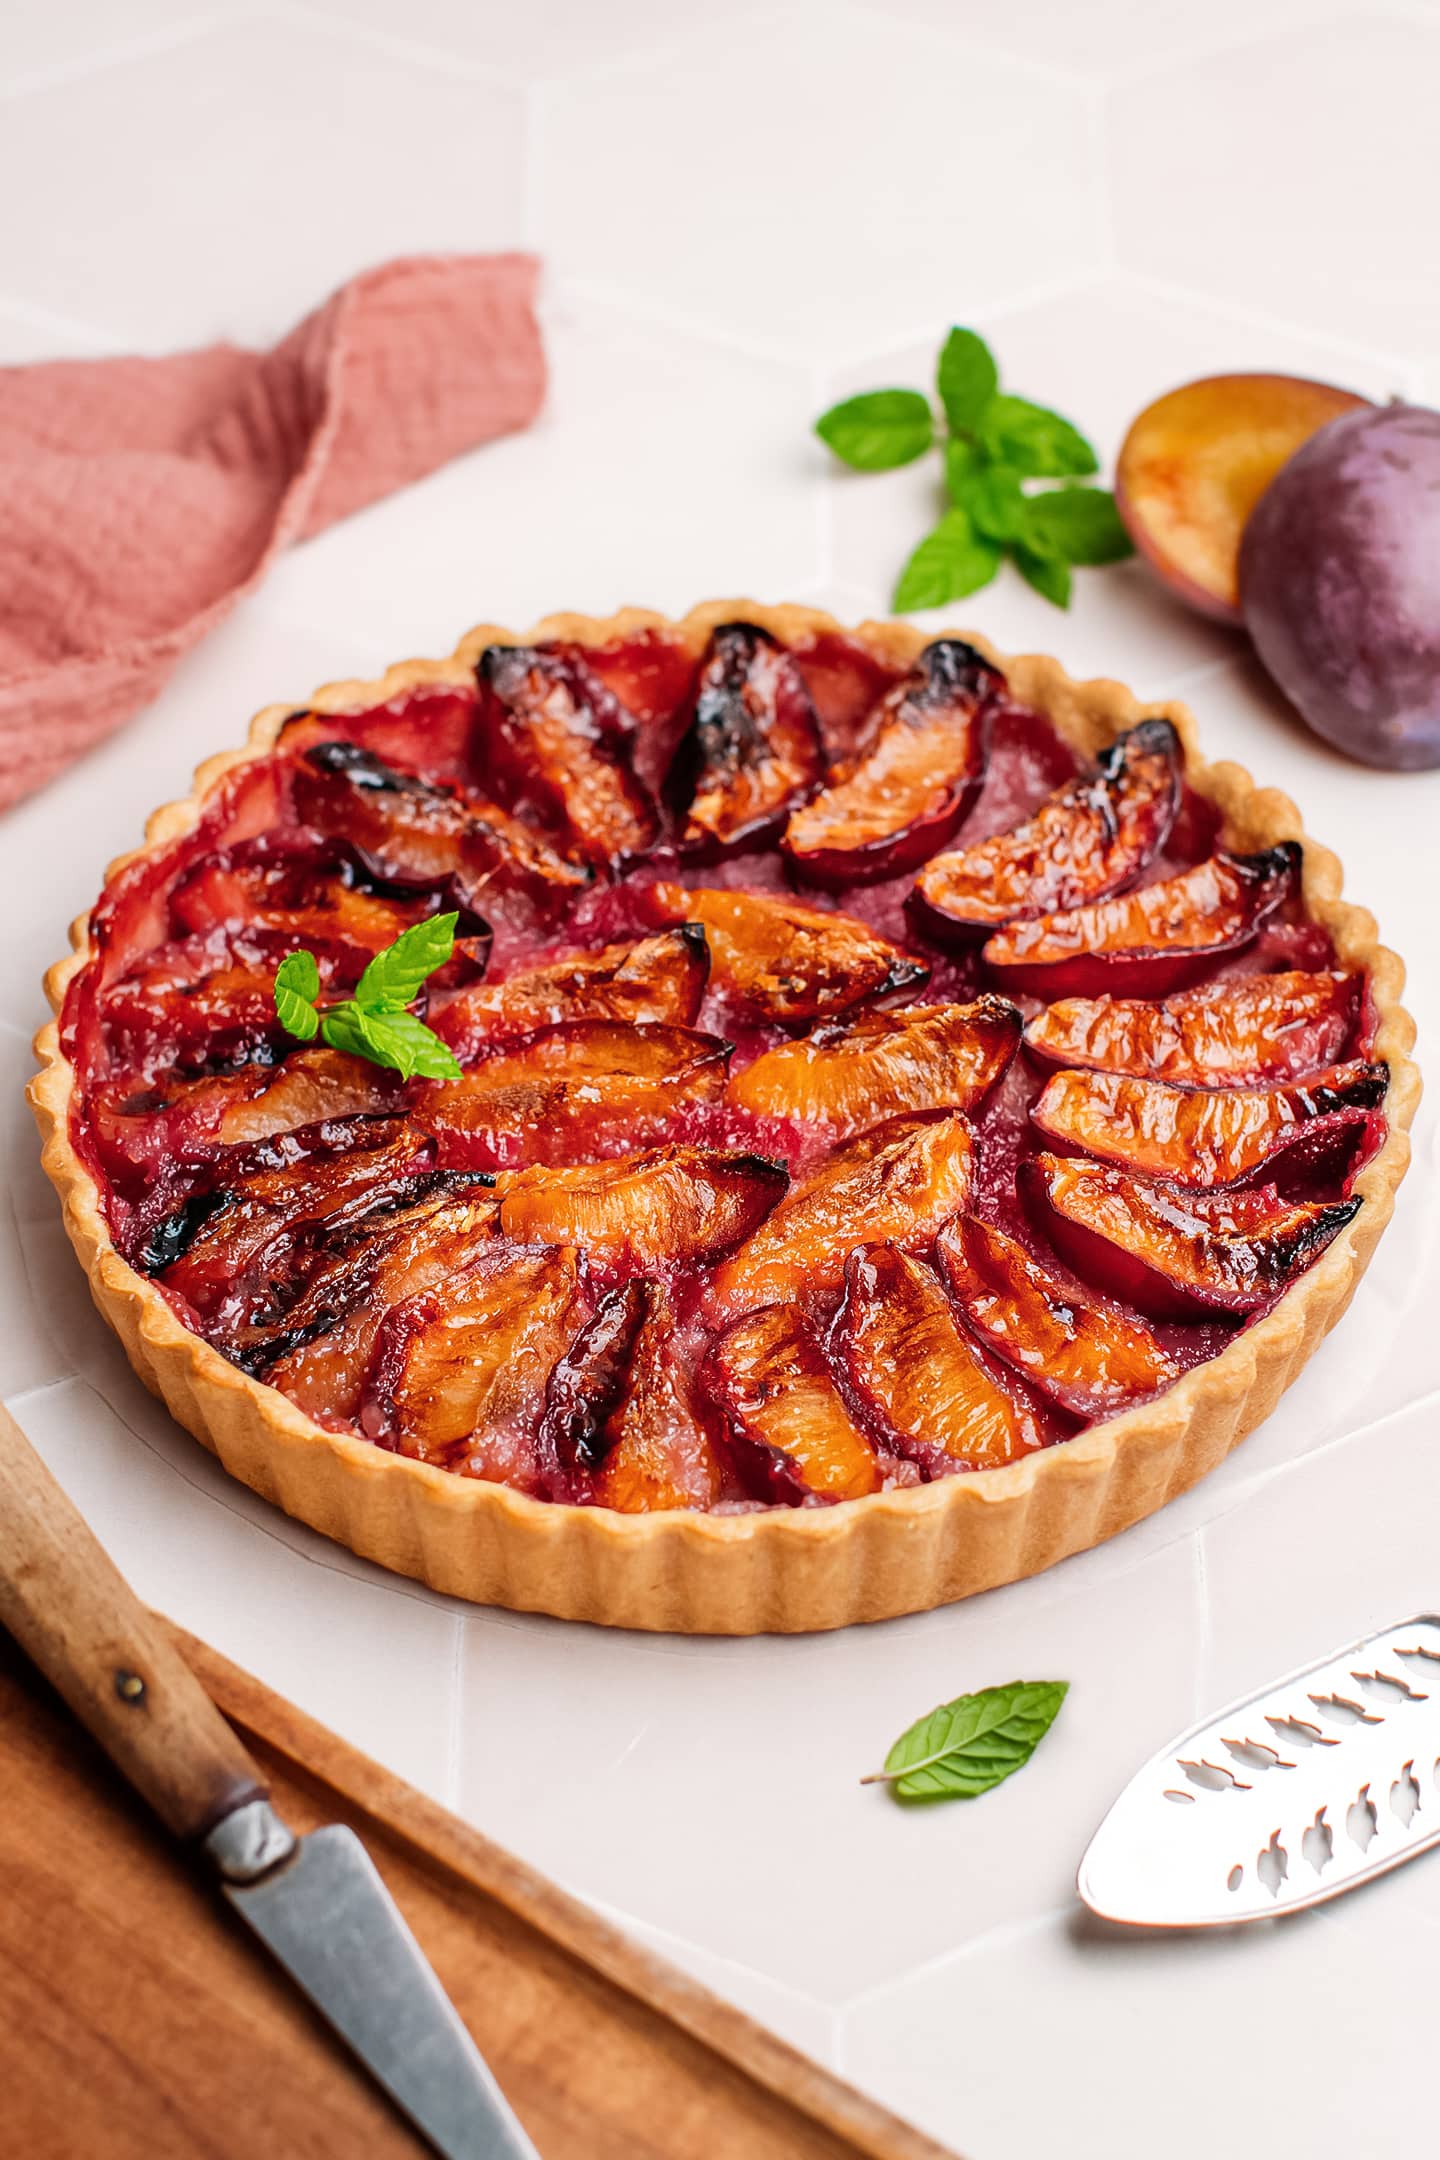
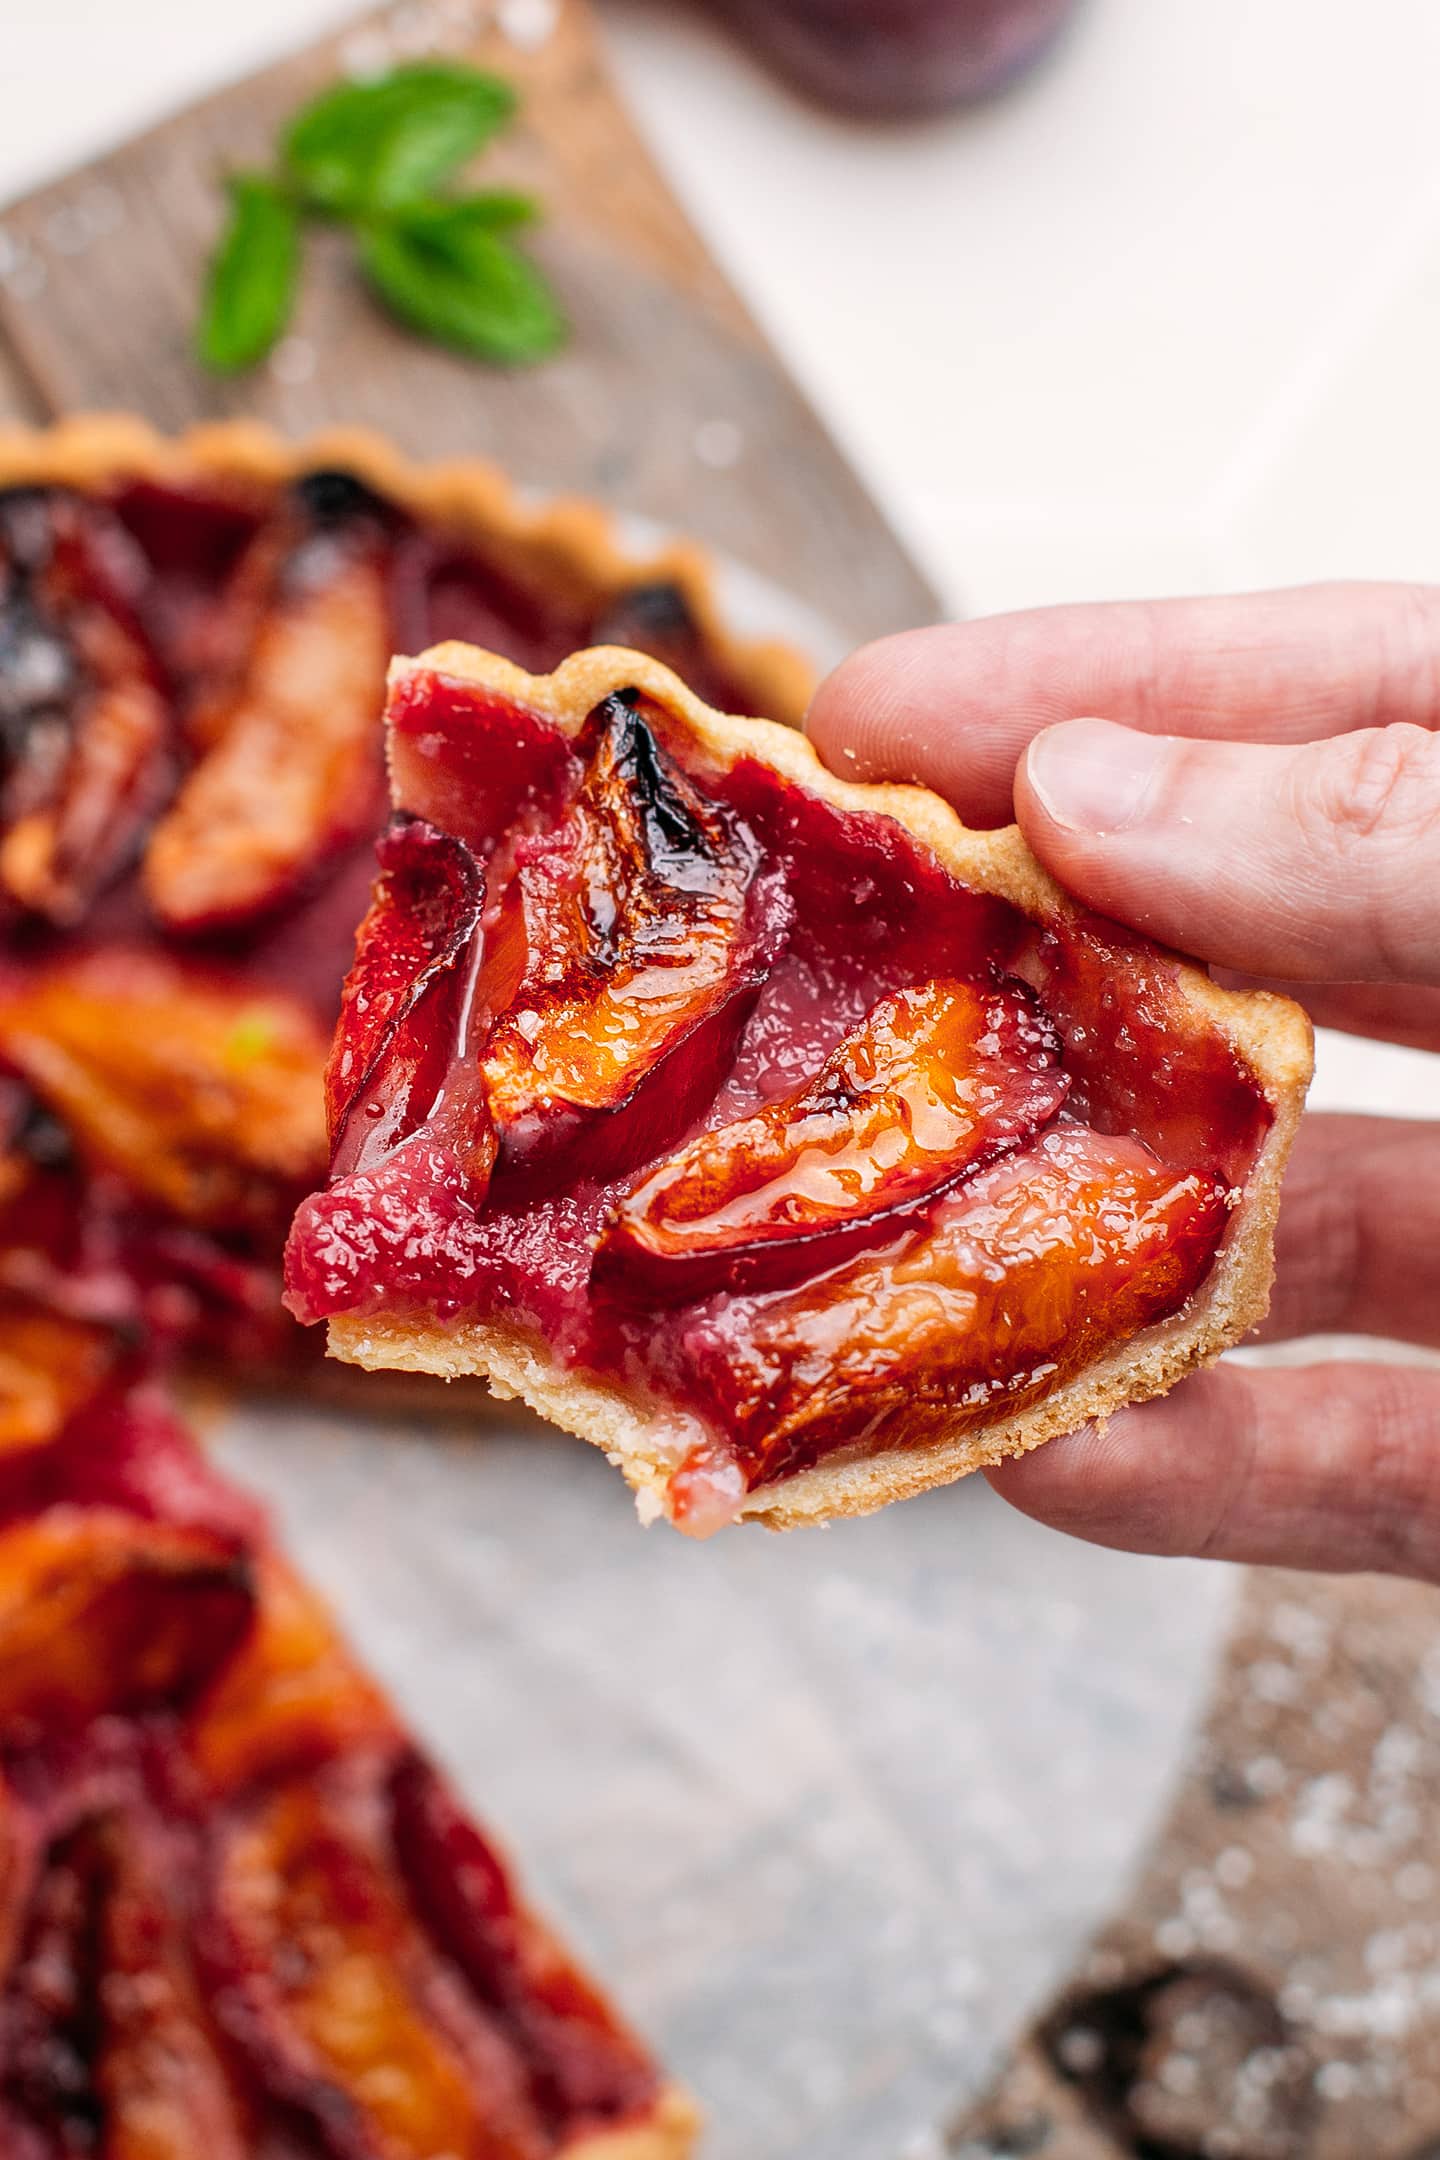
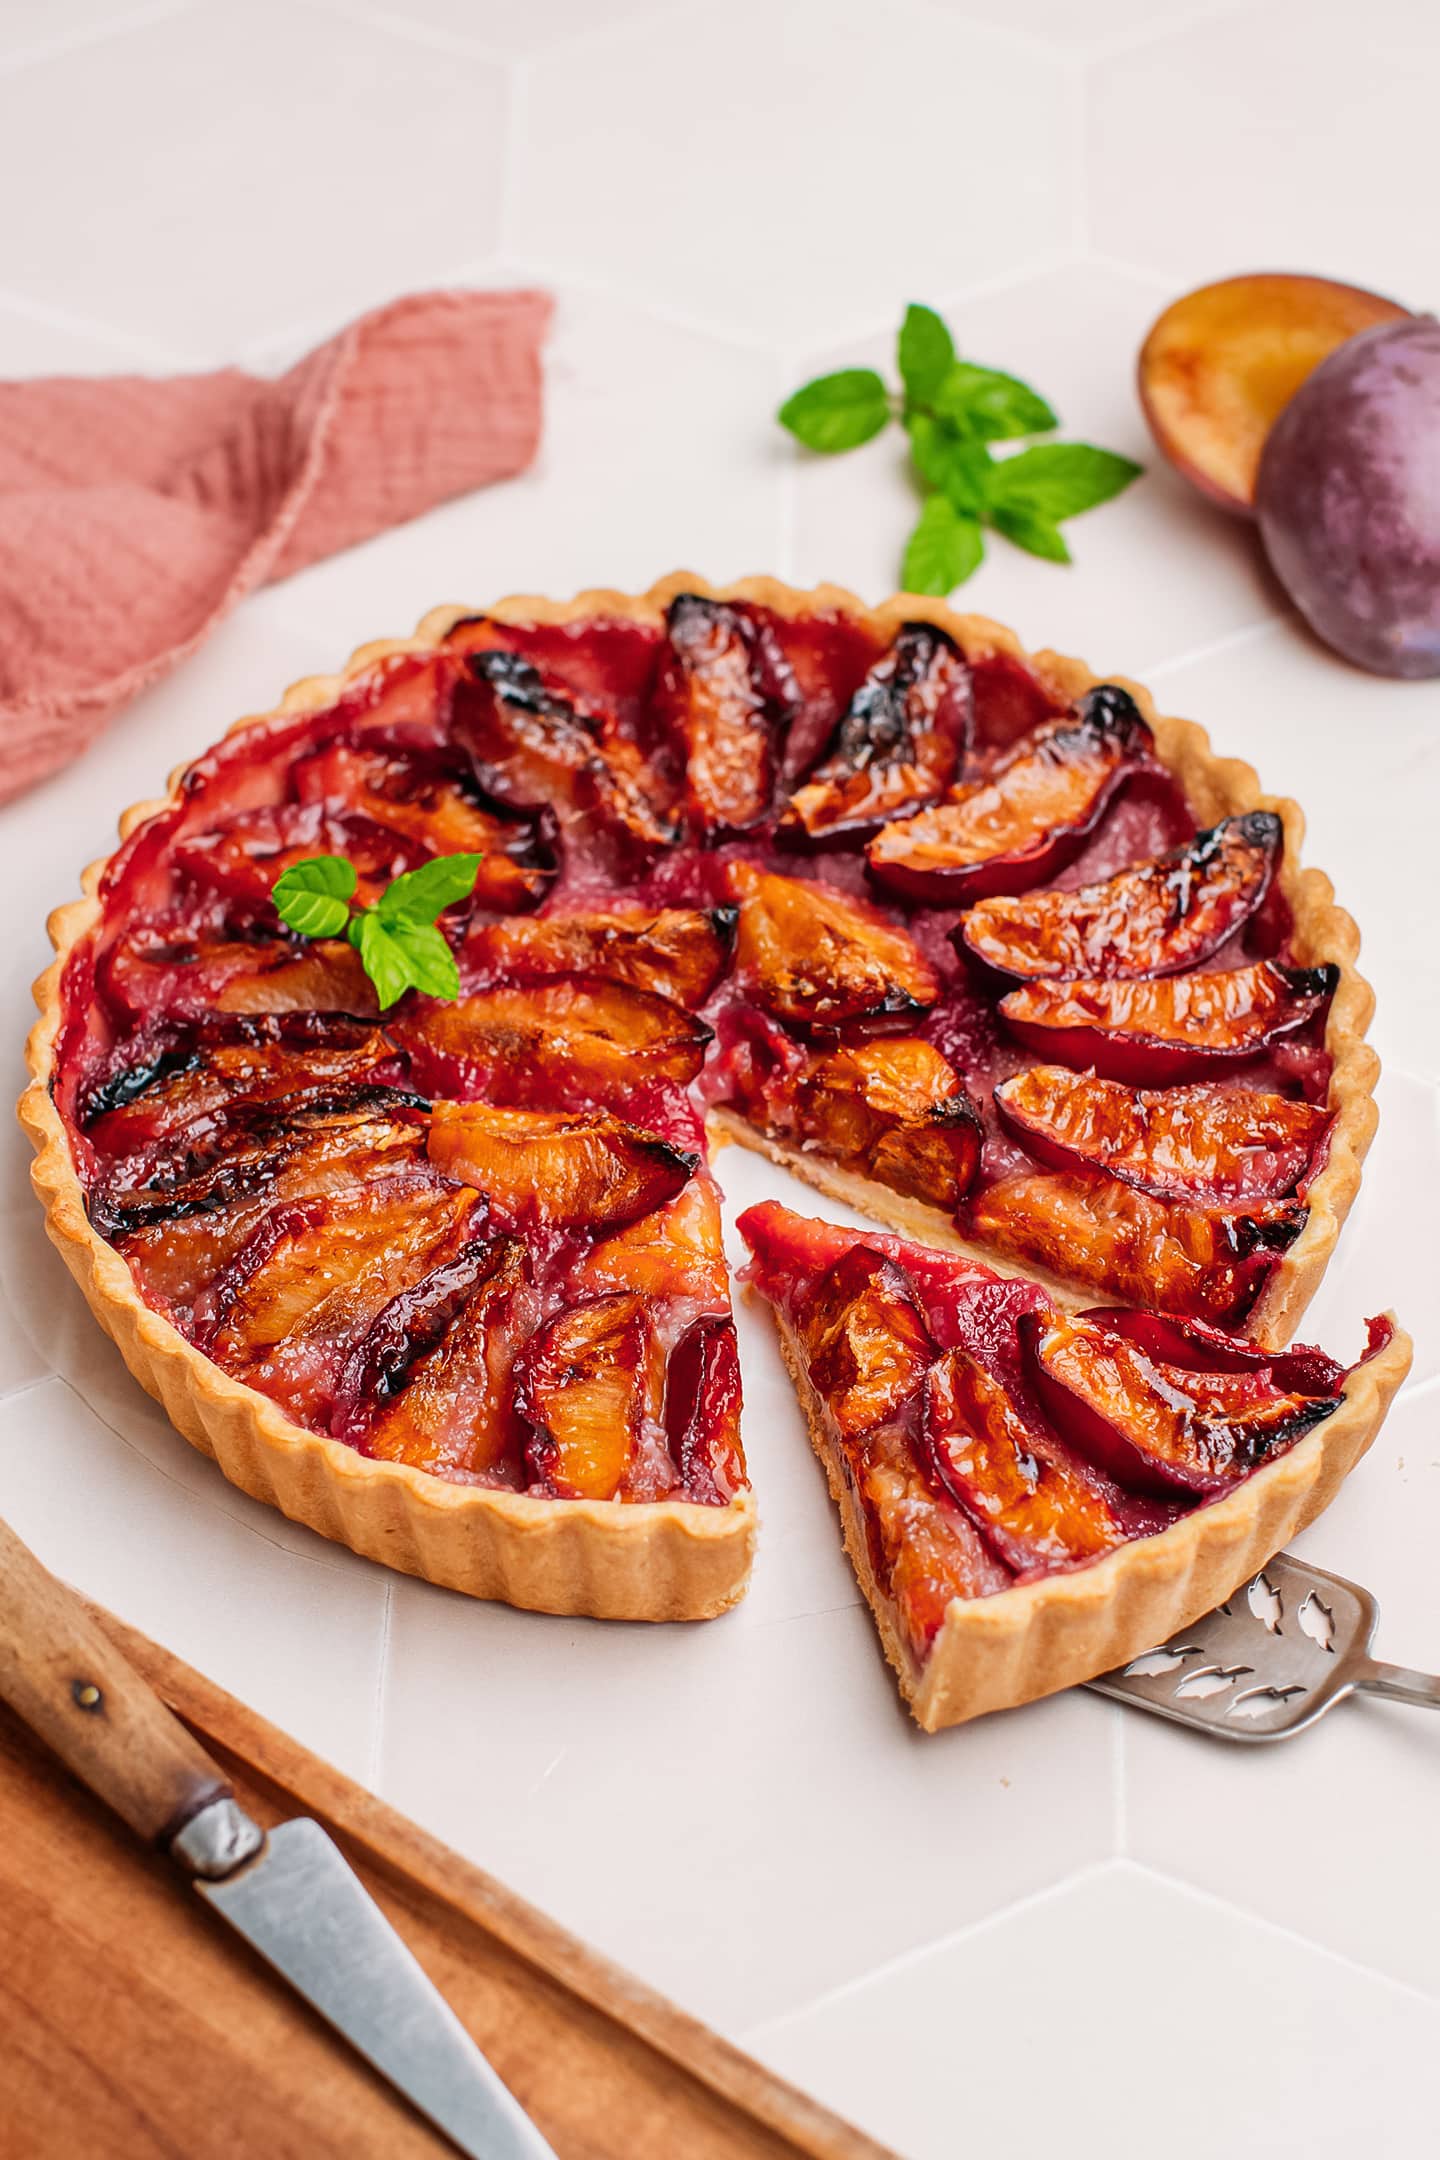
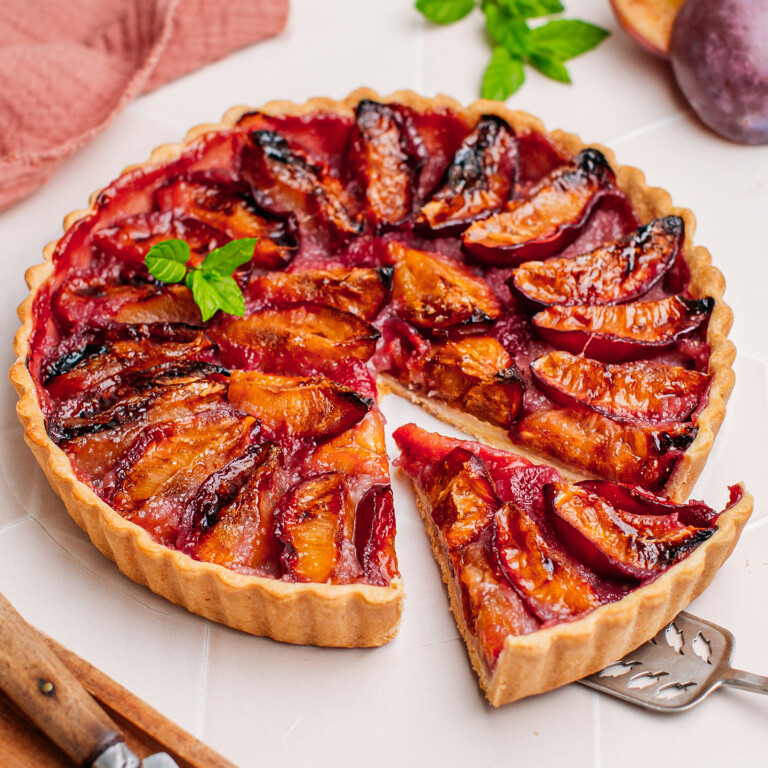
Make the most of plum season by baking this sweet and fruity French-inspired plum tart! Ripe and juicy plums are arranged on a buttery, flaky pie crust and baked until they caramelize to perfection. A delicious Fall dessert that can be served with a scoop of vanilla ice cream!
⭐️ Why You Should Try It
- Fruity and juicy. This tart offers a harmonious balance of sweetness and tartness. Plus, ripe plums turn super tender and slightly caramelized on the edges during baking!
- Simple ingredients and easy process. You only need basic pantry ingredients and a handful of fresh plums to make this tart. What’s even better is that there is no need to parbake the crust! It’s as easy as pressing the crust into a pan, arranging the fruits on top, and popping it in the oven.
- Perfect for any occasion. Whether you plan to serve this tart with tea as an afternoon pick-me-up or for dessert with a scoop of ice cream, this tart is a crowd-pleasing treat.
📘 What is a Plum Tart
Not to be confused with prune tart, which uses dried plums, prune tart (“Tarte aux prunes” in French) is a traditional dessert generally prepared during Fall when fresh plums are in season. Plum tarts can be made with almost all types of plums.
🍑 Ingredient Notes
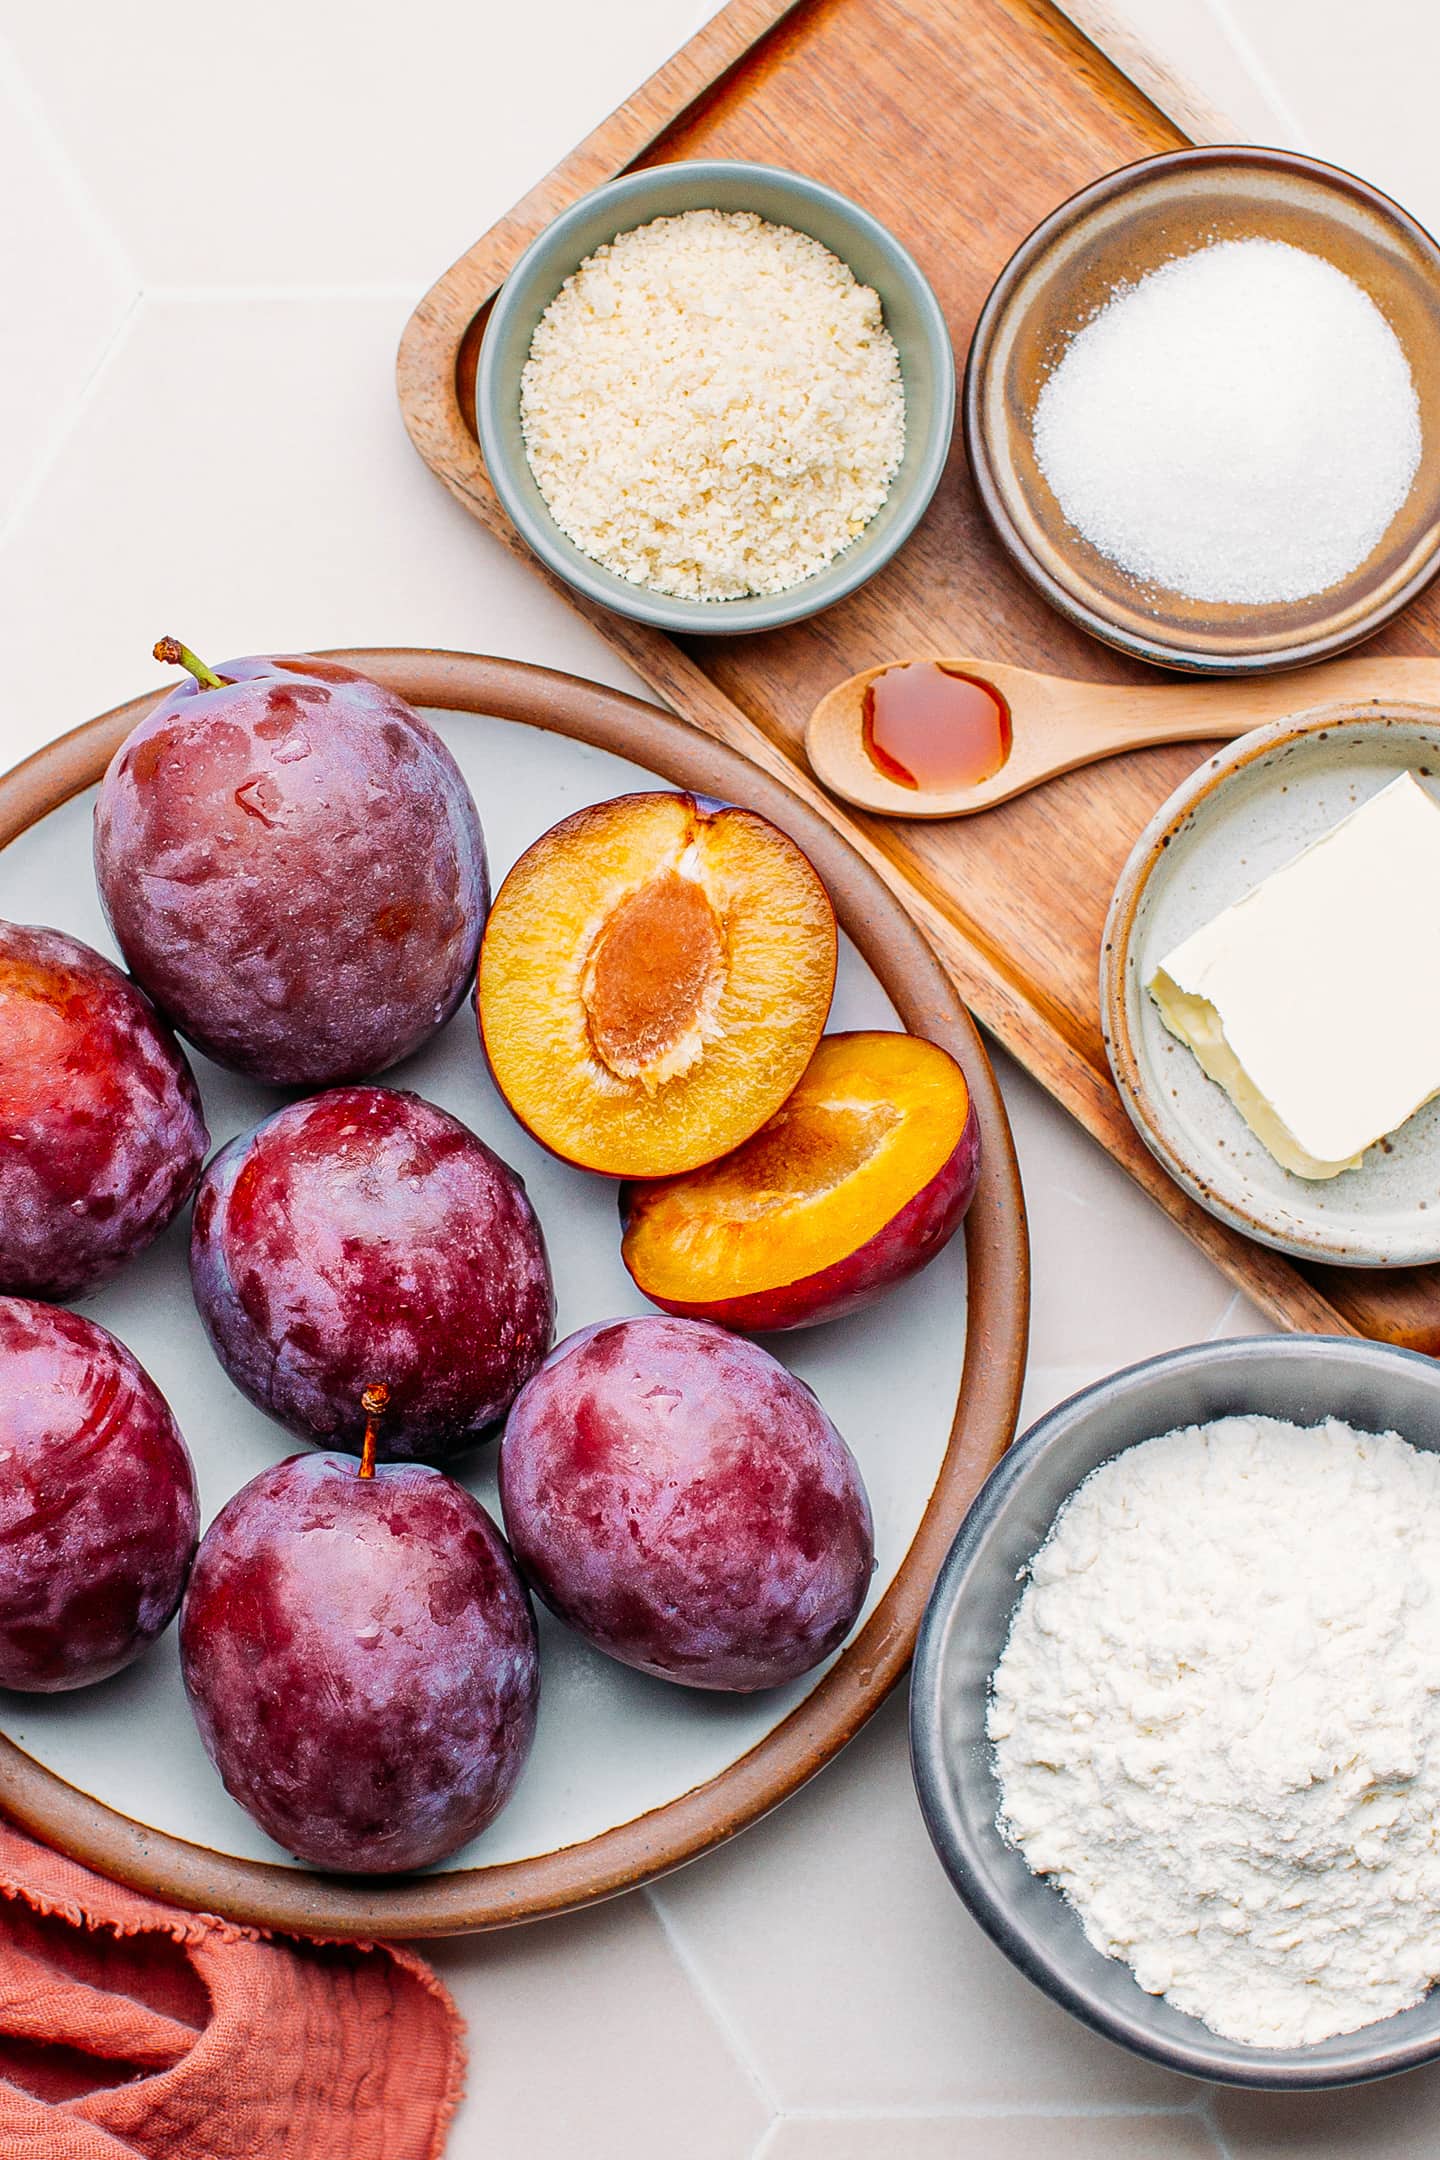
This tart requires only six ingredients. Here is what you will need:
- Fresh plums – I went with Allo plums, but Mirabelle, Reine-Claude, or red plums will work too. Ensure you are using ripe plums for the best flavor. Unripe plums would yield more sourness.
- Flour – Use all-purpose flour. Alternatively, you can replace it with a 1:1 gluten-free flour mix if you plan to make this tart gluten-free.
- Butter – Use store-bought or homemade vegan butter. I recommend letting the butter warm slightly at room temperature for 10-15 minutes before using.
- Sugar – To sweeten the plum filling. I recommend using granulated white sugar, but light brown or coconut sugar will probably also work. Just be aware it might alter slightly the flavor.
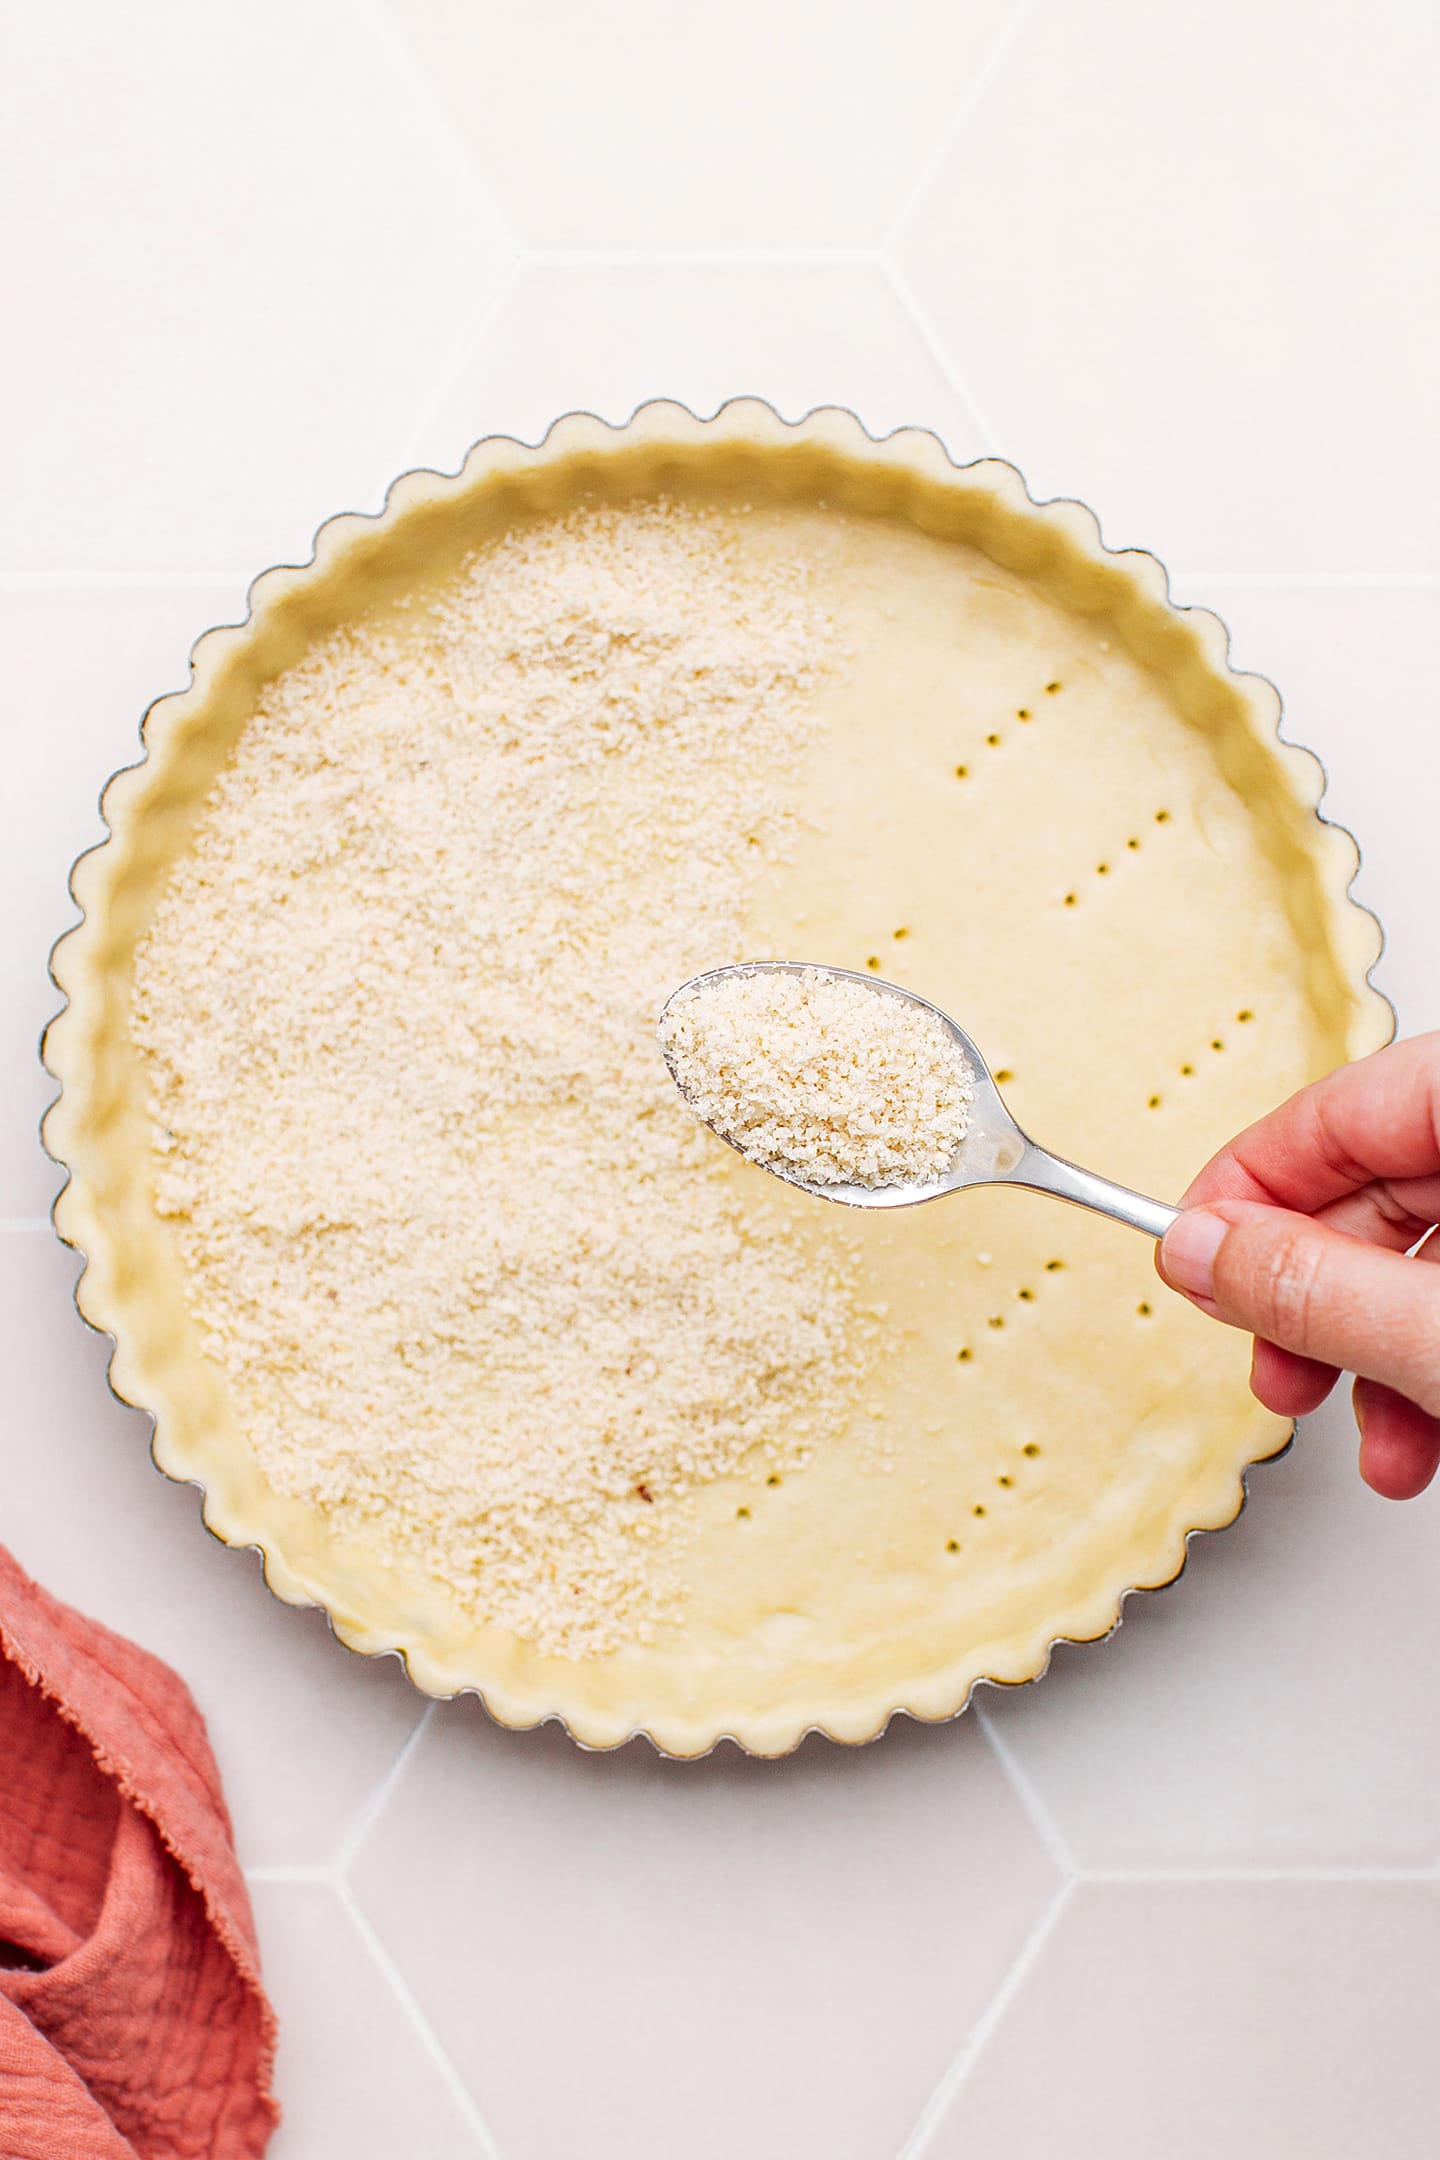
- Almond flour – To spread on the bottom of the pie crust. Almond flour helps absorb some of the juice and prevents the crust from getting soggy.
- Vanilla extract – It is not essential, but it helps elevate the pie crust. You can use store-bought or homemade vanilla extract.
🥣 How to Make It
Make the pie crust
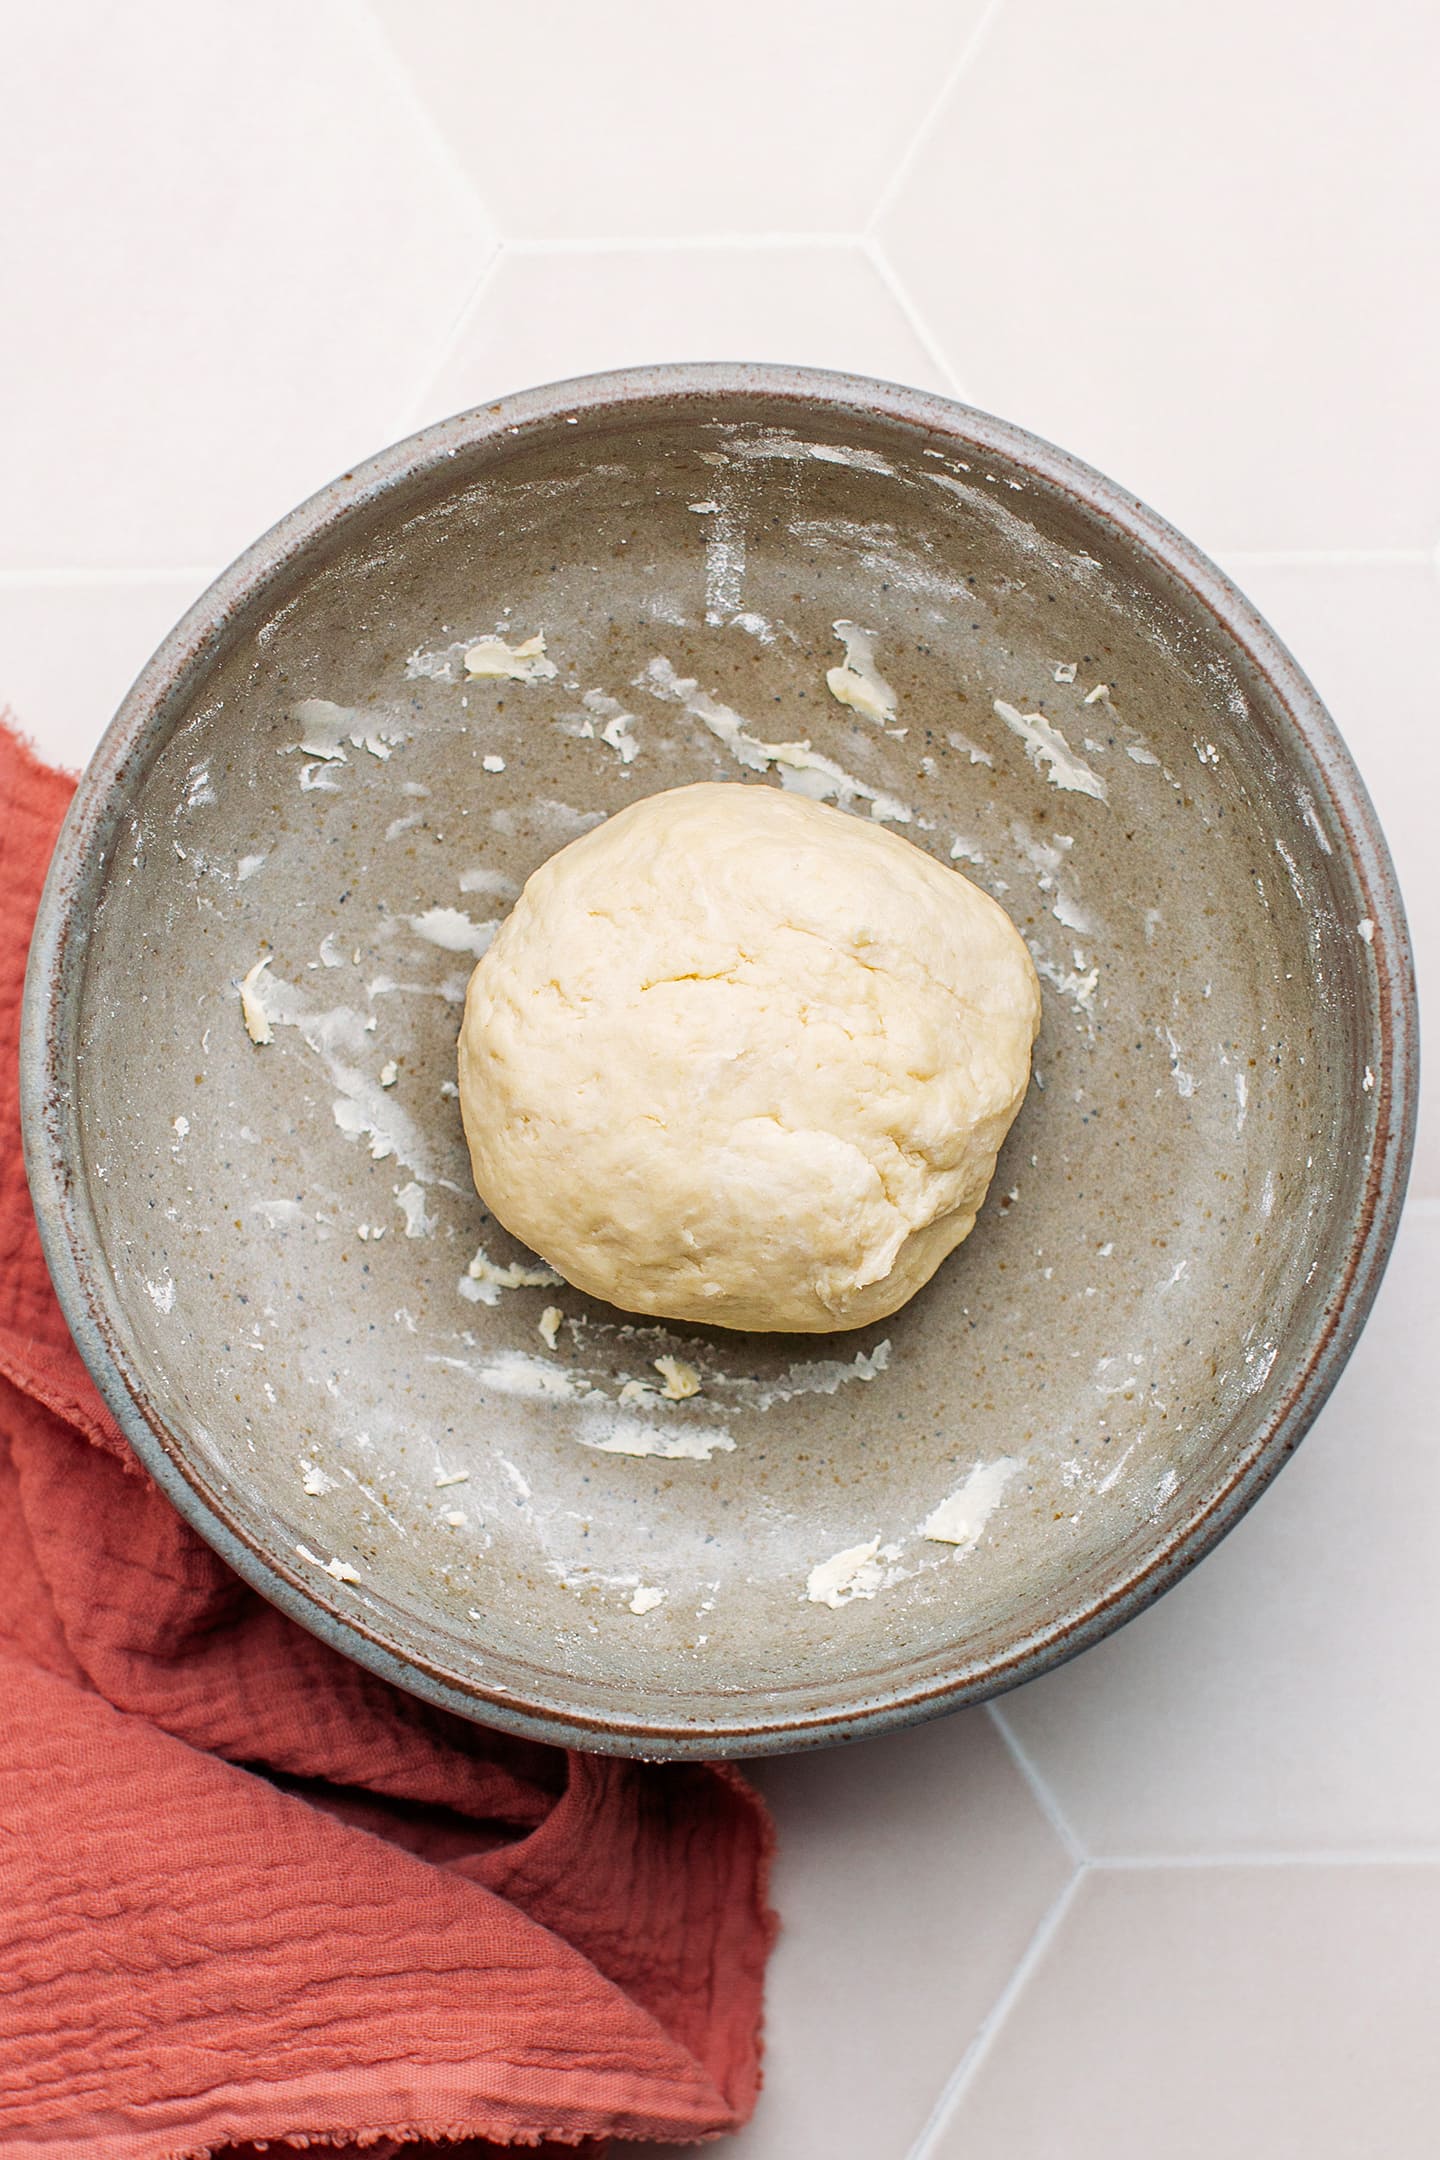
- Knead the dough. Add the flour, diced butter, and salt to a mixing bowl. Cut the butter into the flour using your hands or a pastry cutter until it forms a coarse meal. Add the cold water and knead until it forms a dough. Note: Depending on the type of flour used, you might have to adjust the amount of water slightly. The dough should be soft but not sticky.

- Flatten the dough. Next, flatten the dough between two sheets of parchment paper in a thin round of 10 inches wide.
- Press into a pie pan. Lightly grease an 8-inch pie pan with butter. Transfer the flattened dough to the pie pan and press it into it. Trim off the edges.
- Prick the crust. Using a fork, prick the bottom of the crust a few times. This will prevent the dough from rising during baking.

Add the filling and bake
- Spread the almond flour. Spread the almond flour into an even layer in the pie crust.
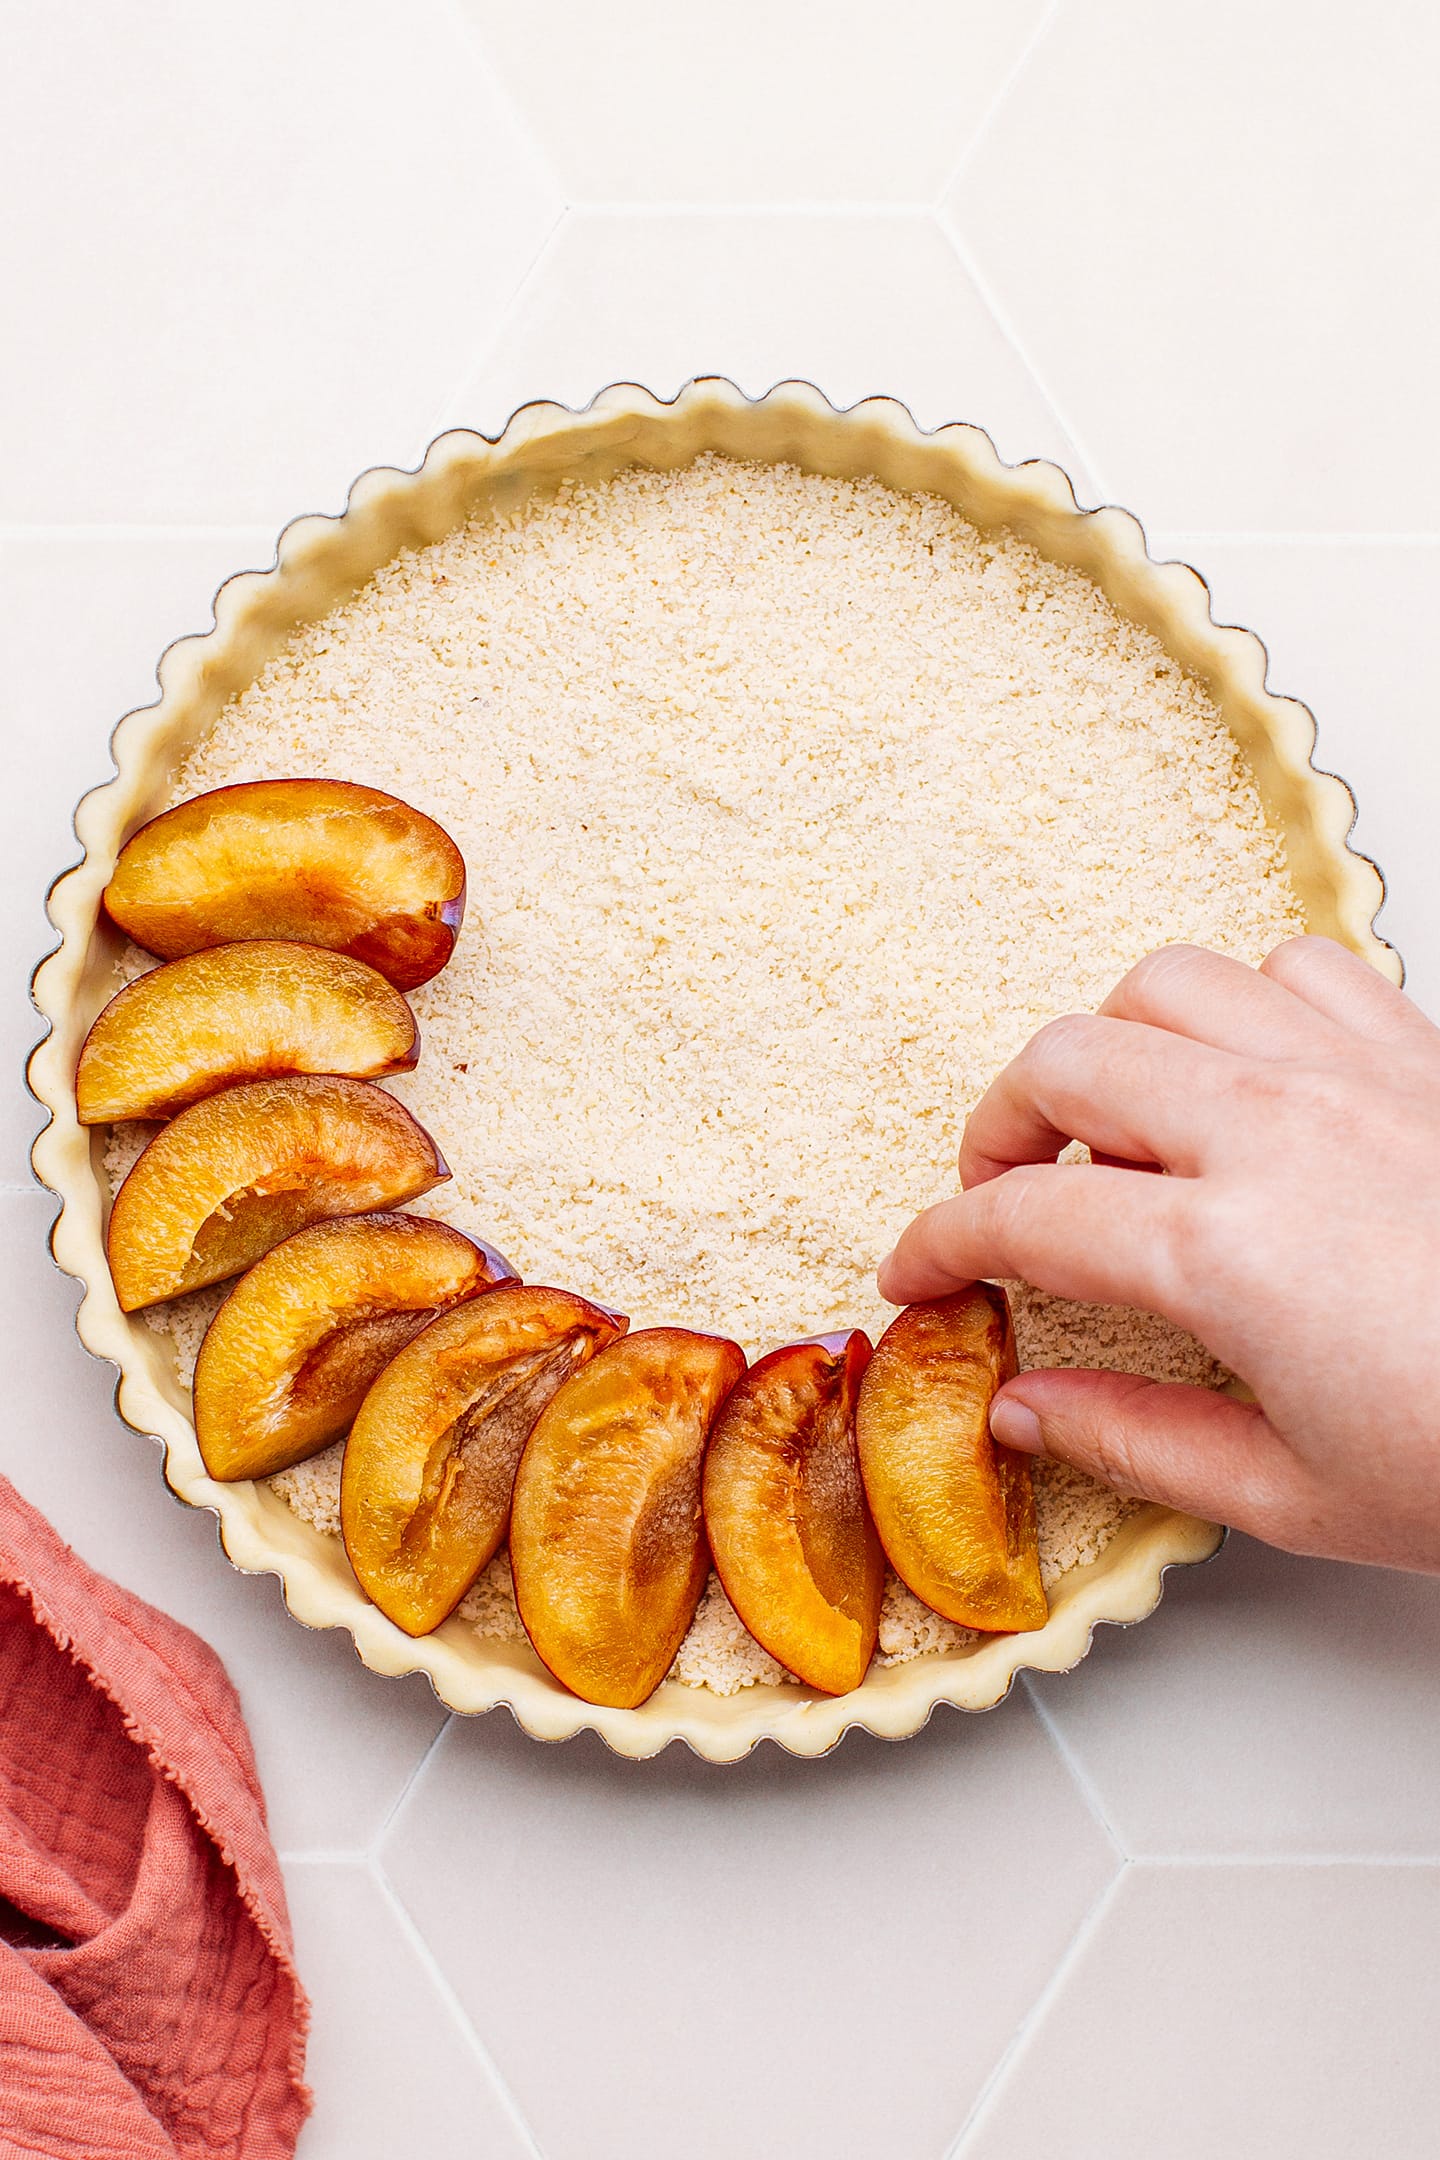
- Arrange the plums on top. Slice the plums into quarters and arrange them very tightly in a concentric circle over the almond flour.
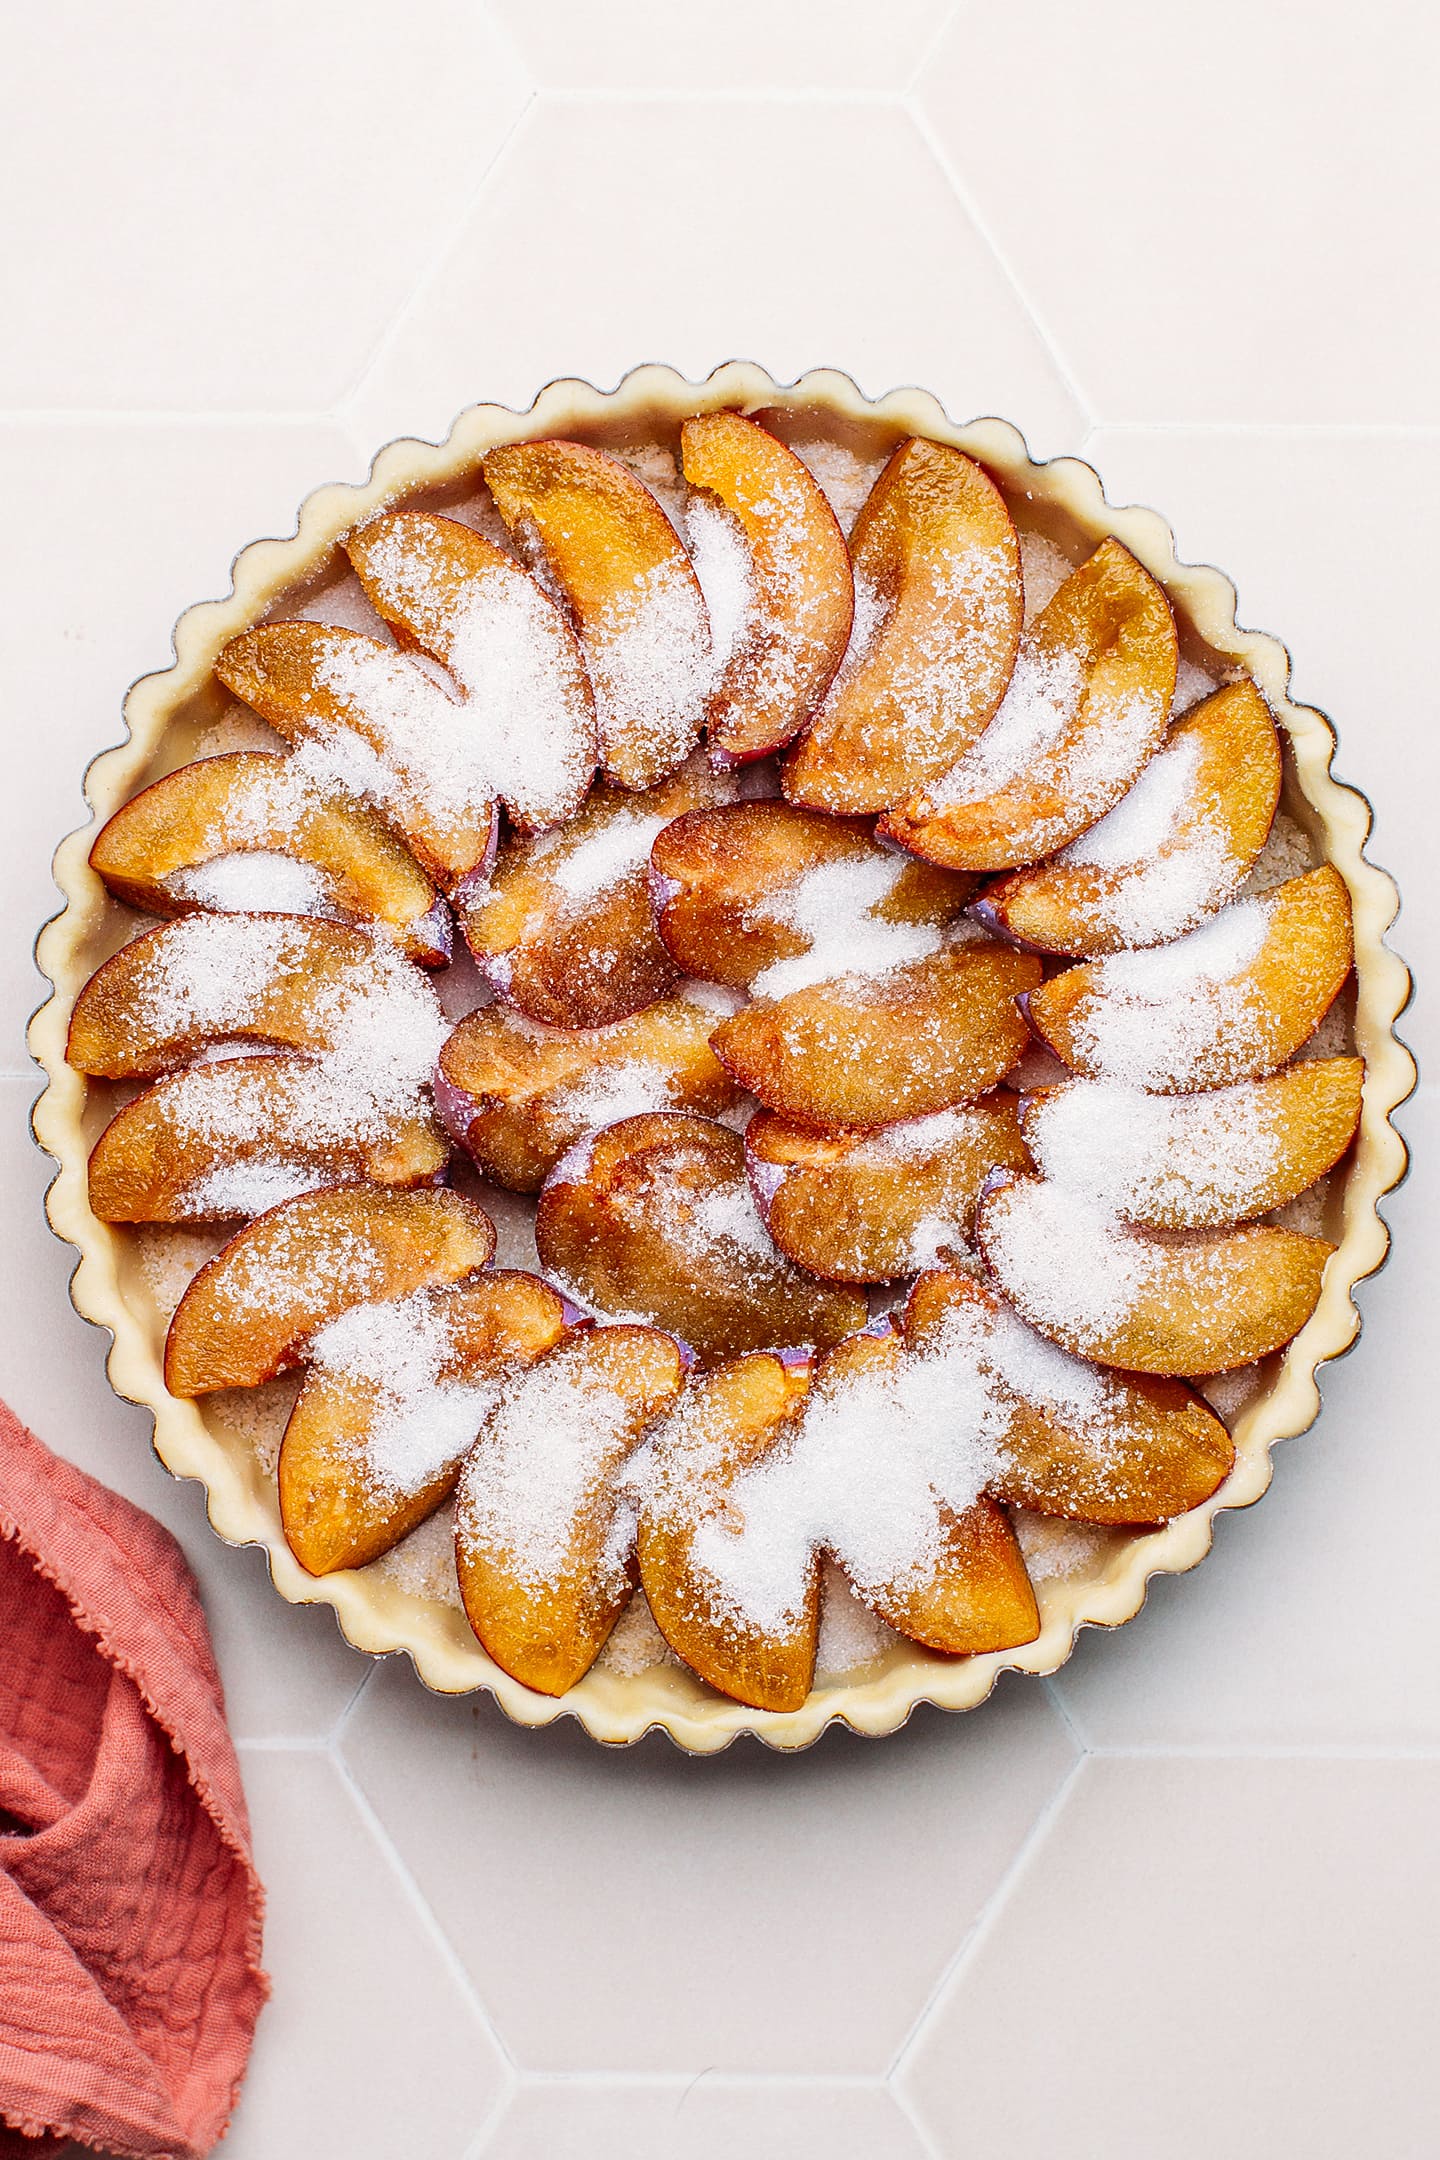
- Sprinkle with sugar. Generously sprinkle the top of the plums with the sugar. This will sweeten them and help with the caramelization, giving the tart a charred finish.
- Bake. Finally, bake the tart for 50-55 minutes in the lower rack of your oven.
📔 Tips
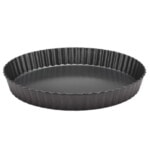
- Use a metal pie pan. I highly recommend using a thin metal pie pan if you want the crust to be evenly golden brown and crispy. Metal pans tend to conduct heat better than ceramic or glass ones.
- Bake on the lower rack of your oven. Baking on the lower oven rack is essential for a perfectly crispy crust.
- Use ripe plums. If your plums are not ripe yet, do not attempt to make this tart. It would only result in a lot of sourness. Only use tender and ripe prunes.
- Let cool completely. The plum filling will appear liquid straight from the oven. This is normal. Let the tart cool for at least 1 hour before serving. The filling will set as it cools.
🫚 Variations
While this tart tastes fantastic as is, you can customize it to your liking. Here are a few ideas:
- Spiced: Flavor the plums with cinnamon, ginger, or even cardamom for extra flavor.
- Extra crunchy: Before baking, top the plums with a simple crumble (check out the crumble topping in our fruit crumble recipe).
- Mixed plums: How about mixing different varieties of plums for a medley of colors?!
🍨 What to Serve It With
You can serve this tart as a dessert, topped with a dollop of cream or vanilla ice cream, or as is for an afternoon snack. You can also garnish it with toasted slivered almonds or dust it with powdered sugar for extra sweetness.
❄️ Storing and Freezing
- To store: Keep the tart in the refrigerator for up to 5 days. After that, the crust tends to get softer.
- To freeze: Once completely cool, freeze the tart either whole or in slices, and wrap it in plastic wrap. It will keep for up to 3 months in the freezer. Thaw on the counter for a few hours or overnight in the refrigerator.
💬 FAQ
I do not recommend replacing the fresh plums with prunes, as it would completely alter the flavor and texture of this tart.
Yes, this recipe works with store-bought pie crust as well!
You didn’t bake it long enough or in the middle of your oven. This tart must be baked in the lower rack until the crust is golden brown. After 50 minutes of baking, remove from the oven and lift the tart to check if the bottom of the crust is golden brown. If not, bake longer.
Yes, this tart tastes even better the next day once it has chilled.
You will love this recipe if you have never tried baking with plums! This vegan plum tart is super fruity with a hint of tartness! Plus, it is not overly sweet and can be enjoyed both ways, warm or chilled!
🥧 More Delicious Tart Recipes

⭐️ Did you like this recipe? Let us know in the comments below, and tag us on Facebook, Instagram, or Pinterest!
Easy Plum Tart
Equipment
Ingredients
Pie crust
- 1 cup all-purpose flour
- 1/4 cup vegan butter diced
- 1/8 tsp salt
- 1/4 tsp vanilla extract
- 2-3 tbsp cold water
Filling
- 1/4 cup almond flour
- 5 medium ripe plums
- 3 tbsp granulated sugar for topping
Instructions
Pie crust
- Knead the dough. Add the flour, diced butter, and salt to a mixing bowl. Cut the butter into the flour using your hands or a pastry cutter until it forms a coarse meal. Add the vanilla extract and cold water and knead until it forms a dough. Note: Depending on the type of flour used, you might have to adjust the amount of water slightly. The dough should be soft but not sticky.
- Flatten the dough. Next, flatten the dough between two sheets of parchment paper in a thin round of 10 inches wide.
- Press into a pie pan. Lightly grease an 8-inch pie pan with butter. Transfer the flattened dough to the pie pan and press it into it. Trim off the edges.
- Prick the crust. Using a fork, prick the bottom of the crust a few times. This will prevent the dough from rising during baking.
Assemble
- Preheat the oven to
 350 °F (175°C).
 - Spread the almond flour. Spread the almond flour into an even layer in the pie crust.
- Arrange the plums on top. Pit and slice the plums into quarters. Arrange them very tightly in a concentric circle over the almond flour.
- Sprinkle with sugar. Generously sprinkle the top of the plums with the sugar. This will sweeten them and help with the caramelization, giving the tart a charred finish.
- Bake. Finally, bake the tart for 50-55 minutes in the lower rack of your oven. You can check the doneness by lifting the tart from the pan. The bottom crust should be golden brown.
- Let cool for at least 1 hour before serving. This tart will keep in the refrigerator for up to 5 days.

Notes
- Use a metal pie pan. I highly recommend using a thin metal pie pan if you want the crust to be evenly golden brown and crispy. Metal pans tend to conduct heat better than ceramic or glass ones.
- Bake on the lower rack of your oven. Baking on the lower oven rack is essential for a perfectly crispy crust.
- Use ripe plums. If your plums are not ripe yet, do not attempt to make this tart. It would only result in a lot of sourness. Only use tender and ripe prunes.
- Let cool completely. The plum filling will appear liquid straight from the oven. This is normal. Let the tart cool for at least 1 hour before serving. The filling will set as it cools.
Nutrition

About the Author
Thomas Pagot is the founder, photographer, and recipe developer behind Full of Plants. He created the blog in 2016 as a personal cookbook for vegan recipes. Through years of recipe development, Thomas has successfully grown Full of Plants into a trusted resource for plant-based recipes.
🧀 25 Mind-Blowing Vegan Cheese Recipes!
Sign up for the Full of Plants newsletter and you’ll get new recipes delivered by email weekly, PLUS your FREE 100-page printable eBook!
Now it’s the right season for plum tart. Thank you for sharing!
You are welcome Emy!