How to Start Your Own Food Blog
I have been receiving many emails asking for pieces of advice on how to create a food blog, what kind of camera I am using, how to get more traffic, etc, so I thought I would make a detailed guide to share what I learned from my (short) blogging career. Whether you want to start a food blog as a hobby or plan to earn a living from it, I will try to show you in easy steps, how to create your own food blog.
Note: This guide contains affiliate links which allow me to earn a small commission, it helps support this blog and keep the recipes coming. I am only recommending products I am using and actually like. If I stop using a service or product listed here, I will make sure to update this guide accordingly.
1. DOMAIN NAME & HOSTING
First, you will have to pick a name for your blog. It should reflect your brand, be easy to remember, and not too long. Do you plan to release dessert recipes only? Asian inspired dishes? Make sure to pick a name related to the content you will publish.
Once you are sure about your blog name, you have to buy the related domain name, this will be the address your blog will be accessible at. If your blog name is “The Vegan Baker”, then your domain name should ideally be theveganbaker.com. Don’t wait, register your domain name and get your hosting today! In just a few minutes your blog will be up and running!
For your blog to be accessible online, you have to choose a hosting provider. There are hundreds of different hosts, make sure you pick a reliable one. You want your blog to be fast and accessible all the time so picking a great host is very important. Here are the two hosts I recommend:
Bluehost:
This is one of the most popular hosts and there is a reason why. Not only it is recommended by WordPress.org as the top hosting, but they also provide a 1-click WordPress installation, no coding required! Meaning you can have your blog up and running in just a few minutes! Their support is opened 24/7, so that’s another good point. I highly recommend this host, plus you get a discount if you use this link.
BigScoots:
As the blog grew, we had to upgrade to a different host. We switched from Bluehost to Bigscoots after about 5 years. Bigscoots offers a much faster site speed as well as as an amazing customer service. You can get 10% off your first month when using our coupon code “P3NUFAB7UZG3” here. The Starter Plan is perfect for new websites, and you can upgrade easily as your blog grows in traffic. I also find their interface clear and very easy to use.
2. WORDPRESS
Installing WordPress is very easy with Siteground or Bluehost. All you need to do is login to your account, go to “My account” then click on “Go to cPanel”. From here, you will see the WordPress auto-installer, just follow the instructions and you should have your blog set up in no time!
You have just laid the foundation for your next blog!
3. WORDPRESS THEME
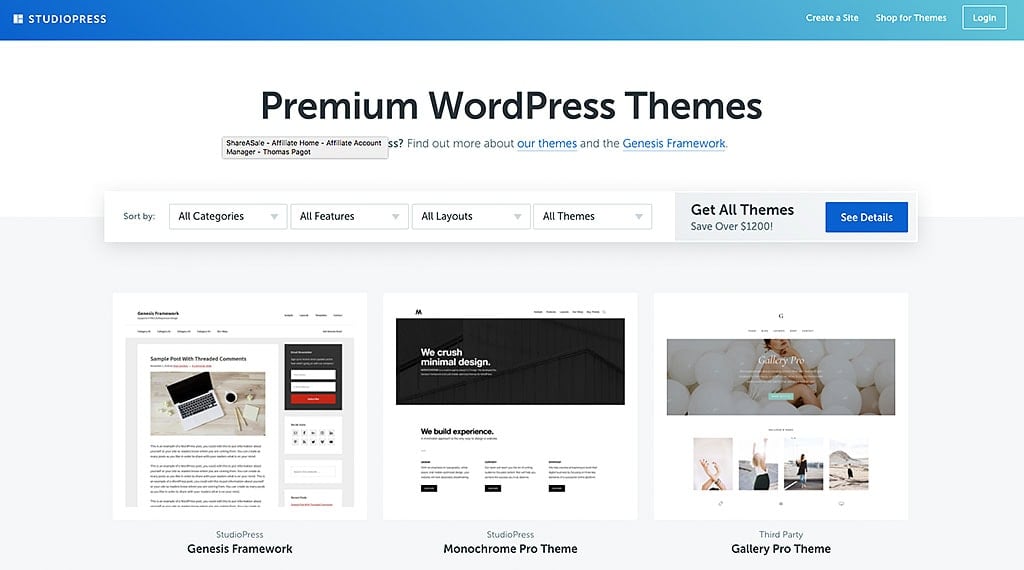
At first, your blog won’t look very sexy since you get the basic WordPress theme. To change that and make your blog more unique, you will have to install a theme. You have two choices here, ask someone to design and code it, or buy a theme and customize it yourself. I would recommend the latter option, it will be cheaper and a lot quicker. There are thousands of WordPress themes available online, some are free of charge while others require a payment. Obviously, the most advanced and beautiful ones are not free but in the end, it’s usually worth the price.
4. PLUGINS/TOOLS
Alright, your blog now looks awesome! Congrats! Let’s make it faster to load and more powerful! The plugins and applications below are tools I use on a daily basis, they are not essential if you are just starting out but I would recommend getting at least Lightroom or Photoshop.
Jetpack (previously called Vaultpress): Jetpack protects your blog from possible security attacks, malware, and automatically backup all your data every day. So if for any reason your entire website disappears, you can restore it through Jetpack. You can then sleep in peace knowing your hard work is safe.
Tasty Recipes: I absolutely love this plugin! Creating good-looking, easy-to-read recipes on WordPress requires a plugin that will allow you to add ingredients, instructions, nutrition info, and more. Tasty Recipes gives you all of this, plus other options like a rating system, seamless integration, and a print button. All the recipes on this blog are written using Tasty Recipes. Tasty Recipes is a plugin made by Pinch of Yum, one of the biggest food blog out there, so you can trust them on this plugin!
Mailchimp: If you are a reader of Full of Plants, you probably subscribed to the newsletter and are receiving an excerpt of new recipes directly in your emails every week. All the emails are sent automatically through Mailchimp. It connects to your blog and sends a newsletter to your subscribers automatically as soon as you publish a new recipe. It’s a nice tool to keep your readers engaged and bring more traffic to your blog.
Tailwind: This tool is not essential at first, I only started using it my second year of blogging. It allows you to schedule pins and Instagram posts. Very helpful to keep your social accounts updated and grow your followers base.
Lightroom CC: Essential tool! Easily import, edit and export your photos. The editing tools are very powerful, you can adjust color balance, contrast, highlights, and so much more. If you want to make your photos look better, Lightroom is the way to go! You can find many tutorials on photo editing on Youtube.
Photoshop CC: Even the best photos need some editing, resizing, etc. Personally, I first edit the photos in Lightroom and then make a few more edits in Photoshop, before resizing it and saving for the web.
5. RECIPES
This is obviously one of the most important parts of a food blog: sharing great recipes. Creating interesting and tasty recipes will take you probably more time than you think. Here is what goes into the making of a recipe:
- Create your recipe, test it, again and again, to make sure it’s super delicious
- Write the recipe with detailed and comprehensive instructions
- Take mouthwatering photos (see point 7)
- Write the content for the blog post
- Release and share on social media/food sharing websites
I recommend creating 5-10 recipes before launching your blog, this will give you a head start and allow you to focus on future content. Prior to launching Full of Plants, I had 8 full posts (photos, content, recipe) ready and over 10 ideas for future posts wrote down. It took me a few months to create that content (mostly because I was also learning how to use my camera) but then it gives you enough time to work on your next recipes.
Let’s resume, before launching your blog, I recommend you:
- Have at least 5 full blog posts ready (that includes photos, recipe, and content)
- Write 10+ ideas for upcoming recipes
6. PHOTOGRAPHY
Equipment
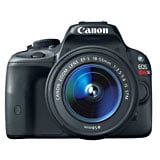
Camera: “Which camera do you use?” is probably the question I receive the most. I’m actually using a Canon EOS Rebel SL1. It is not the cheapest camera, not the most expensive either, but buying a good DSLR is the best investment you can make if you plan to take blogging seriously. You will not only end up with sharp and bright photos but have an incredible depth of field compared to a point-and-shoot camera. It will result in your subject really standing out from the background. There are many more advantages of using DSLR, like having full control over the depth of field, shutter speed, and light sensitivity.
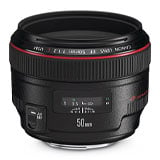
Lens: The lens I use the most is the Canon 50mm 1.2 L USM Lens, almost all my photos are taken with this lens. Be aware that since it’s a 50mm you get a narrow-angle view and have to step back a bit more than with other lenses.
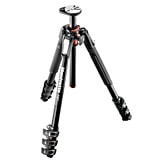
Tripod: While it’s not an essential tool, it’s quite handy sometimes, especially for overhead shots. When the light is too low and you want sharp photos, then a tripod will be a great help. Plus if you want to take action shots you will either need a tripod or a third hand! The one I’m using is the Manfrotto MT190XPRO4 with a 3-Way Head.
Props
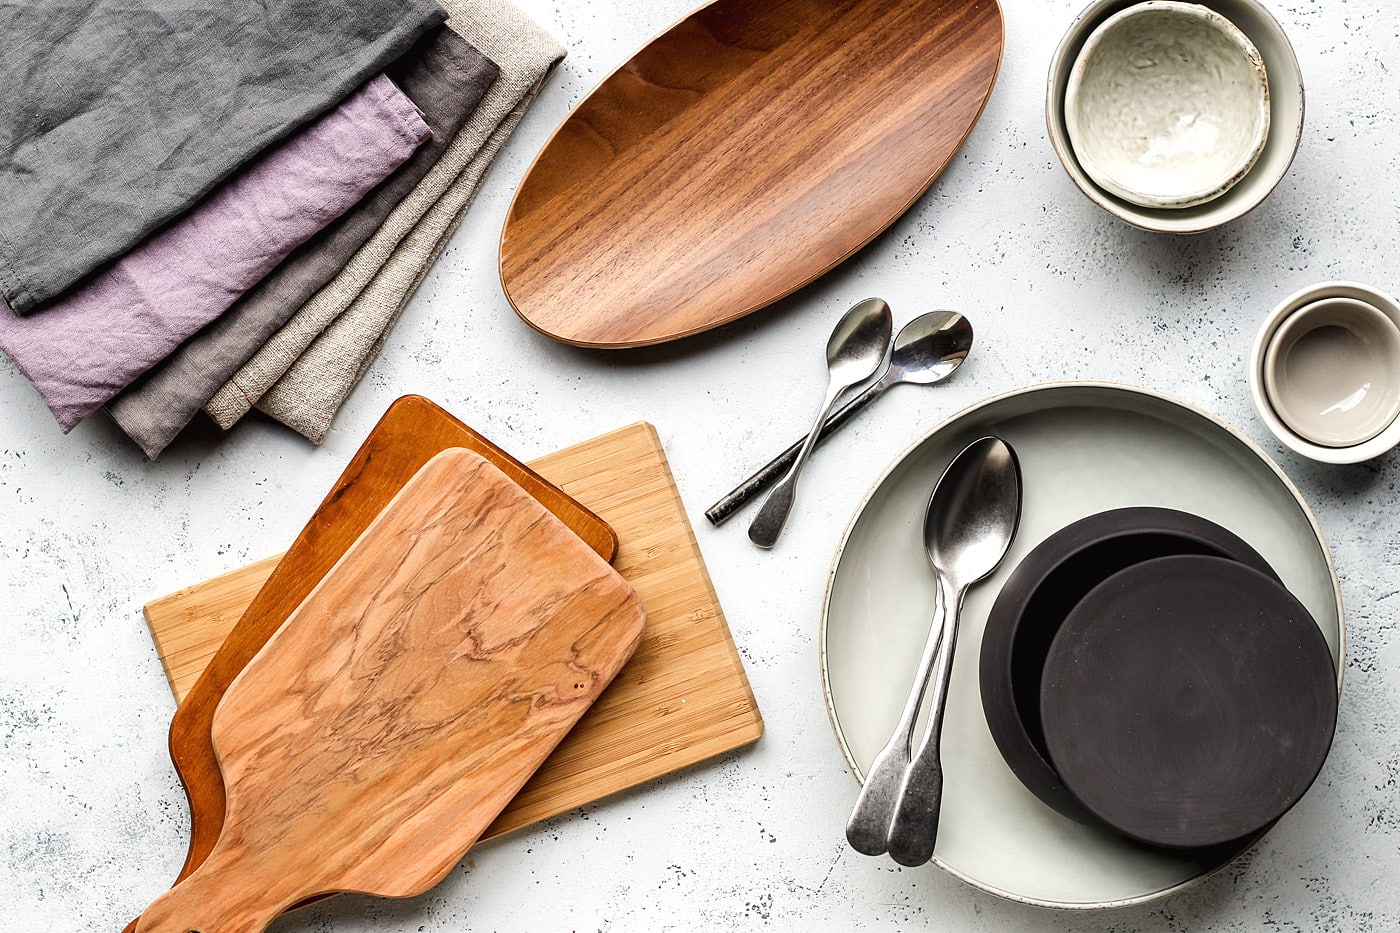
Now that you have a good camera, it’s time to prepare your scene. Which plates, towels, cutlery, and accessories you select for a shot is very important, it will affect the atmosphere of your photos. Try to stick to white, gray, or black plates to make the food stand out. Using rustic spoons, forks or knives also help create moody shots. You can usually find old cutlery in garage sales, or on Etsy for a cheap price. Or ask your grandma, she might have some!
Plating
Time to put some food in those shiny bowls! You can find many useful videos on food plating on Youtube. The presentation is just as important as the food itself, people first eat with their eyes! When plating, you have to consider what kind of food you are shooting. For example, if you are making an Asian-inspired dish, you might use a plain background, consider adding chopsticks, rustic bowls and add details by using fresh herbs like coriander. On the other hand, if your dish is Mexican-inspired, it will be better to use warmer, more colorful backgrounds, and add details with lime slices, salsa, olives, etc. Your goal is to create an atmosphere related to the recipe.
Backgrounds
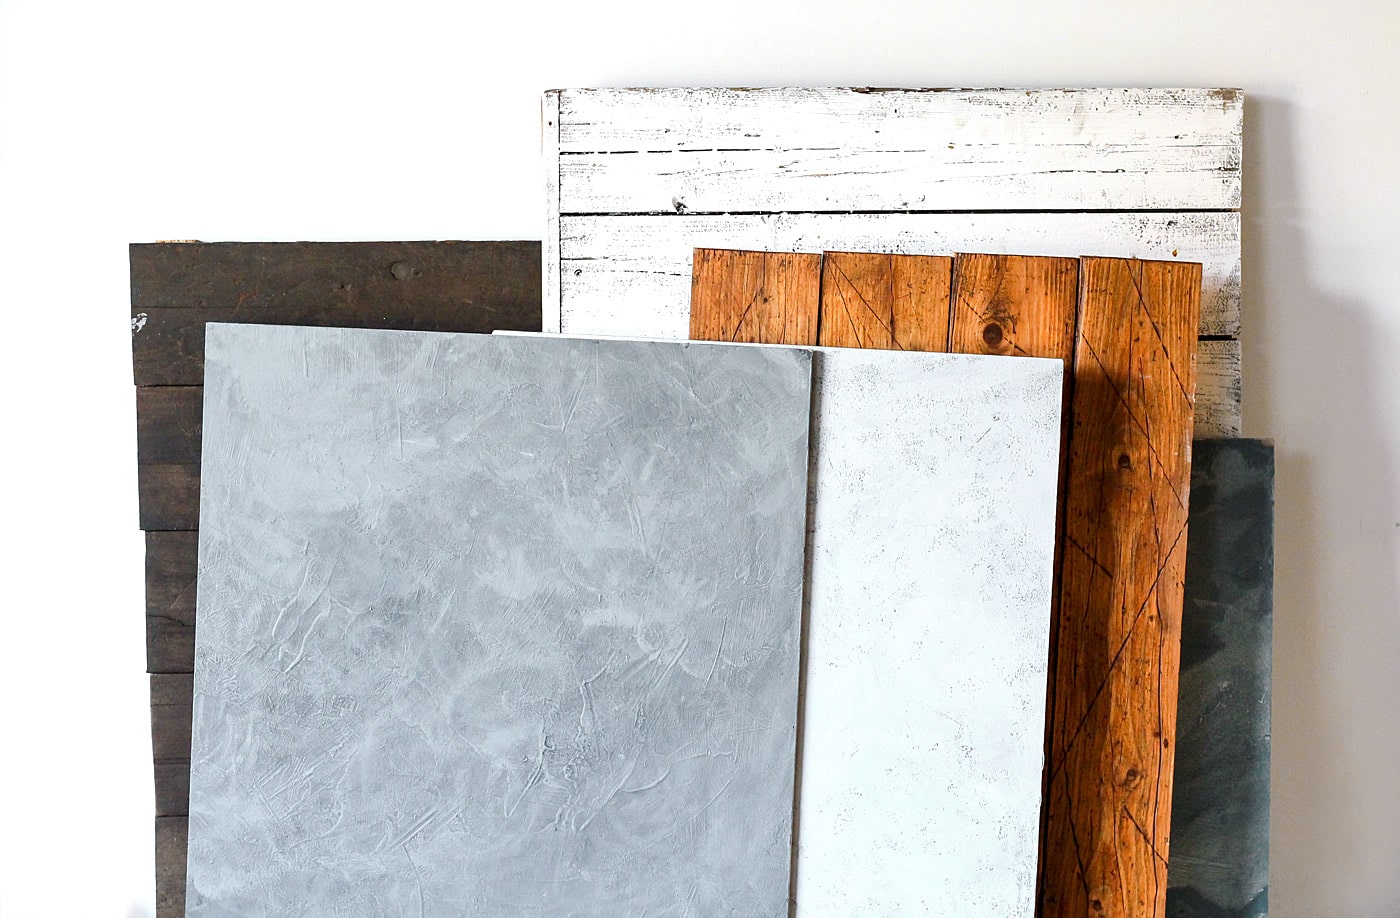
Depending on what kind of photography style you are going for, backgrounds might not be essential. If your goal is to go with only white and clean photos, then a simple roll of white paper will do the job. For example, Ali from Gimme Some Oven has great-looking photos and she is only using white backgrounds.
On the other hand, if you prefer moody photos, backgrounds will be essential. I see many food bloggers recommending custom-made backgrounds that usually cost over $100, let me tell you, you DO NOT have to spend that much to have nice looking backgrounds! Just get a set of old wood planks in a garage sale and you will have your first background!
If you don’t mind getting your hands dirty, you can make your own custom background! You will only need a panel of plywood, some paint, and a paintbrush. By using a mix of different brushes, tissues, and a trowel it’s easy to create texture and color variations. It usually costs me less than $20 in total to make a background. You can find many videos or articles online that explain more in detail how to achieve that kind of result. Check this one for wood backgrounds, or this one for concrete ones.
Shooting
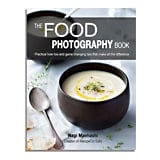
One book I can recommend that helped me a lot with photography is The Food Photography Book from RecipeTin Eats. It contains a massive amount of tips and examples to help you improve your photography. I’m not going into details here because there is enough information in the book, it’s definitely worth it.
7. GET TRAFFIC
Social Accounts
As soon as you launch your blog, you should have your social accounts ready so people can start following you. Instagram, Pinterest, and Facebook are the main networks, they are the ones that, in my case bring the most traffic.
Food Sharing Websites
The easiest way to bring visitors to your blog is to submit your recipes to food galleries. Websites that I submit the most to are Foodgawker, FindingVegan, WholeYum, and HealthyAperture. If your submission is accepted, they will feature it on the front page for one day, sometimes more. To get your recipe accepted you must absolutely submit a great photo. Foodgawker is the most selective of all.
8. SHOW UP
The key to successful food blogging is quality AND consistency. If you post only once every month you should not expect fast growth. It’s important to set up a posting planning and stick to it. Right now I post twice a week but if you are just starting, once a week is enough. It will give you enough time to prepare your next recipe.
9. WHAT (NOT) TO EXPECT
While most of the time food blogging is the best job, there is also some downside. I feel not enough bloggers are talking about this but creating/testing recipes, taking photos you are happy with and writing nice content doesn’t always happen as planned. Somedays you will bake all day long, or take 4 photo shoots for a single recipe and still have nothing to be satisfied with. Be ready to fail many times before having a good recipe. It is frustrating and tiring but it is part of the process and you can’t escape it. In the end, it’s always worth it to test the recipe one last time to improve it, and/or make an extra photo shoot.
Don’t expect to receive a hundred visits on your first week, or gain hundreds of followers. It won’t happen overnight and you will have to stay consistent to see growth.
10. REVENUE
Finally, you should have monetization in mind when it comes to blogging. Maybe your goal is to live from blogging after a few years. There are several ways to earn money through blogging. The first one is Ads: You integrate a simple code on your website that will display ads when people browse a page. The amount you will earn is calculated based on the ad impressions and clicks.
The second one is Sponsored Posts: This one requires at least some traffic to attract sponsors. Once you have at least a few thousand visitors per month, you can join an influencers network. If a sponsor wants to work with you, they will pay you a fee to create a recipe for a specific product or brand.
And finally, the last one is Affiliate Marketing: You earn money through affiliate links. Let’s say you have a recipe that requires a spiralizer, you can promote it in your post and use an Amazon affiliate link for example. If someone clicks on the link and buys something from Amazon the next 48H, you will earn a percentage of the sale. This guide also contains affiliate links, if you buy a domain name or hosting I will earn a percentage of the sale. That’s how affiliate marketing works.
On my first month of blogging, I made $5.15. Can you even buy a double espresso with that!? So don’t be discouraged if you don’t earn much at the beginning, it will take months, or years before building traffic and increase revenue. Stick to it and you will see it growing! In my opinion, your main goal should be to enjoy creating and sharing recipes! Don’t focus too much on monetization at first.
FINAL THOUGHTS
I hope this guide will give you enough useful information to start your own food blog, I tried to make it as complete and as accessible as possible. If you need more information about a specific part of the process, let me know! This article will be updated regularly to make it more detailed and comprehensive.