This post may contain affiliate links. Please read our disclosure policy.
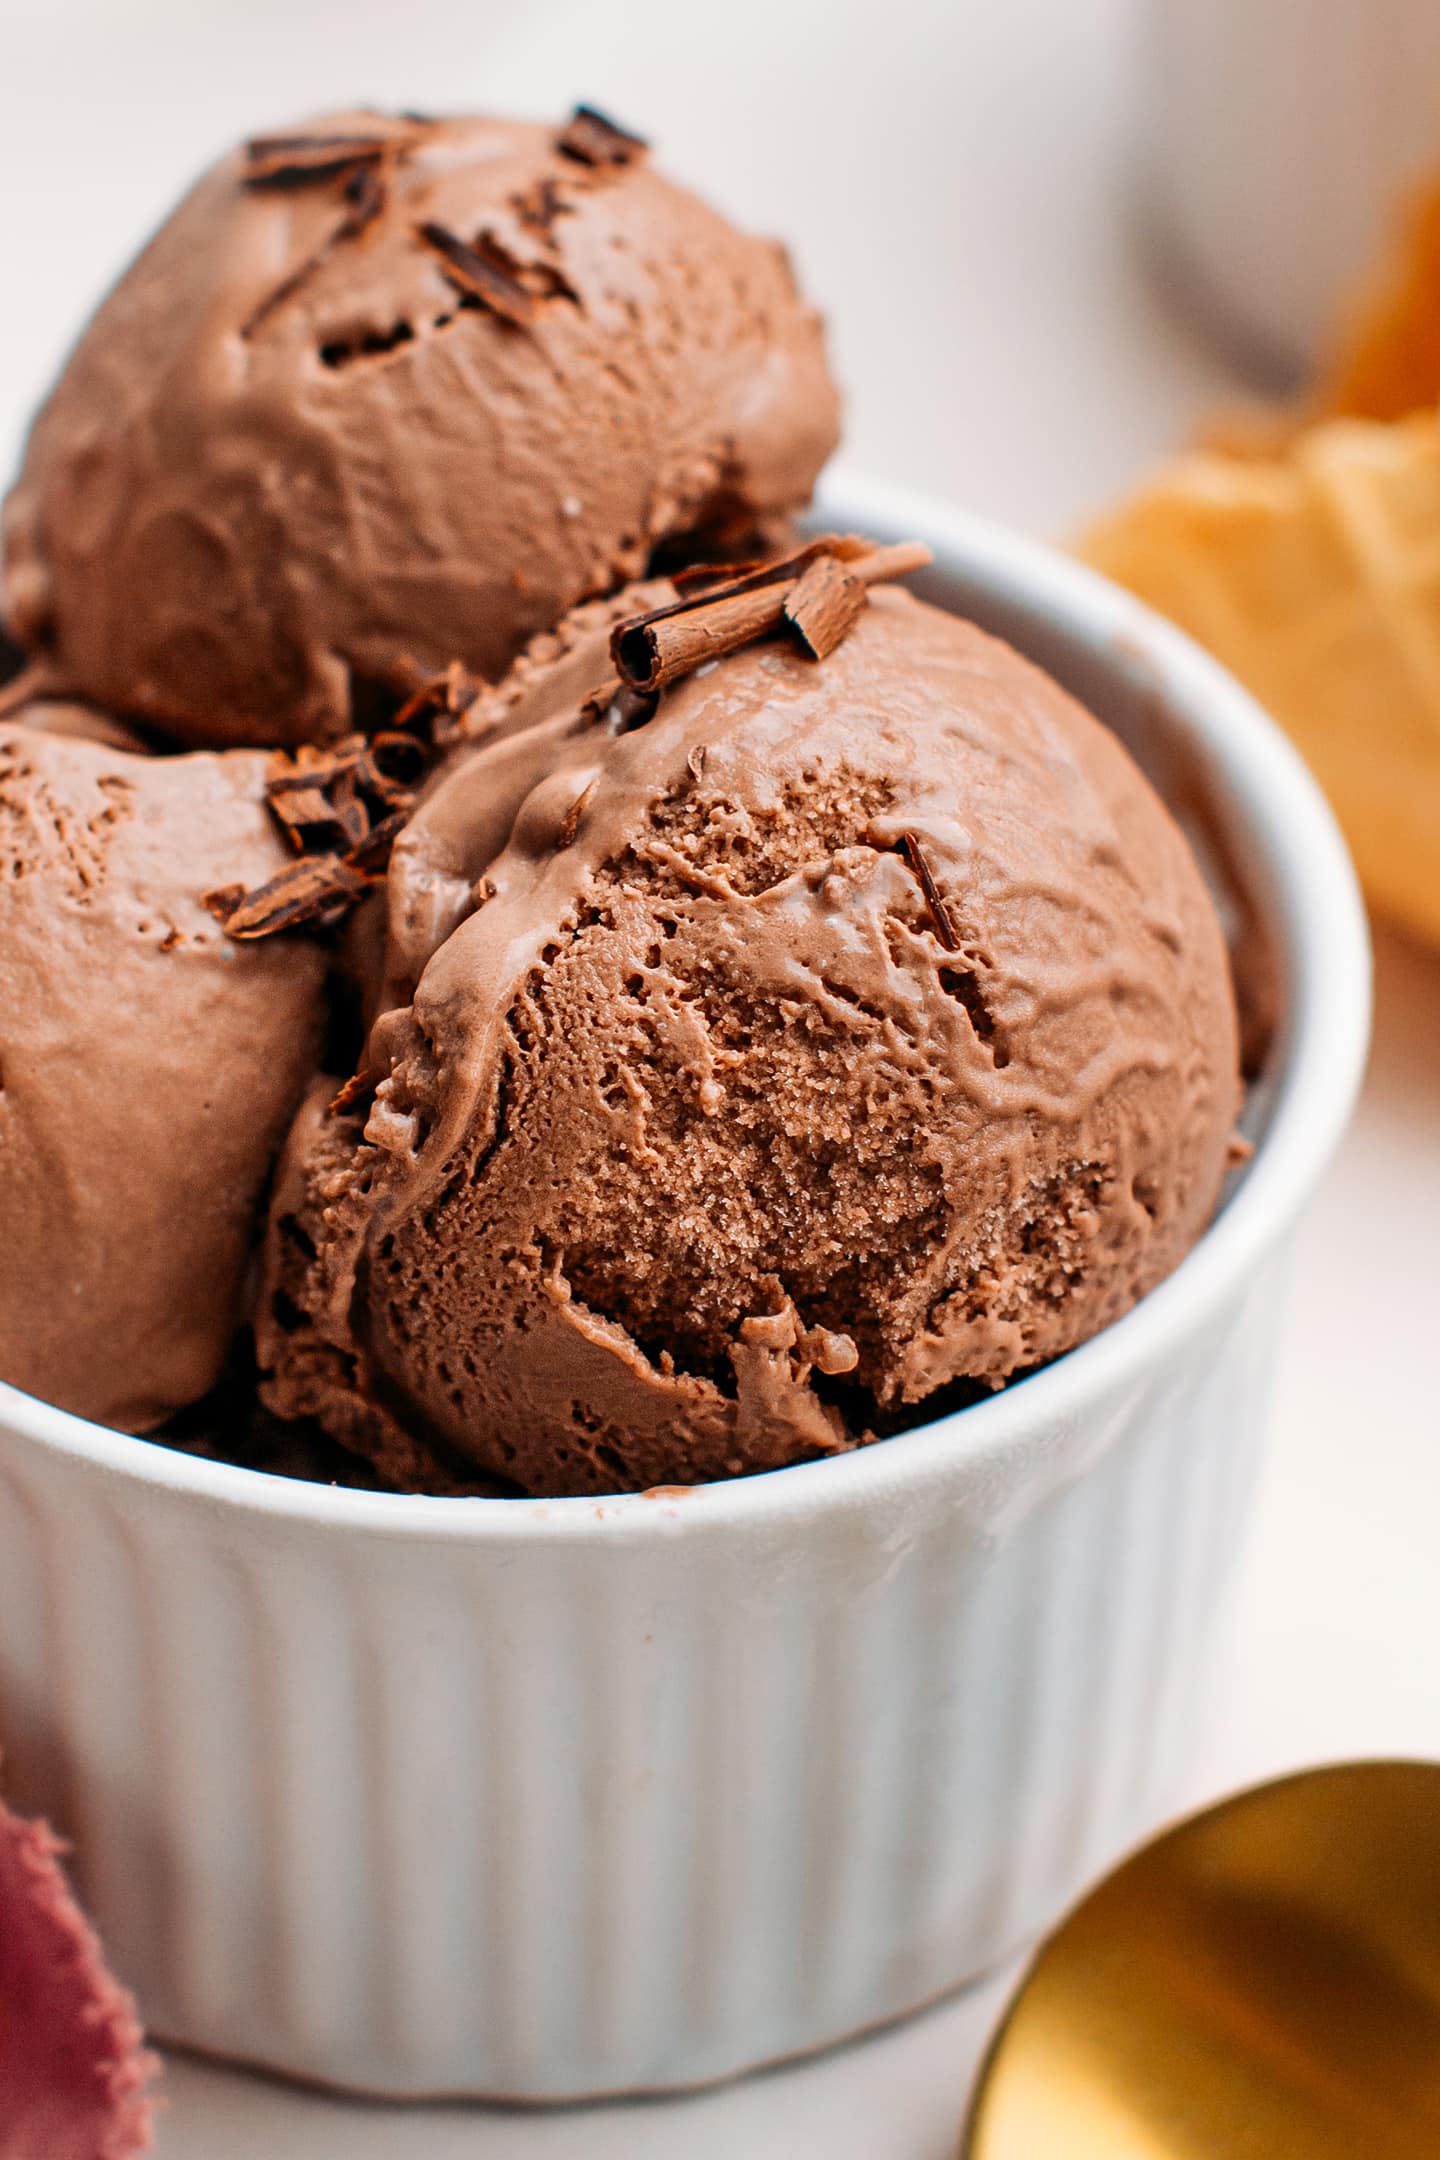
Truly the best vegan chocolate ice cream! It’s insanely creamy, packed with a rich chocolate flavor, and scoopable straight from the freezer. Plus, it’s coconut-free and nut-free. You will never buy vegan ice cream at the store again!
⭐️ Why You Should Try This Recipe
- The perfect texture and consistency. This dairy-free chocolate ice cream has a ridiculously rich and creamy mouthfeel. And if you are wondering, it has absolutely no ice crystals, just pure creaminess!
- Scoopable straight from the freezer. The problem with most homemade ice cream recipes is that it yields a rock-hard consistency in the freezer. This one can be scooped right away, just like the commercial brands.
- Coconut-free and nut-free. As opposed to other recipes that make use of cashews or coconut milk, this one doesn’t, creating a lighter texture and making it also much easier to digest.
- Super chocolatey. It’s packed with chocolate flavor without being bitter or too dark!
- Cheaper and tastier than the commercial brands. This chocolate ice cream ends up being about 50% cheaper compared to most premium vegan ice cream brands.
Disclaimer: This vegan ice cream recipe is not meant to be the healthiest or one that requires the least amount of ingredients. The goal here is to create a terrific texture and mouthfeel that compares to, and even tops, the commercial ice cream brands that can be found in supermarkets.
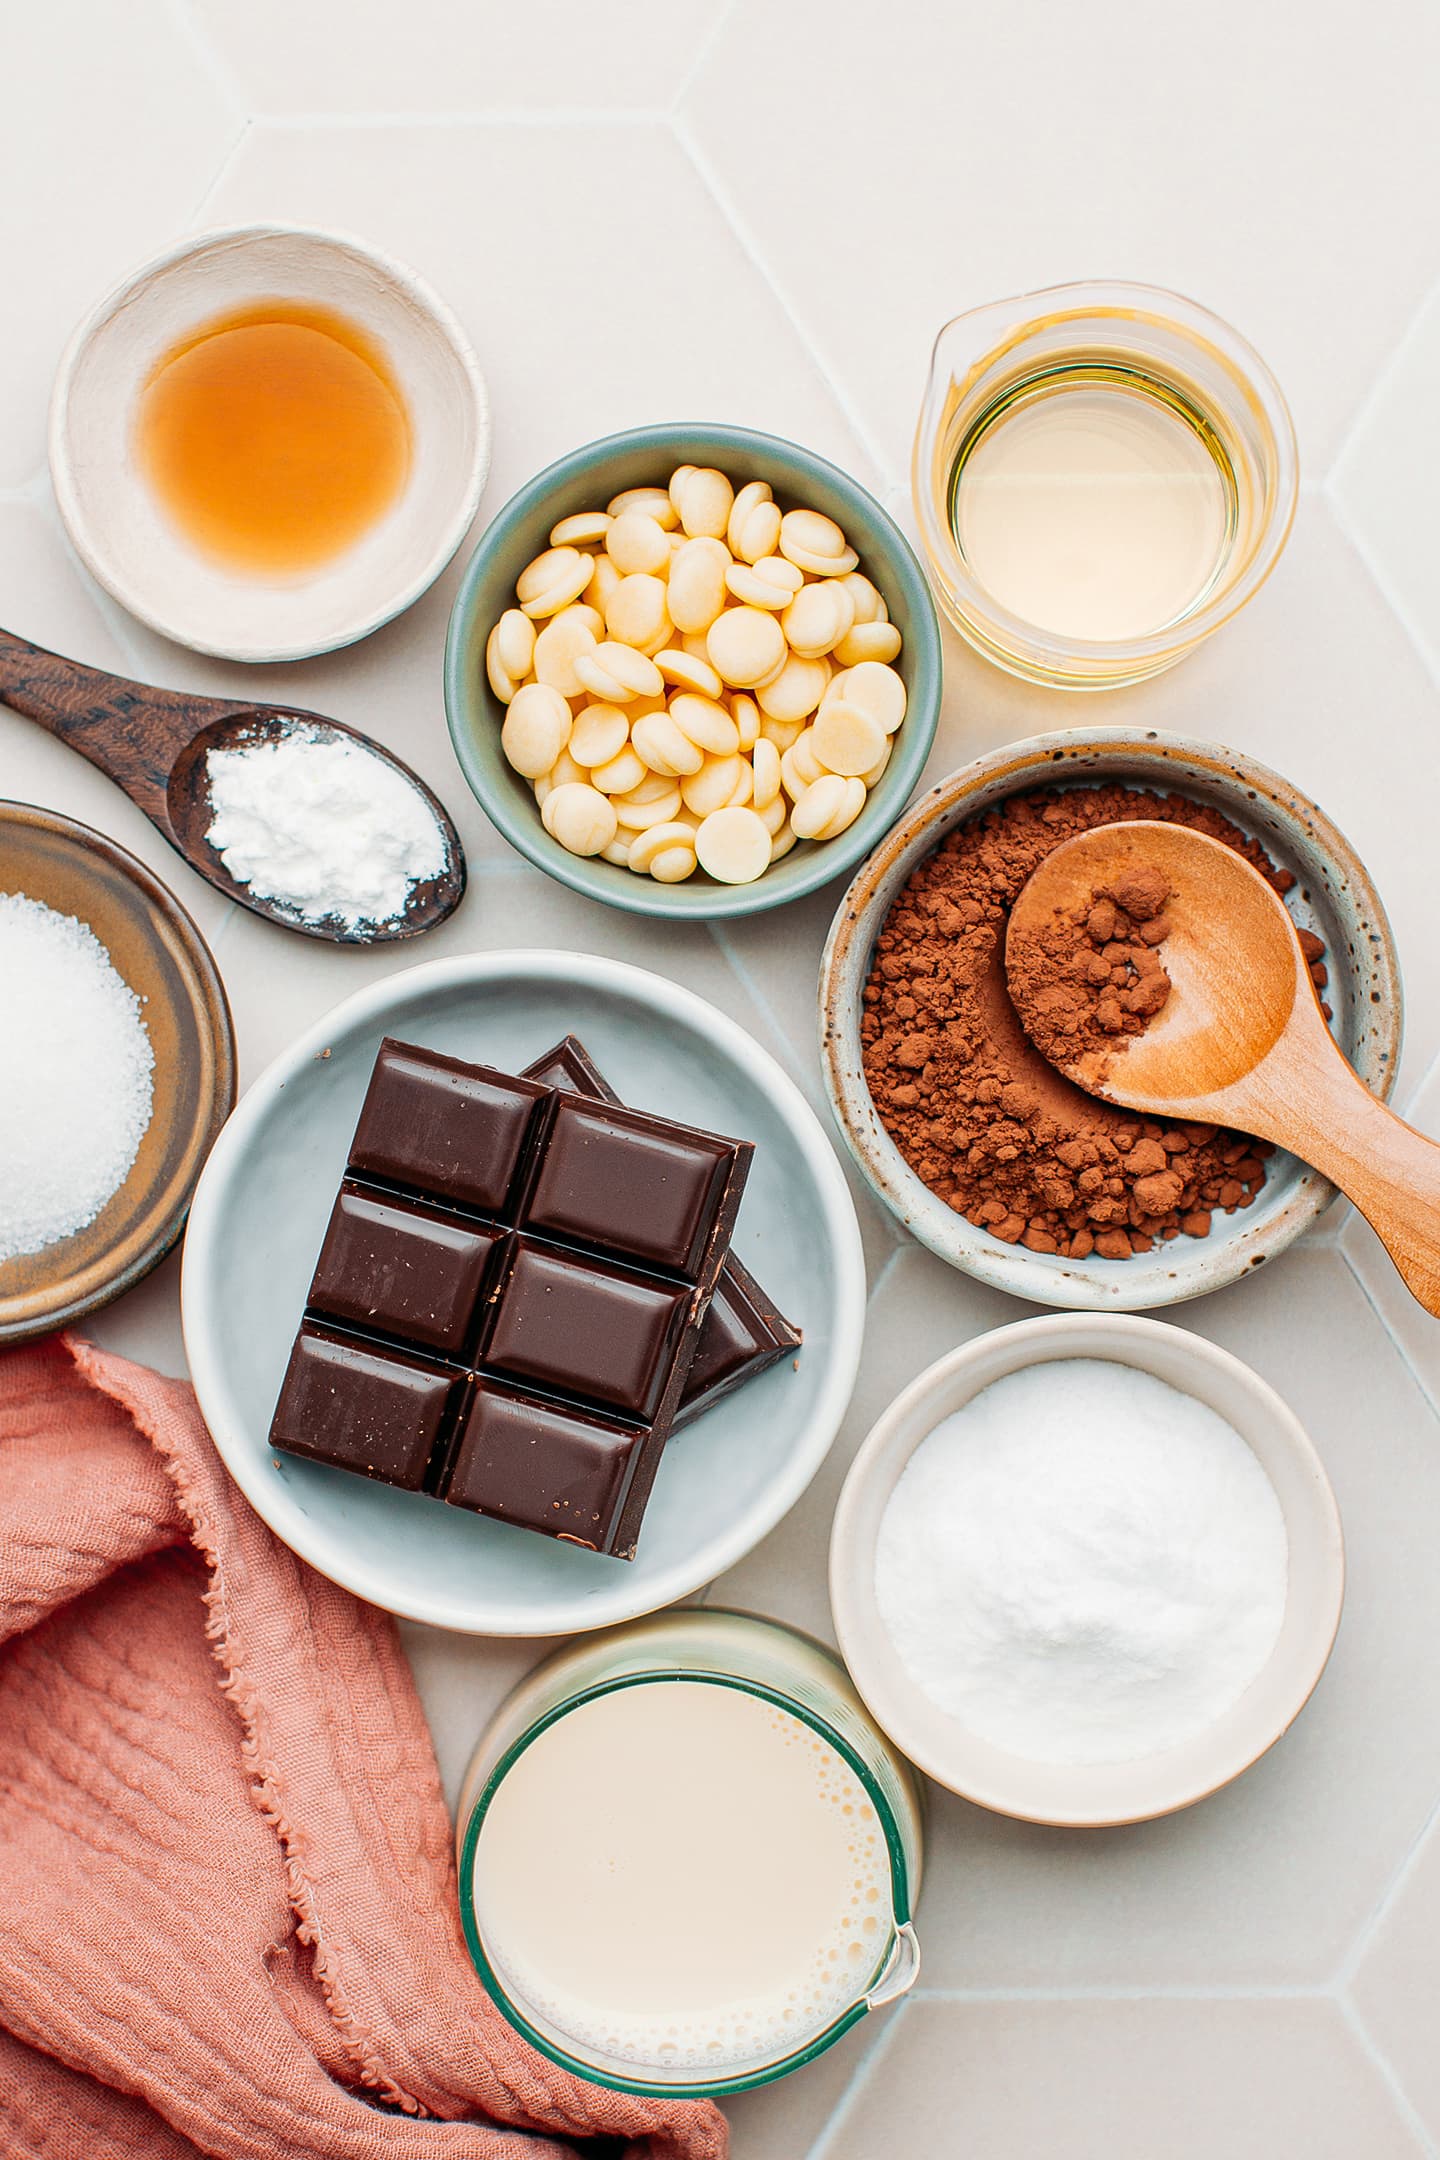
🍫 Ingredient Notes
You will need a few special ingredients to make this ice cream, but all of them can be found very easily online. Here is what you will need:
- Plant-based milk – Use your favorite unsweetened plant-based milk. I went with soy milk (which contains 1.8g of fat per 100g). If your milk contains less fat, you can slightly increase the amount of oil.
- Cacao butter – You can use regular cacao butter or deodorized cacao butter. I personally prefer the latter one, but both work exactly the same way. It brings richness and creaminess.
- Oil – Use a neutral liquid oil like sunflower, rapeseed, or canola oil.
- Sugar – I recommend using granulated sugar, but I think it will work with light brown sugar as well.
- Dextrose – Dextrose helps improve the scoopable factor, making the ice cream softer. I do not recommend omitting or substituting it.
- Dark chocolate – Preferably 70% dark chocolate for a richer flavor.
- Lecithin – It helps emulsify the oils with other ingredients. I used powdered soy lecithin, but sunflower lecithin will also work well.
- Vanilla extract – To enhance the overall flavor. You can use store-bought or homemade vanilla extract.
- Gums – We will be using two gums: locust bean gum and guar gum. Locust bean gum prevents the formation of ice crystals, while guar gum will add more body to the ice cream.
Note: feel free to check out my Vegan Vanilla Ice Cream recipe if you want to learn more about the role of each ingredient.
🥣 How to Make Vegan Chocolate Ice Cream
The process of making the ice cream consists of two steps: preparing the ice cream base and then churning it.
Prepare the ice cream base
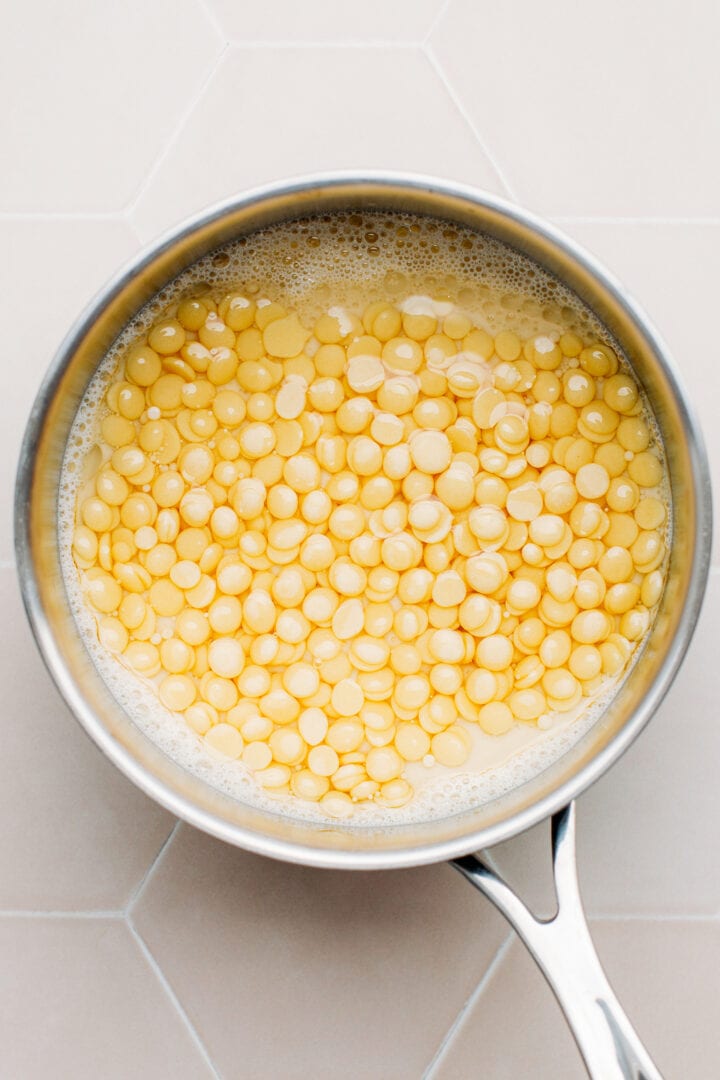
- Melt the cacao butter and chocolate. Add the plant-based milk, cacao butter, oil, and dark chocolate to a saucepan. Heat over low-medium heat, whisking constantly until the chocolate and cacao butter has melted.
- Mix the dry ingredients together. In a small bowl, whisk together the sugar, dextrose, salt, lecithin, and gums.
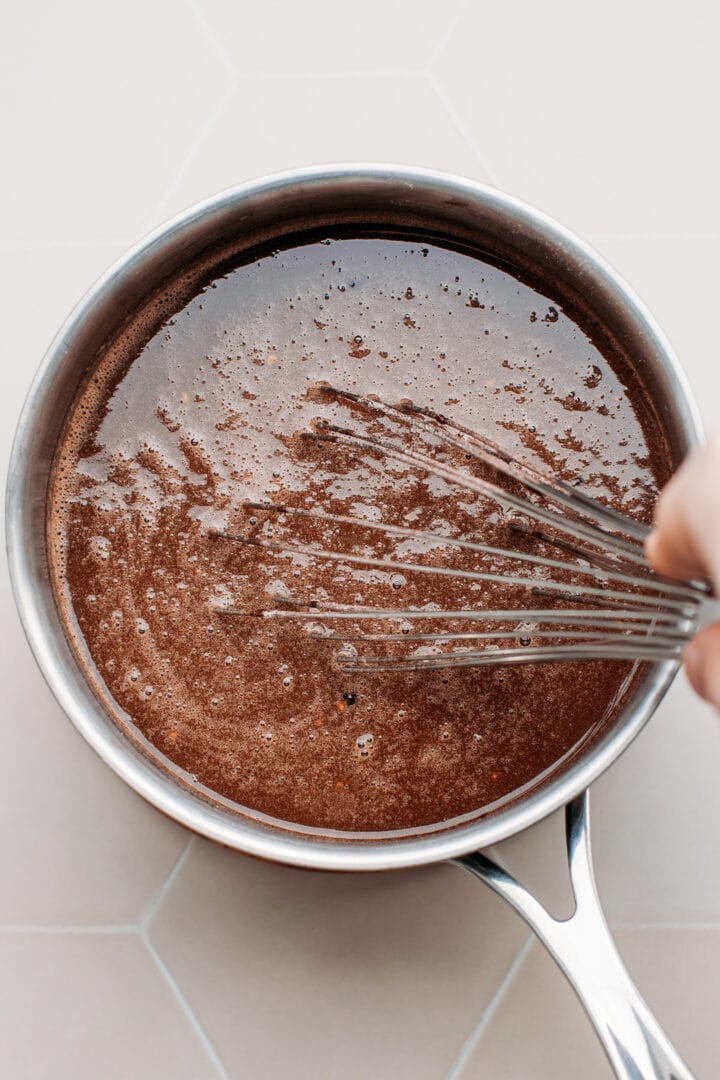
- Add the dry ingredients to the milk. Slowly add the dry ingredients to the warm milk as you whisk. Give it a good stir until fully combined.
- Heat. Next, to activate the locust bean gum, bring the ice cream base to a temperature of about 170°F (75°C), constantly whisking.
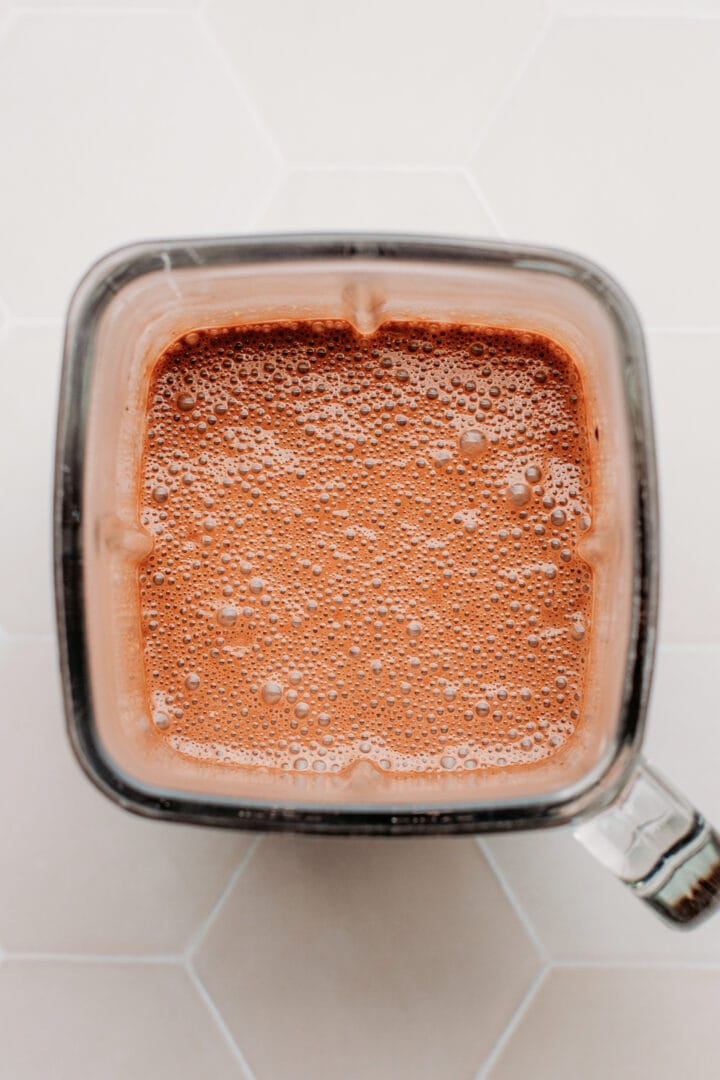
- Blend. Once the milk has reached this temperature, remove it from the heat and let it cool for a few minutes before blending for about 30 seconds in a high-speed blender. This step will help emulsify everything.
- Let cool. Finally, transfer to a bowl and let cool at room temperature for at least 1 hour before transferring to the refrigerator. Chill for at least 8 hours.
Churn the ice cream
Once the ice cream base is completely cold, it’s time to churn it. To do so, you will need an ice cream maker. I personally use this Kitchen Aid Ice Cream Maker Attachment, but you can use a regular machine like this Cuisinart Ice Cream Maker.
- Turn on your ice cream maker and slowly pour in the chilled ice cream base.
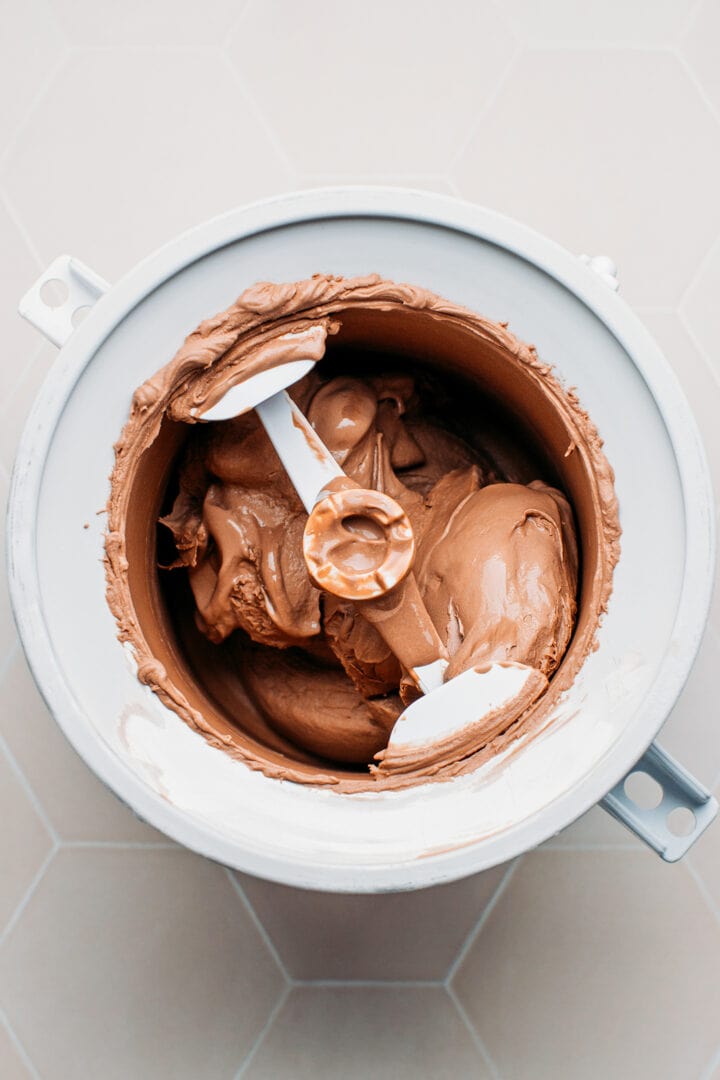
- Churn on low speed (I used the Kitchenaid attachment on speed 1) for 20-25 minutes or until it looks like fluffy soft-serve ice cream. Mine took just 20 minutes.
- Transfer to a freezer-safe container and freeze for at least 6 hours before enjoying!
🍪 How To Serve It
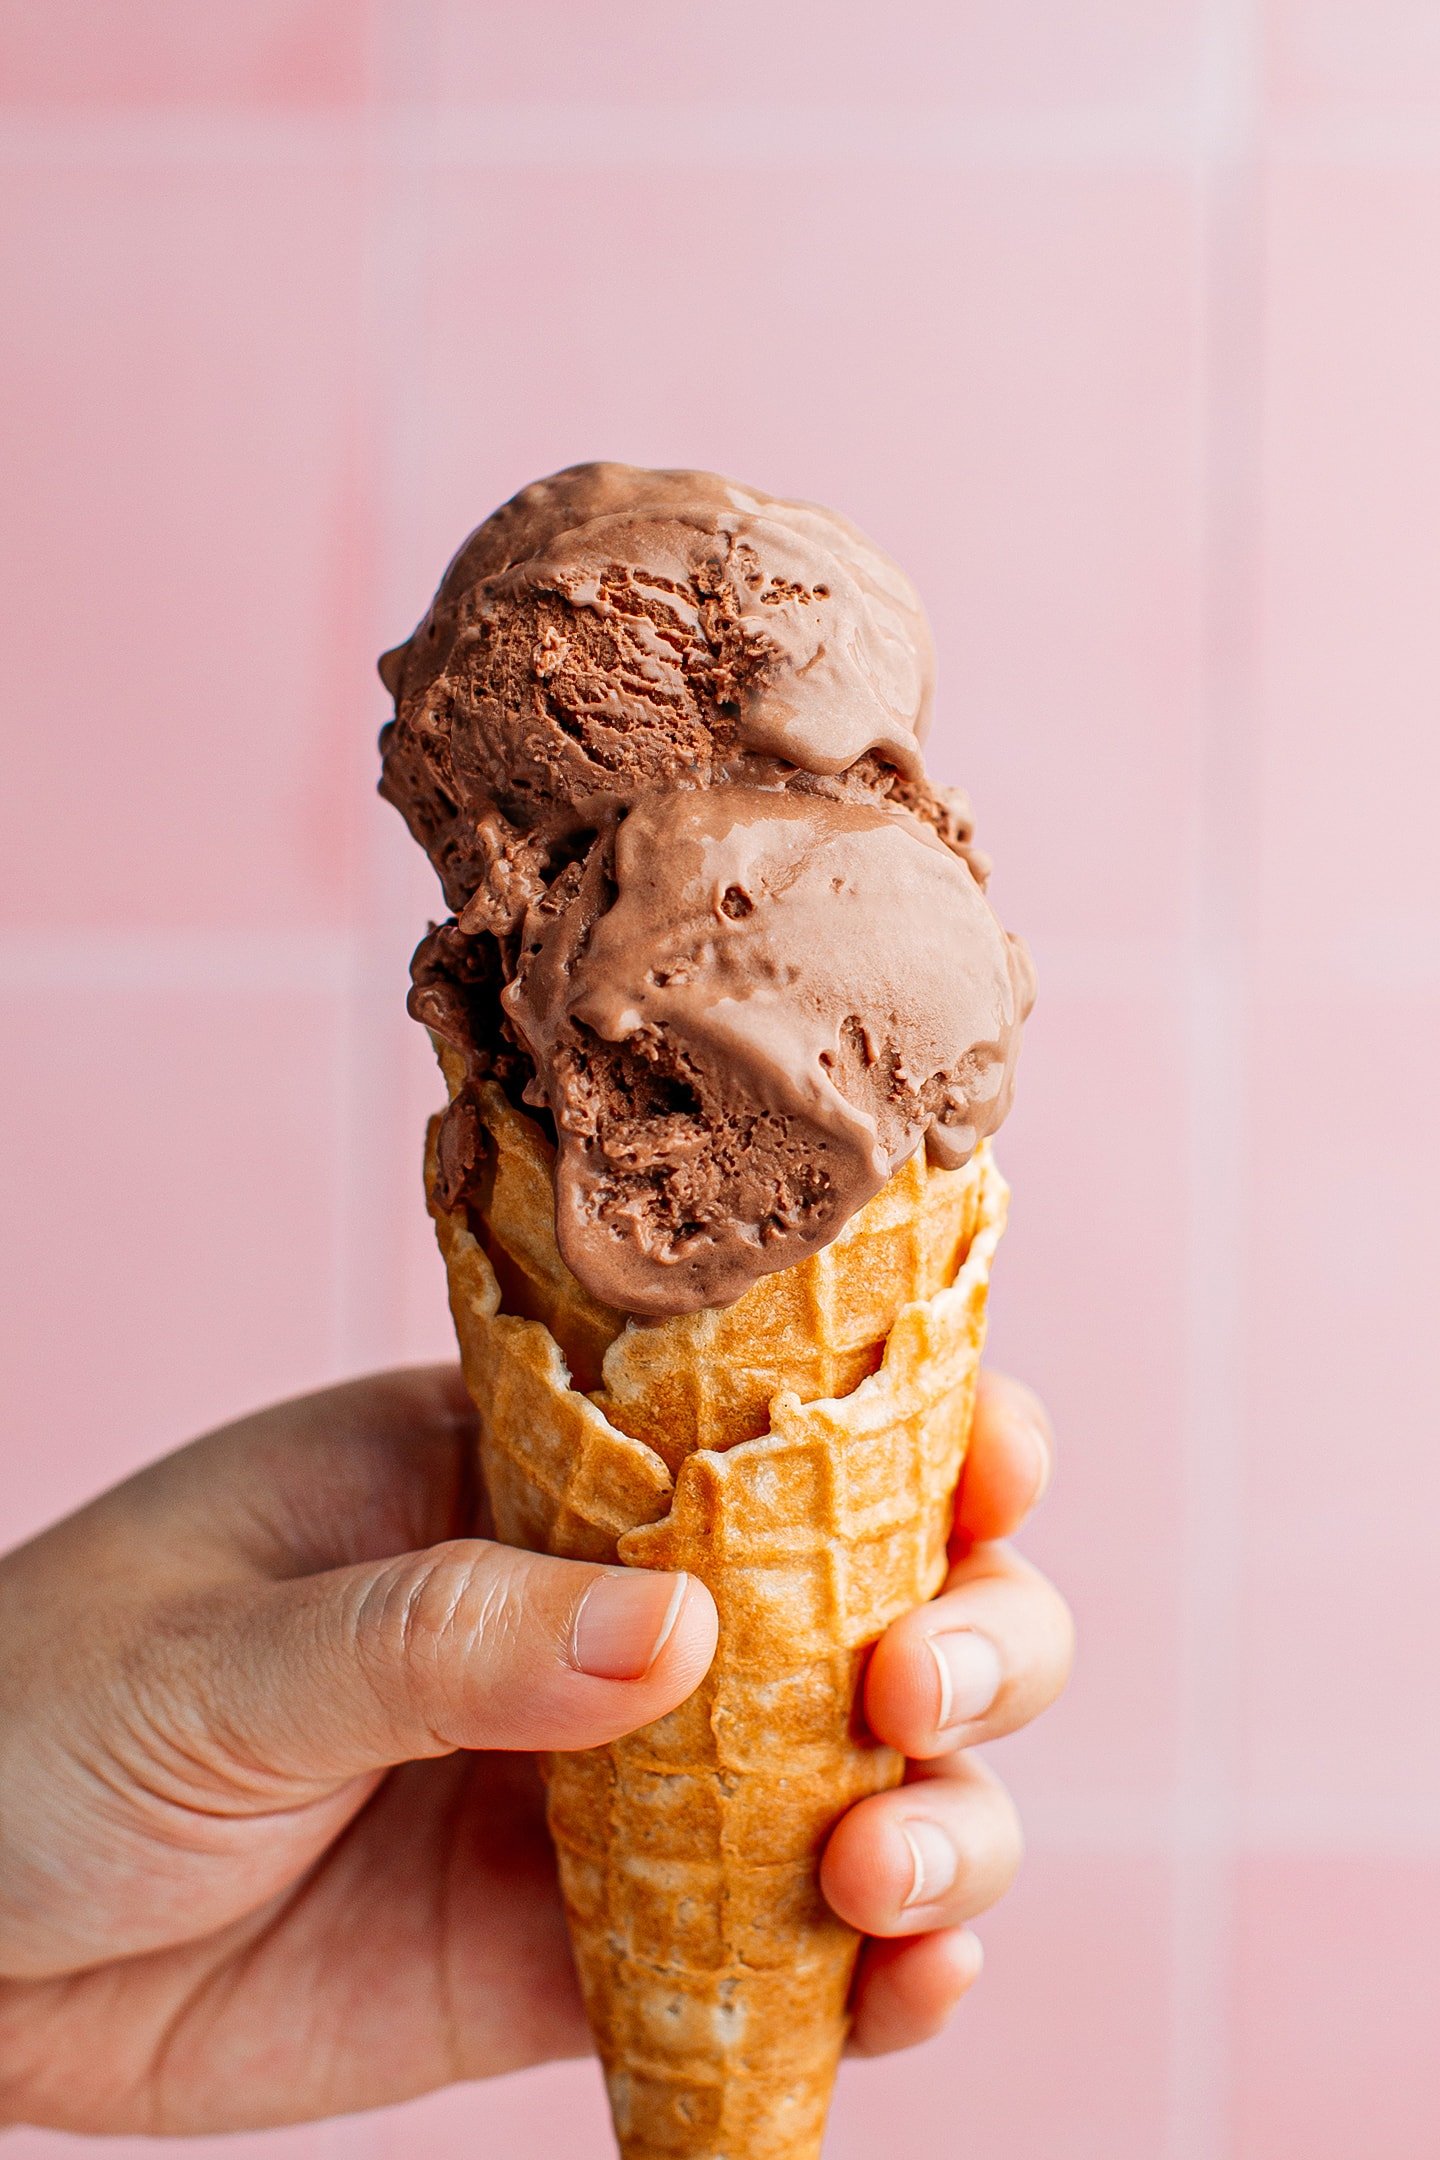
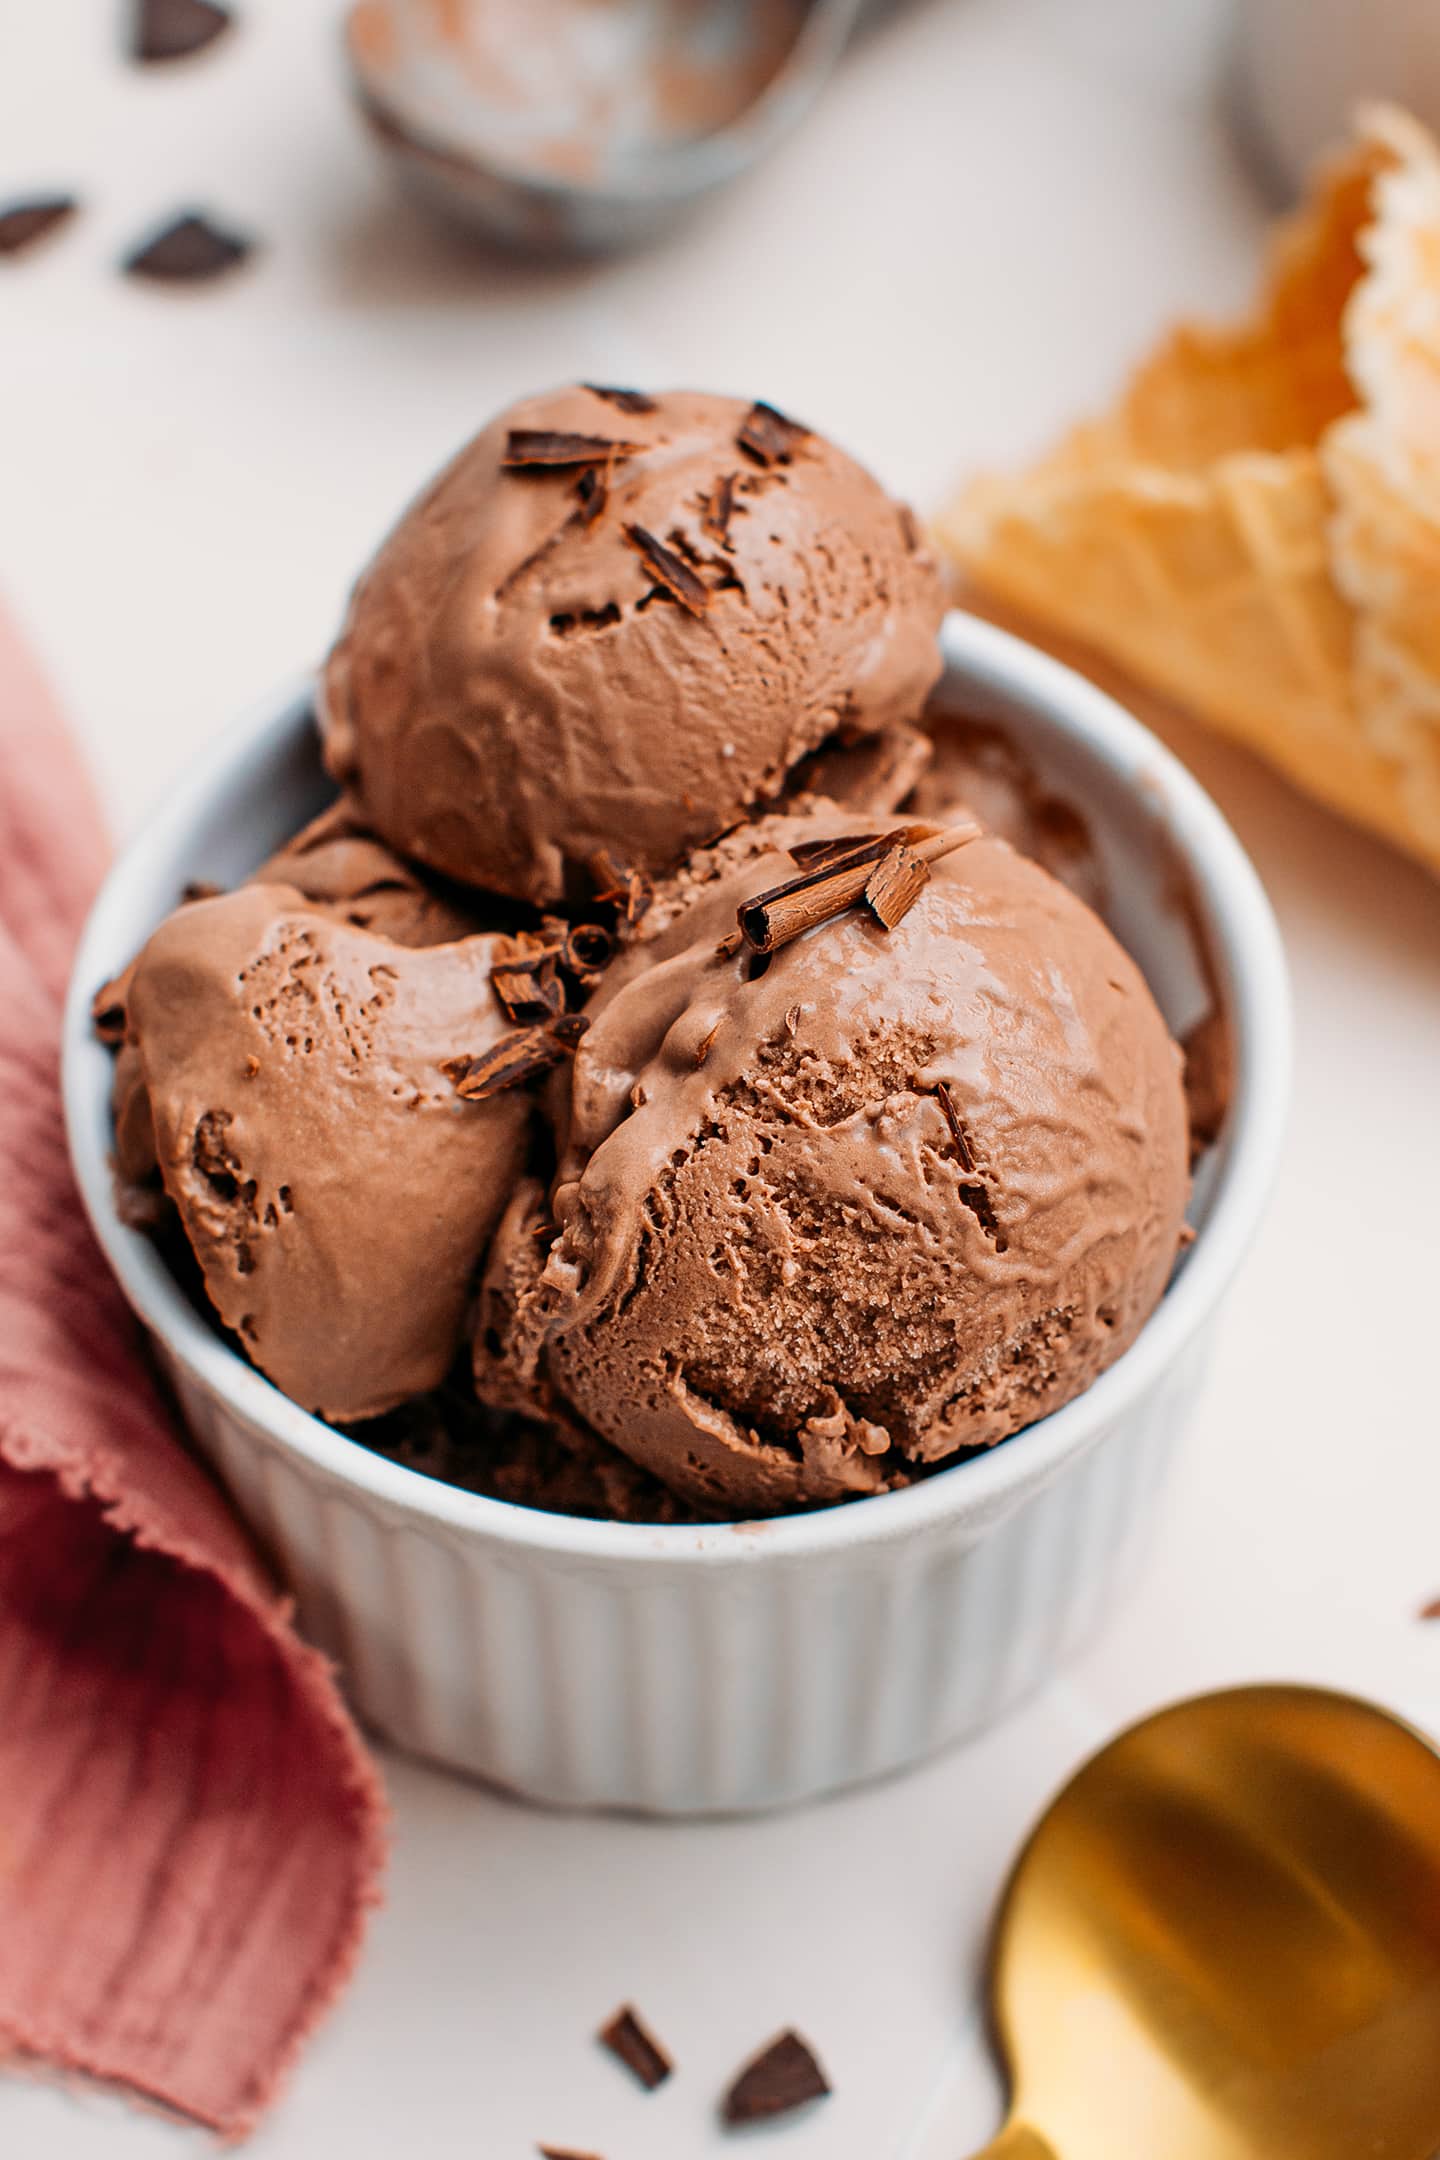
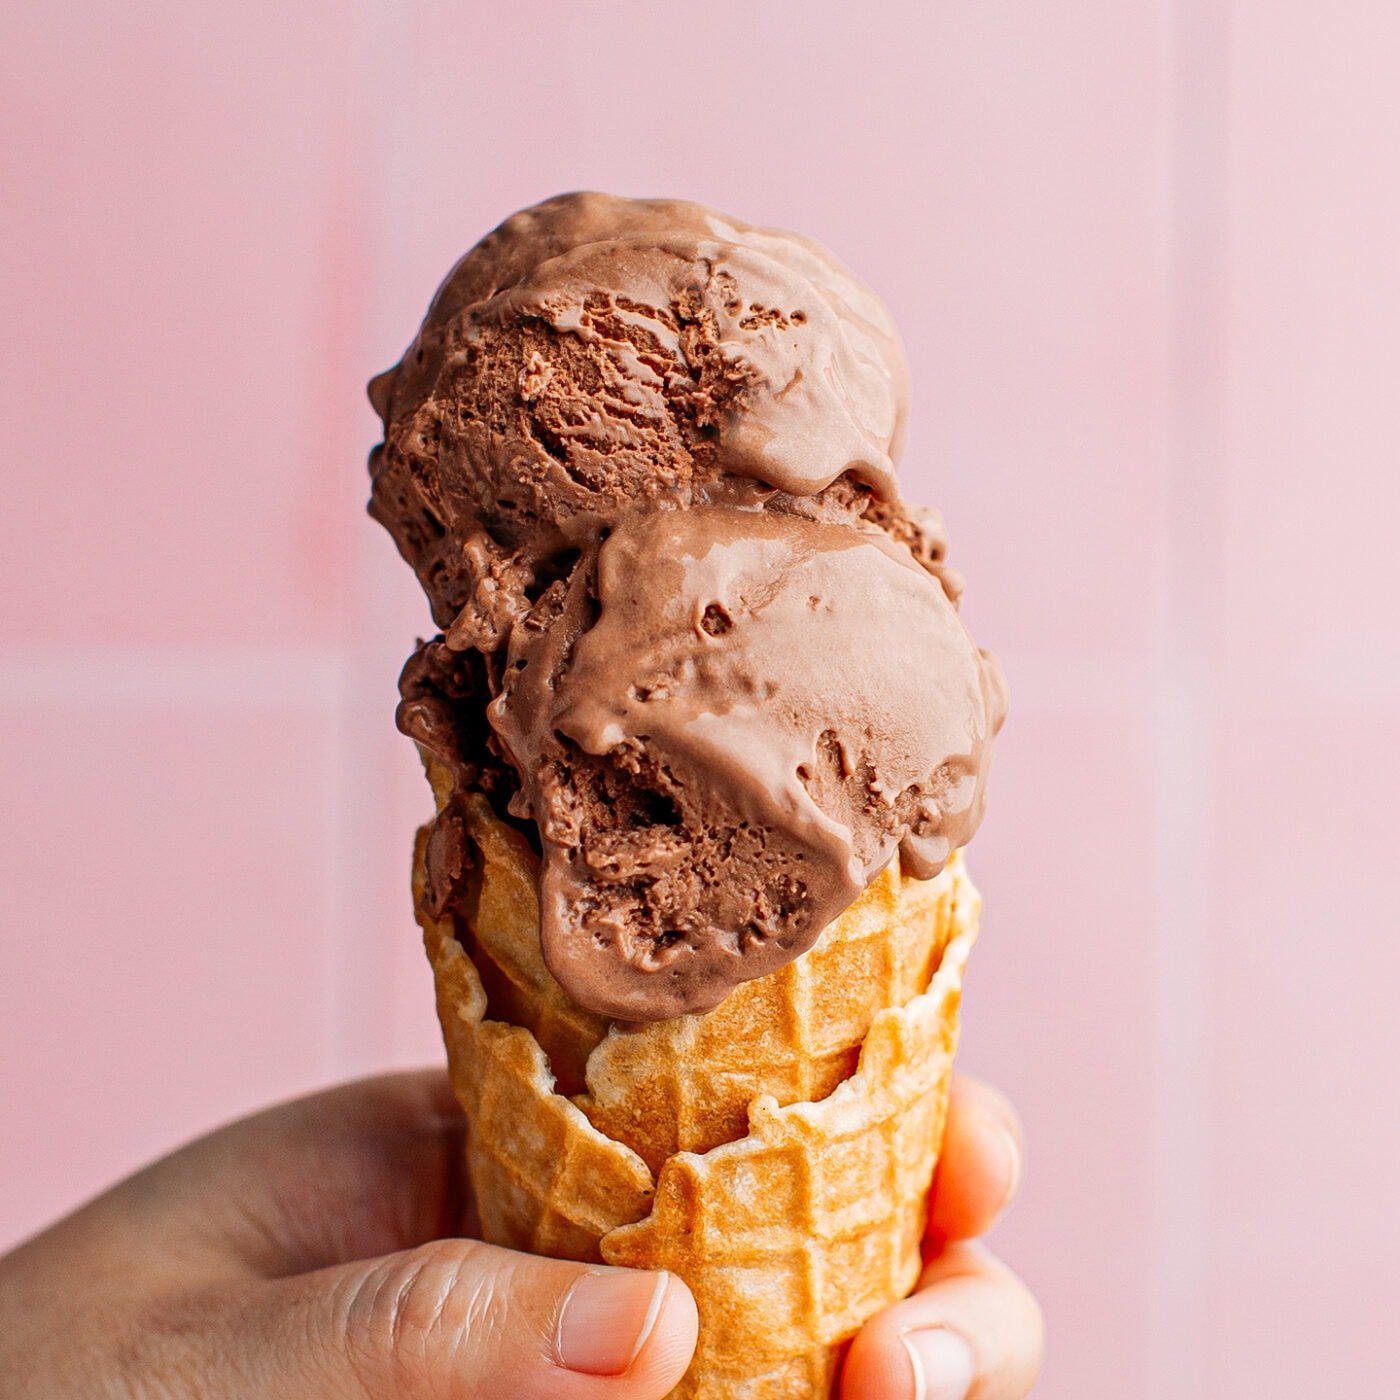
You can serve this ice cream in waffle cones or, more simply, in small ramekins. It’s also delicious served with:
- Cookies: Crumble chocolate chip cookie pieces on top for extra crunch! You can also use two cookies to make an ice cream sandwich.
- Brownies: Serve on top of a warm slice of brownies for a double chocolate treat!
- Caramel sauce or nut butter: Drizzle with caramel sauce, peanut butter, or hazelnut butter.
- Fresh fruits: Garnish with fresh strawberries or raspberries for freshness.
- Nuts: Sprinkle with crushed peanuts, cashews, or almonds for more texture.
- Mochi: Wrap a scoop of chocolate ice cream in chocolate mochi dough for a fresh and chewy treat!
📔 Tips
- Do not omit any ingredient. Nor do substitutions. This ice cream recipe is not versatile, and a single change can completely change its texture and flavor.
- Use high-quality chocolate. For the best flavor, use very high-quality dark chocolate. I do not recommend using chocolate chips as they are usually only 50% chocolate, which is a bit low in cacao content if you want a rich chocolate aroma.
- About measurements. Ingredients are voluntarily given in grams for more precise and consistent results.
- Be patient, do not rush the process. Your ice cream base must chill in the refrigerator for at least 8 hours before being churned.
- Adjust the amount of chocolate. If you want more chocolatey ice cream, you can add up to 2 tablespoons of cacao powder to the ice cream base without altering the texture.
- Use freezer-safe containers. While you can use a glass or ceramic container to store your ice cream, I highly recommend getting these Ice Cream Containers. The container itself is made of thick plastic, while the lid is of silicon. I own a couple of these, and they are very convenient and easy to clean.
💬 FAQ
No, this is not a no-churn ice cream recipe, so you will need an ice cream maker.
Unfortunately, no. Both are essential to this recipe. Dextrose makes the ice cream scoopable while the gums/lecithin emulsify and improve the texture.
It will keep for up to 3 months in the freezer.
I am confident to say this is the best vegan chocolate ice cream recipe you will find! The creaminess and richness give you a true ice cream experience that compares with dairy ice creams!
🍦 More Vegan Ice Cream Recipes
Let me know in the comments if you try this recipe!
The Best Vegan Chocolate Ice Cream

Ingredients
- 670 g unsweetened plant-based milk I used soy milk
- 75 g deodorized cacao butter
- 45 g sunflower oil or any neutral oil
- 70 g 70% dark chocolate
- 1 tsp vanilla extract
- 90 g dextrose
- 80 g granulated sugar
- 22 g cacao powder
- 2.5 g lecithin powder about 1 tsp
- 1 g locust bean gum about 1/2 tsp
- 0.5 g guar gum about 1/4 tsp
- 1/8 tsp salt
Instructions
Prepare The Ice Cream Base
- Melt the cacao butter and chocolate. Add the milk, cacao butter, oil, dark chocolate, and vanilla extract, if using, to a saucepan. Heat over low-medium, whisking constantly, until the cacao butter and chocolate have melted.
- Whisk together the dry ingredients. In a small bowl, whisk together the dextrose, sugar, cacao powder, lecithin, gums, and salt.
- Combine everything. Add the dry ingredient to the saucepan and heat the mixture to 170°F (75°C), constantly whisking. You need to bring the ice cream base to this temperature to activate the locust bean gum. Remove from the heat and let it cool for about 10 minutes.
- Blend. Transfer to a high-speed blender and blend for 5-10 seconds. This will help emulsify everything.
- Chill. Finally, transfer the ice cream base to a large bowl and chill in the refrigerator overnight or for at least 8 hours.
Churn The Ice Cream
- Turn on your ice cream maker and slowly pour in the chilled ice cream mixture. Churn on low speed (I used the Kitchenaid attachment on speed 1) for 20-25 minutes or until it looks like fluffy soft-serve ice cream.
- Transfer to a freezer-safe container and freeze for at least 6 hours before enjoying! The ice cream will keep for up to 3 months in the refrigerator.
Notes
- Do not omit any ingredient. Nor do substitutions. This ice cream recipe is not versatile, and a single change can completely change its texture and flavor.
- Use high-quality chocolate. For the best flavor, use very high-quality dark chocolate. I do not recommend using chocolate chips as they are usually only 50% chocolate, which is a bit low in cacao content if you want a rich chocolate aroma.
- About measurements. Ingredients are voluntarily given in grams for more precise and consistent results.
- Be patient, do not rush the process. Your ice cream base must chill in the refrigerator for at least 8 hours before being churned.
- Adjust the amount of chocolate. If you want more chocolatey ice cream, you can add up to 2 tablespoons of cacao powder to the ice cream base without altering the texture.
- Use freezer-safe containers. While you can use a glass or ceramic container to store your ice cream, I highly recommend getting these Ice Cream Containers. The container itself is made of thick plastic, while the lid is of silicon. I own a couple of these, and they are very convenient and easy to clean.
Nutrition

About the Author
Thomas Pagot is the founder, photographer, and recipe developer behind Full of Plants. He created the blog in 2016 as a personal cookbook for vegan recipes. Through years of recipe development, Thomas has successfully grown Full of Plants into a trusted resource for plant-based recipes.
🧀 25 Mind-Blowing Vegan Cheese Recipes!
Sign up for the Full of Plants newsletter and you’ll get new recipes delivered by email weekly, PLUS your FREE 100-page printable eBook!
Yay! I was already excited about your nut-free vanilla ice cream recipe (I’ve already gotten the more exotic ingredients and just need to get cocoa butter before I can finally try it out), and now I’m even more excited to have another flavor to try out! 🙂 I definitely won’t mind if you create additional flavors. 😉 Thank you Thomas!!
You are welcome Eva ^^
Hope you will like both recipes 🙂 I really believe both recipes top the commercial brands, but let me know your thoughts when you try it!
I love Chocolate Ice Cream very much. It’s time to taste a vegan one!
Hope you will like it!
I can confirm. This recipe is AMAZING! I had trouble with my ice cream machine, as the paddle stopped turning, and I decided to freeze the ice cream just like that, without churning properly.
It still came out creamy, luscious and delicious. Thank you for the recipe!
So glad you liked this ice cream Ellen 😉 Thanks for your feedback and rating!