This post may contain affiliate links. Please read our disclosure policy.
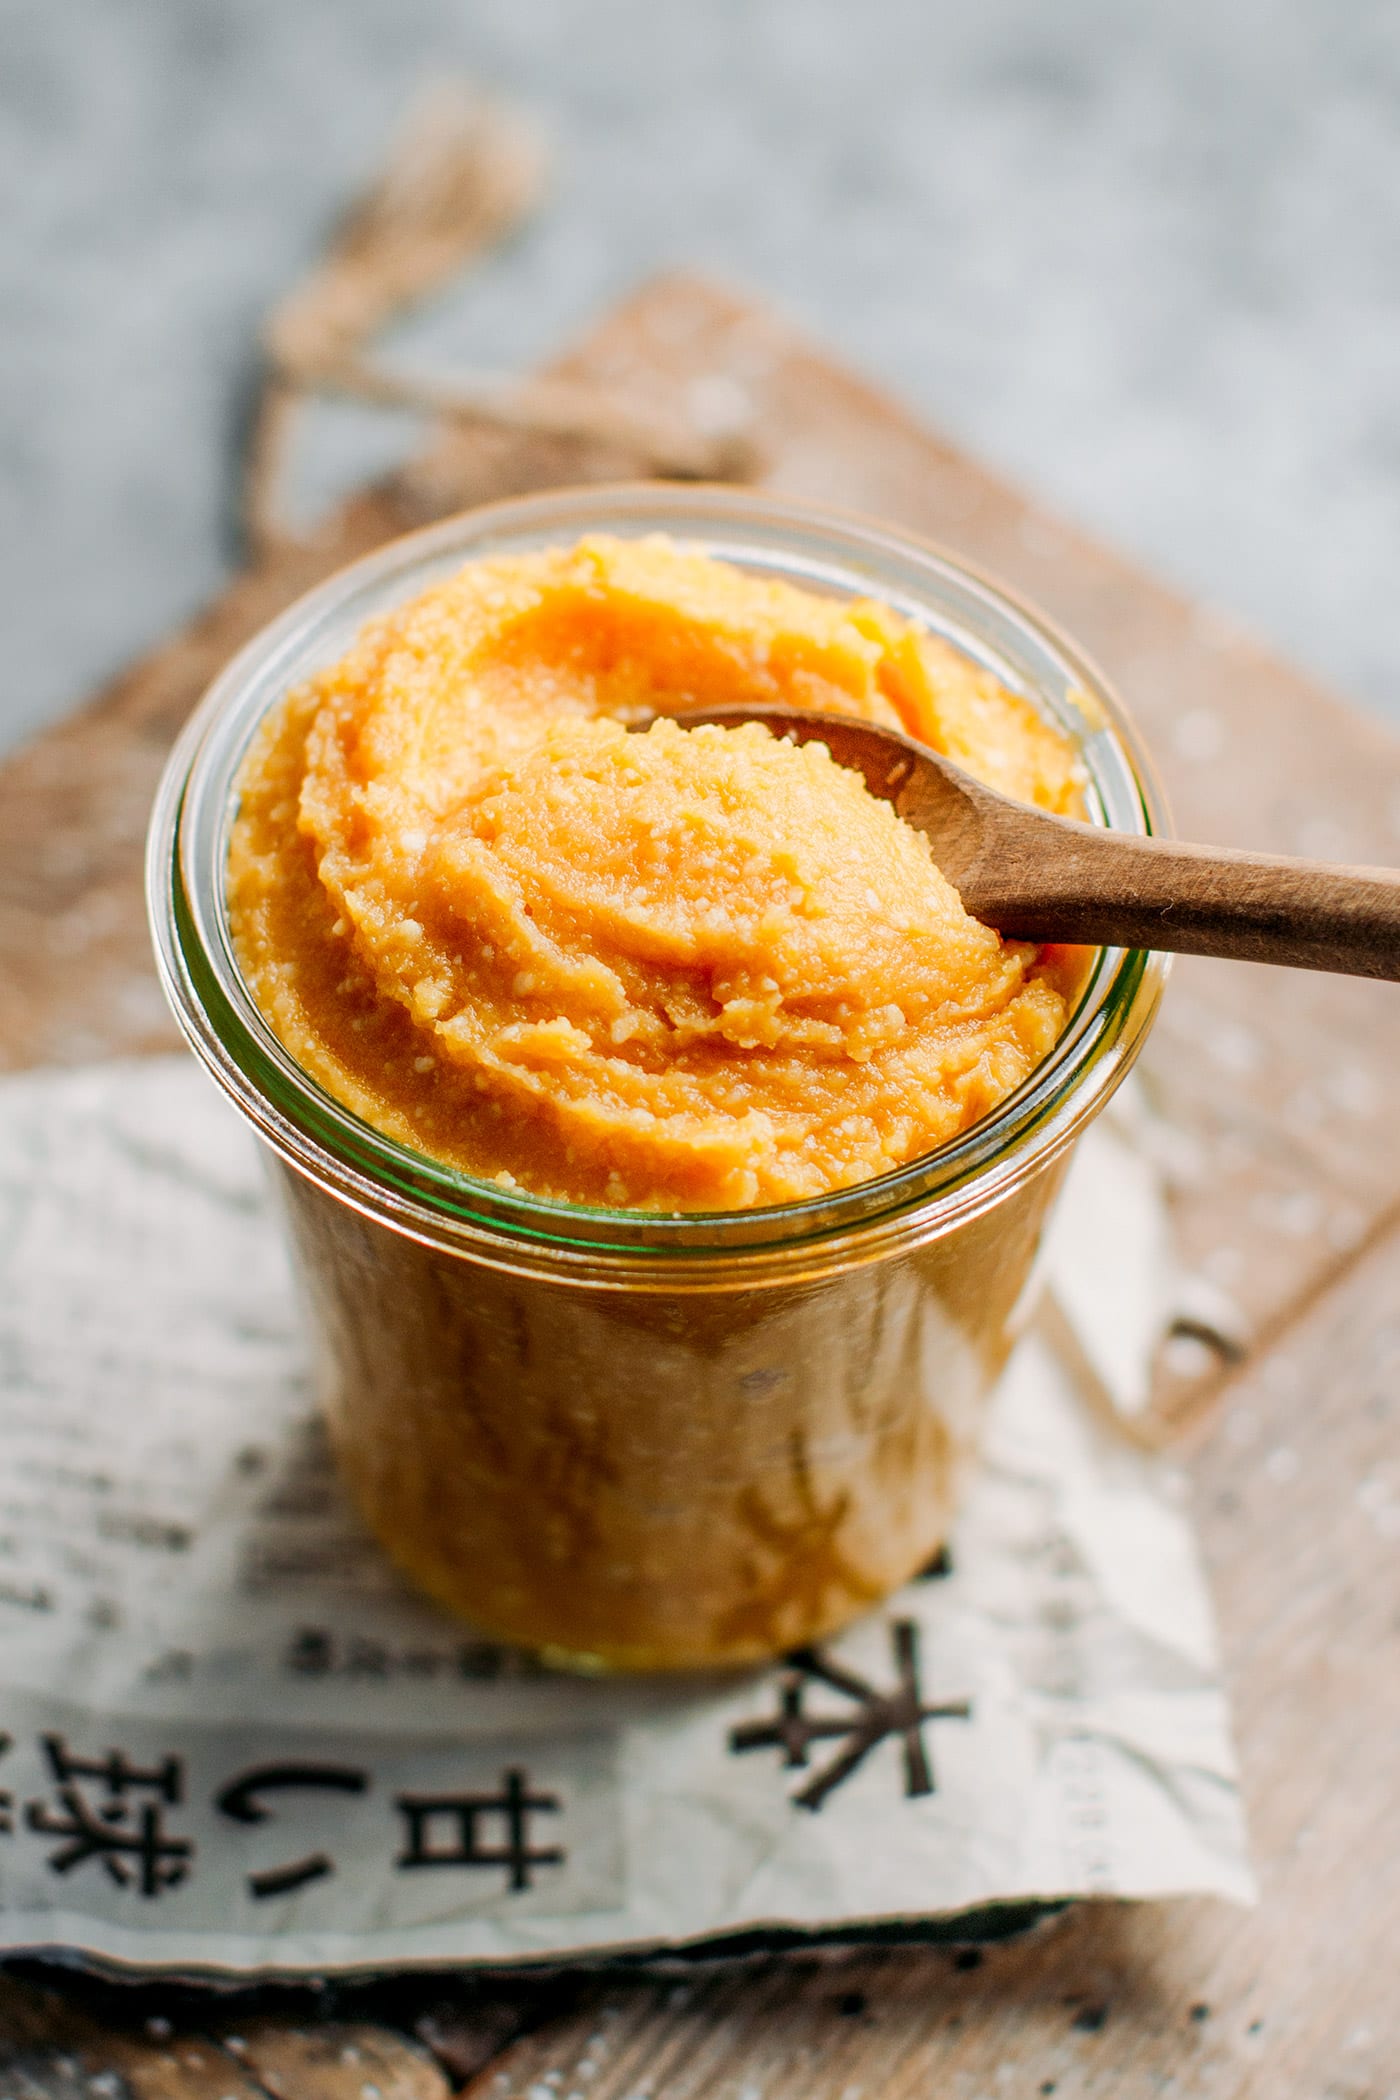
Learn how to make your own chickpea miso from scratch! It requires just 3 ingredients and a simple process to make this slightly sweet and salty Japanese condiment! Aged for 6 months, this miso has a rich and buttery flavor!
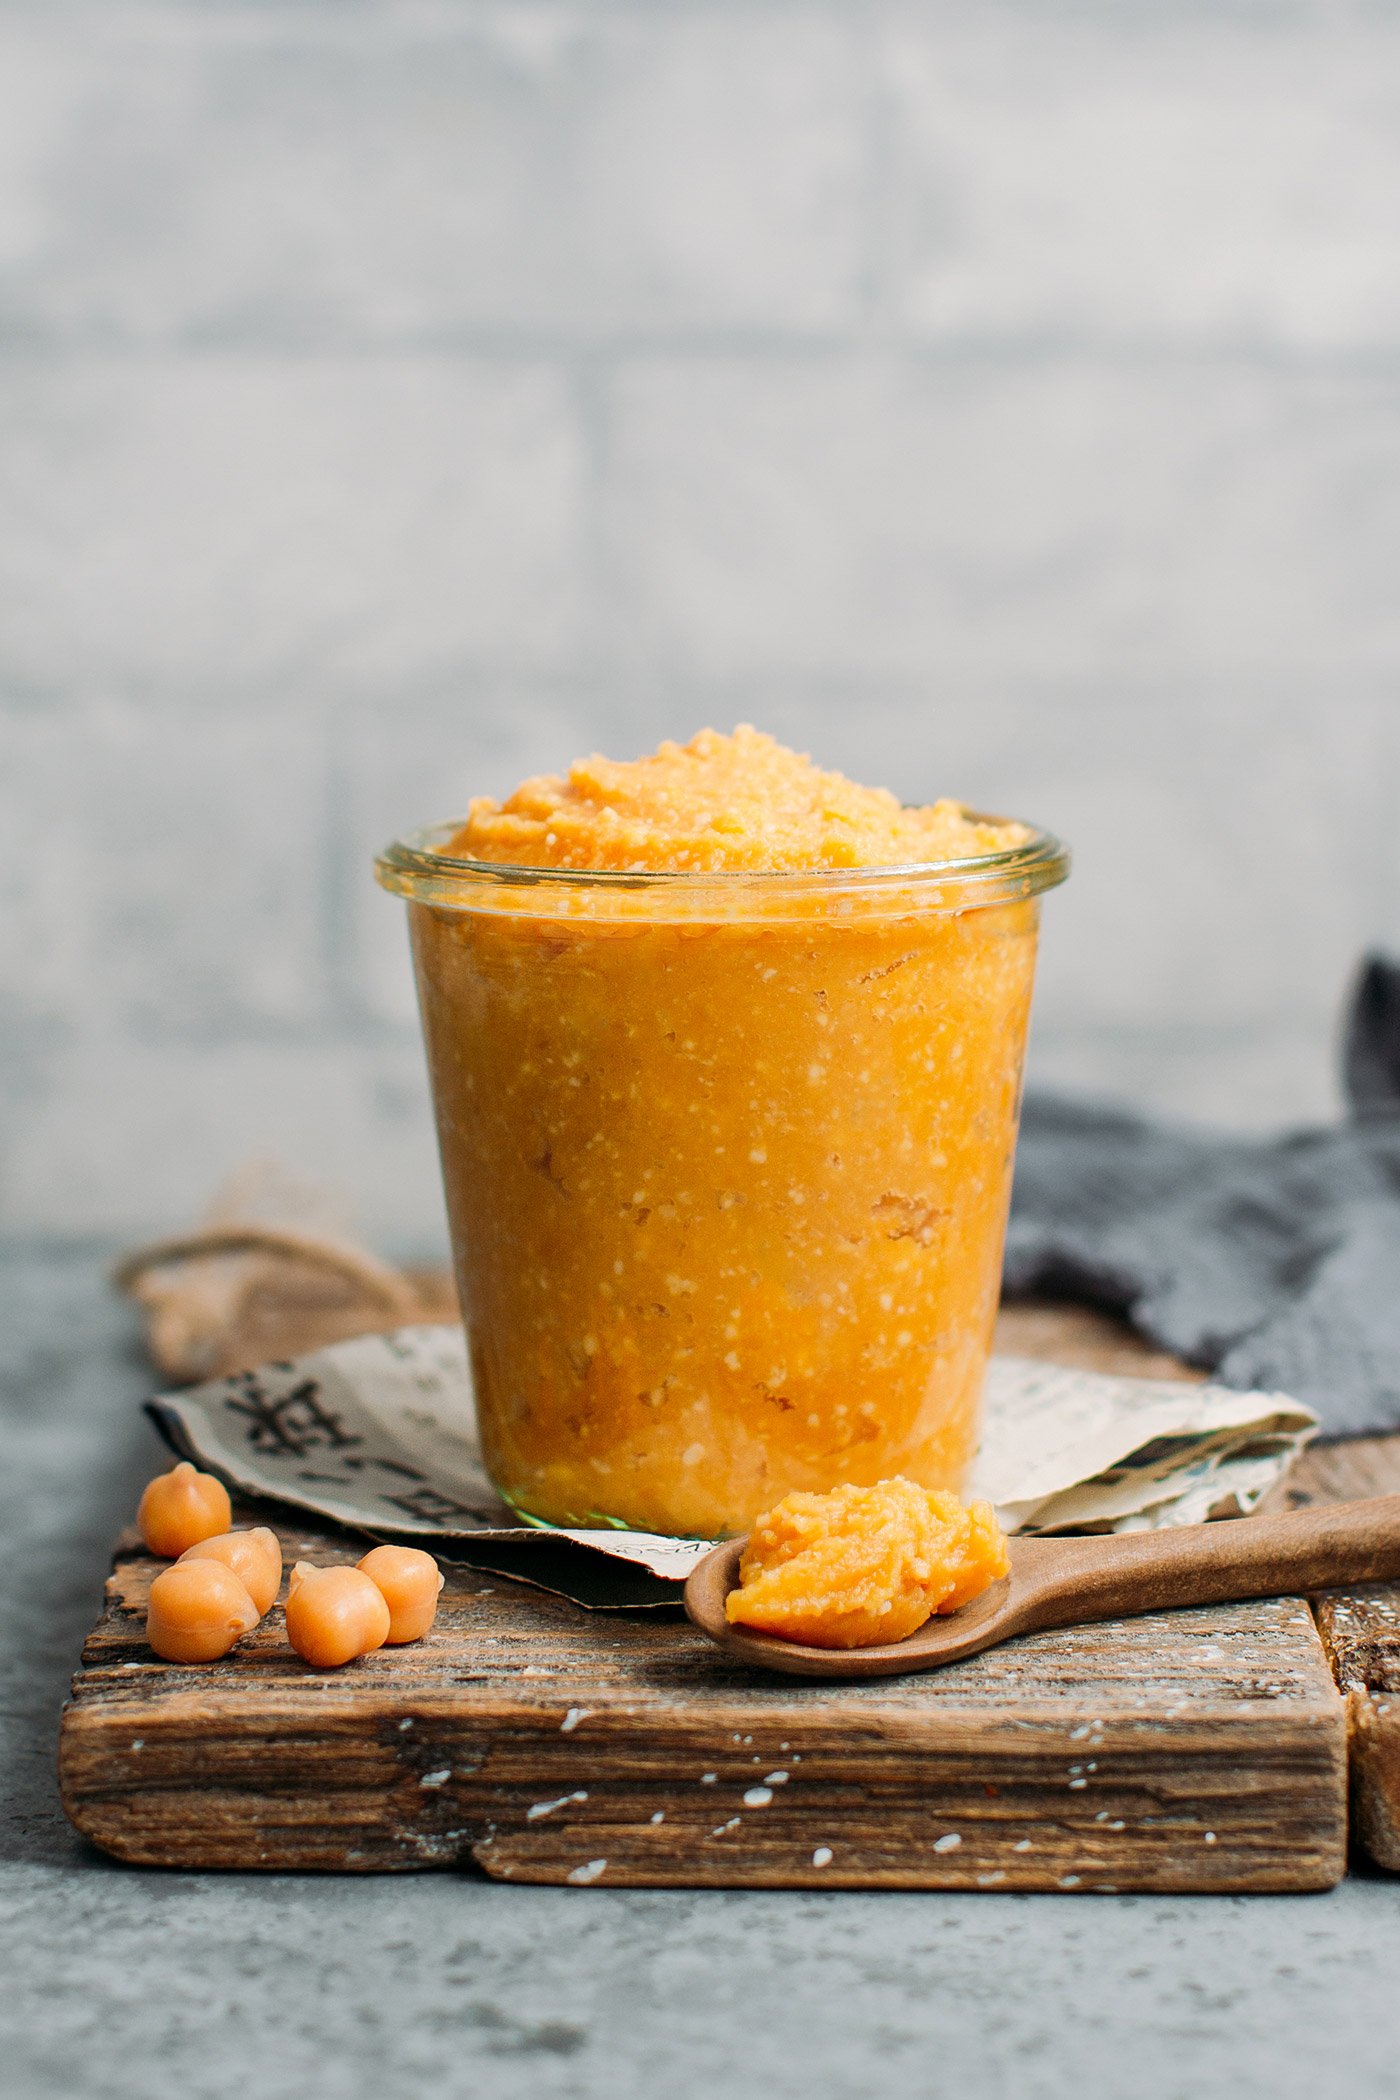
Making miso is something I have been wanting to try for a long time, but I was always pushed back by the long aging time (6 months!). Well, I finally decided to take the plunge, and I’m sharing the process with you!
It’s not only easy but also requires very little preparation time. The rest is patience! Let’s do it!
📔 What is Miso?
Miso (味噌) is a traditional Japanese condiment made from beans, rice, salt, and a mold that is fermented from a few months to a few years. It is used to add umami and flavor to soups like miso-shiru, but it can also be used in marinades, dressings, stews, ramen, and more.
The miso we are making here is prepared using chickpeas and aged for 6 months. It has a delicate and complex flavor with a good balance of sweetness and saltiness. It is not as intense as red miso and is much less salty. If you are a miso connoisseur, this one is very close to shiro miso (my favorite!).
🥣 How to Make Chickpea Miso
Preparing miso is not only easy, but it’s also quick. The hardest part is waiting!
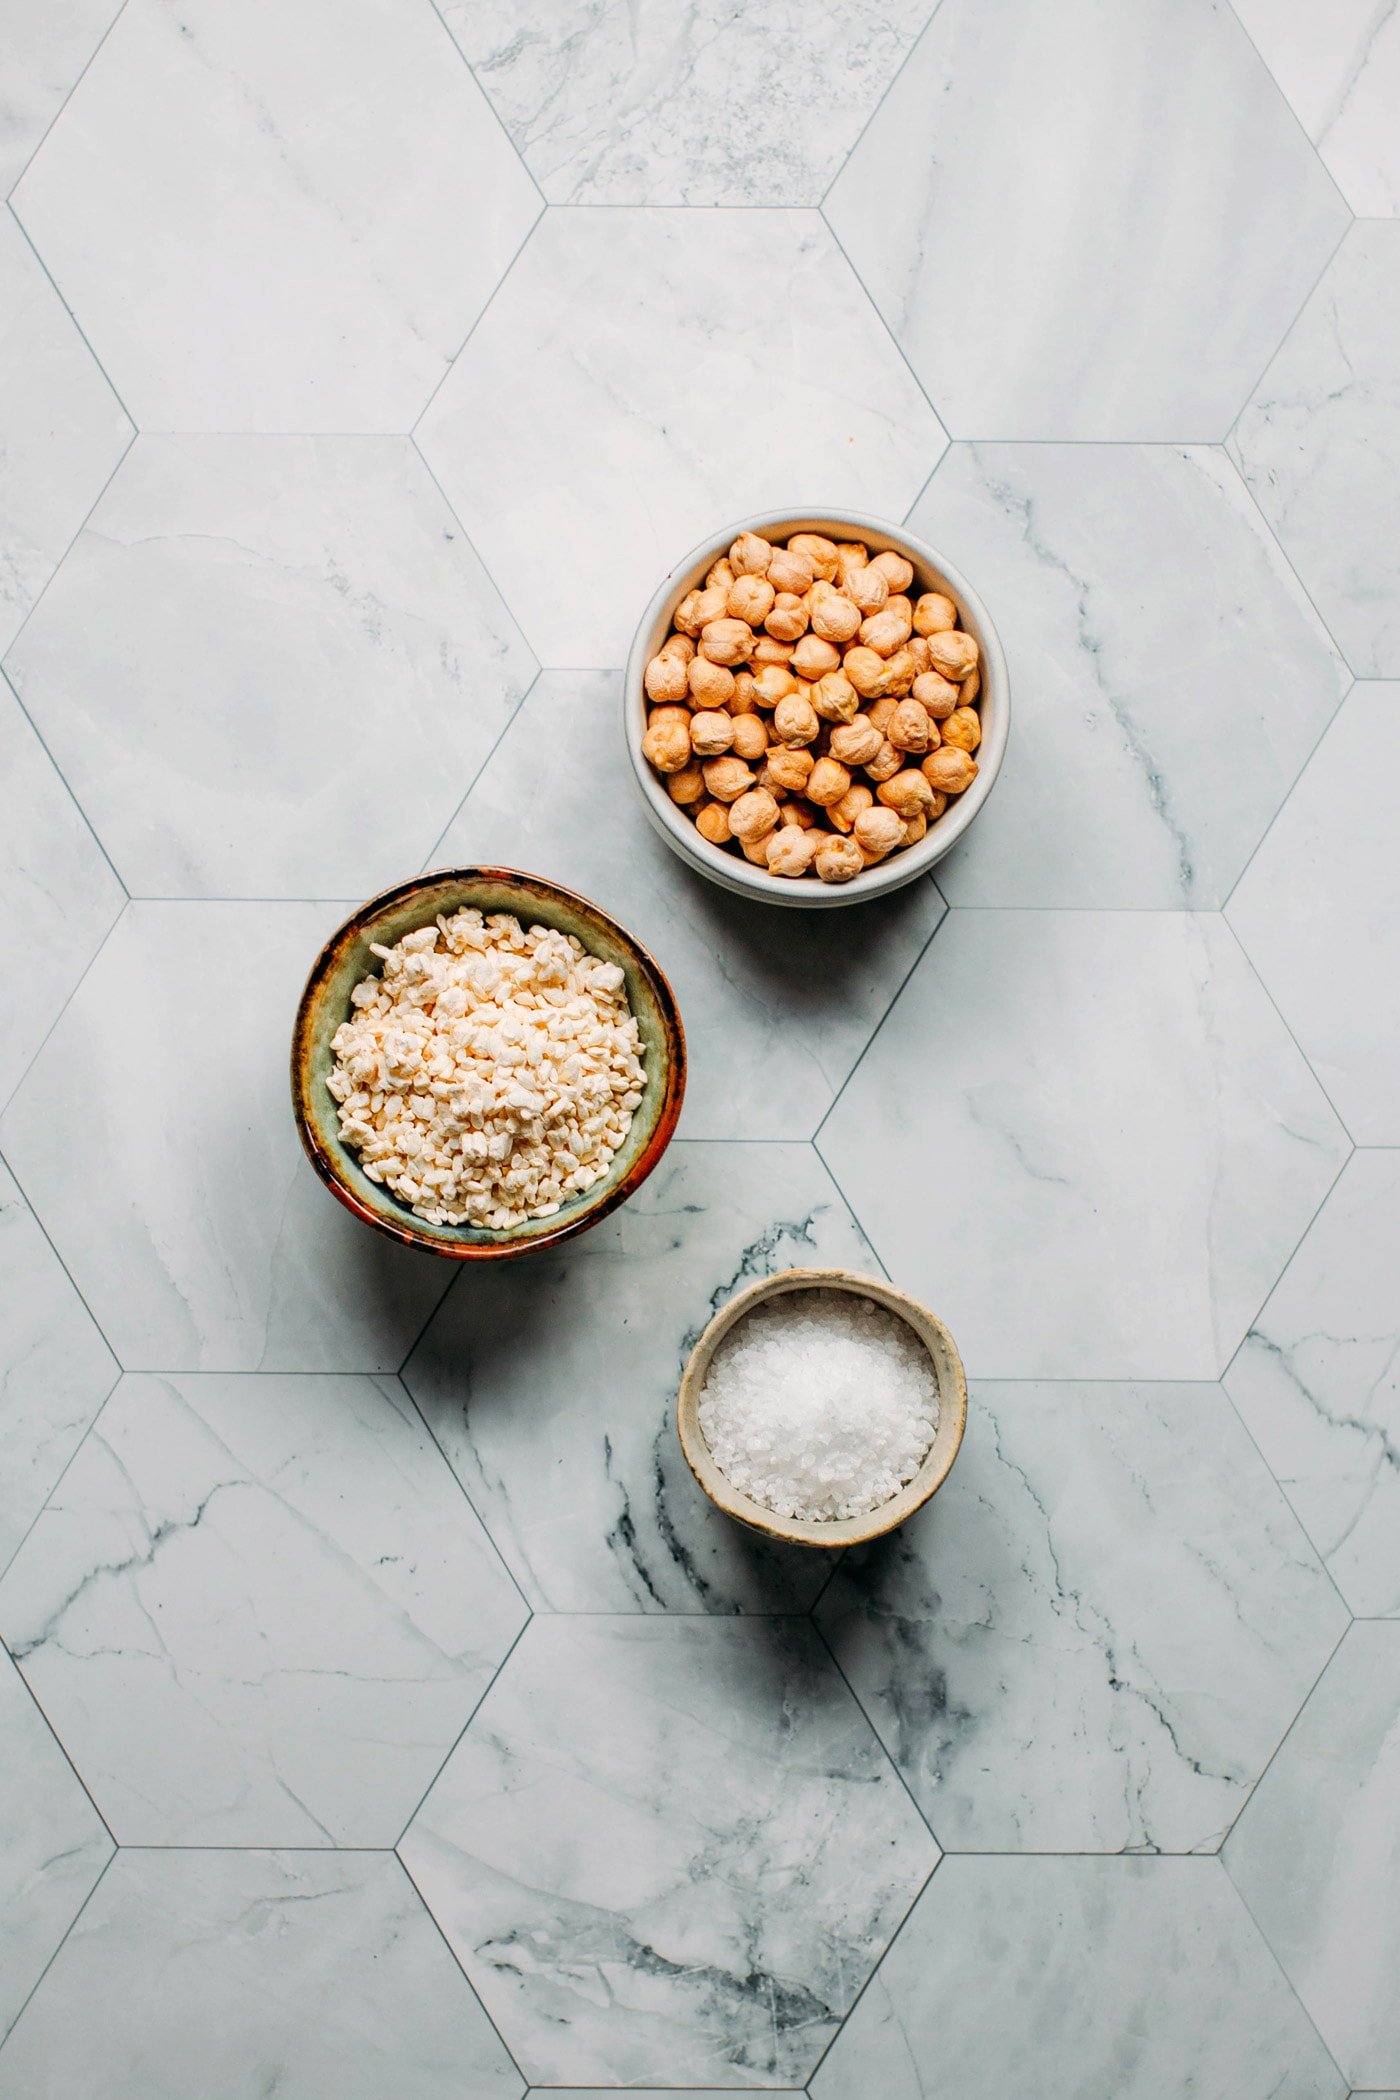
You only need 3 ingredients to get started:
- Koji – Koji is cooked rice that has been inoculated with a culture called Aspergillus oryzae. It is then dried and can be kept at room temperature. It is a key ingredient for making miso, mirin, sake, and other fermented products! You can get koji here.
- Chickpeas – Start with dried chickpeas. I went with chickpeas to keep the miso soy-free.
- Salt – To prevent bad mold from growing, and obviously for flavor.
First, you want to cook soaked chickpeas until perfectly tender. I used my Instant Pot, but you can cook the chickpeas in a pressure cooker or in a large pot.
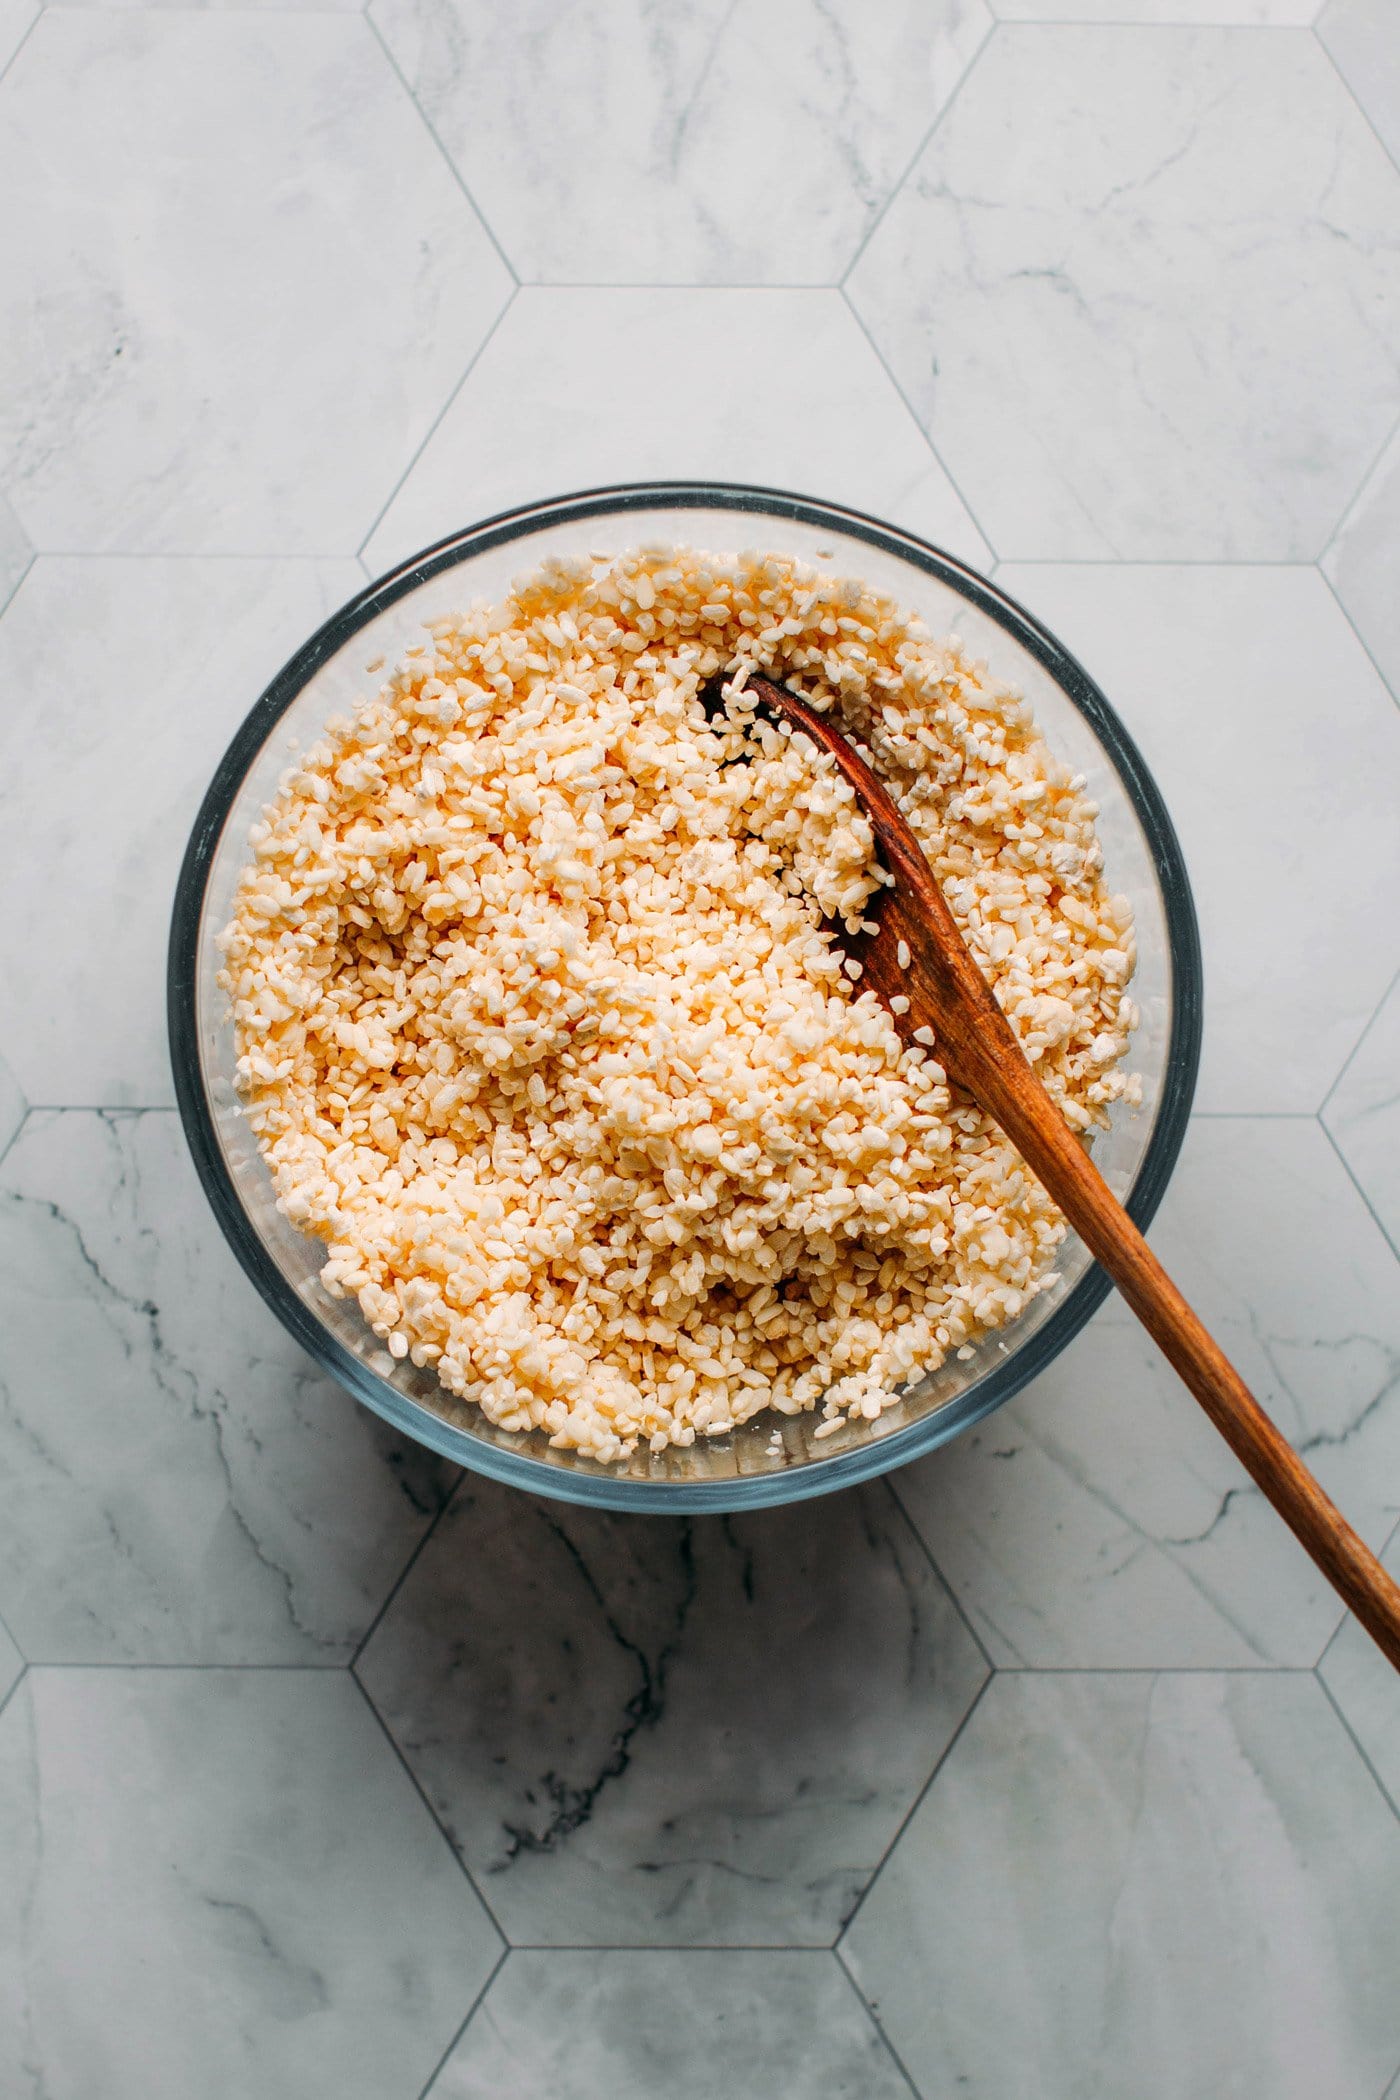
Next, soak your koji rice in warm water (at a temperature of about 122°F/50°C) to soften it. Make sure the water is not hotter than this temperature, or it could kill the cultures of the rice.
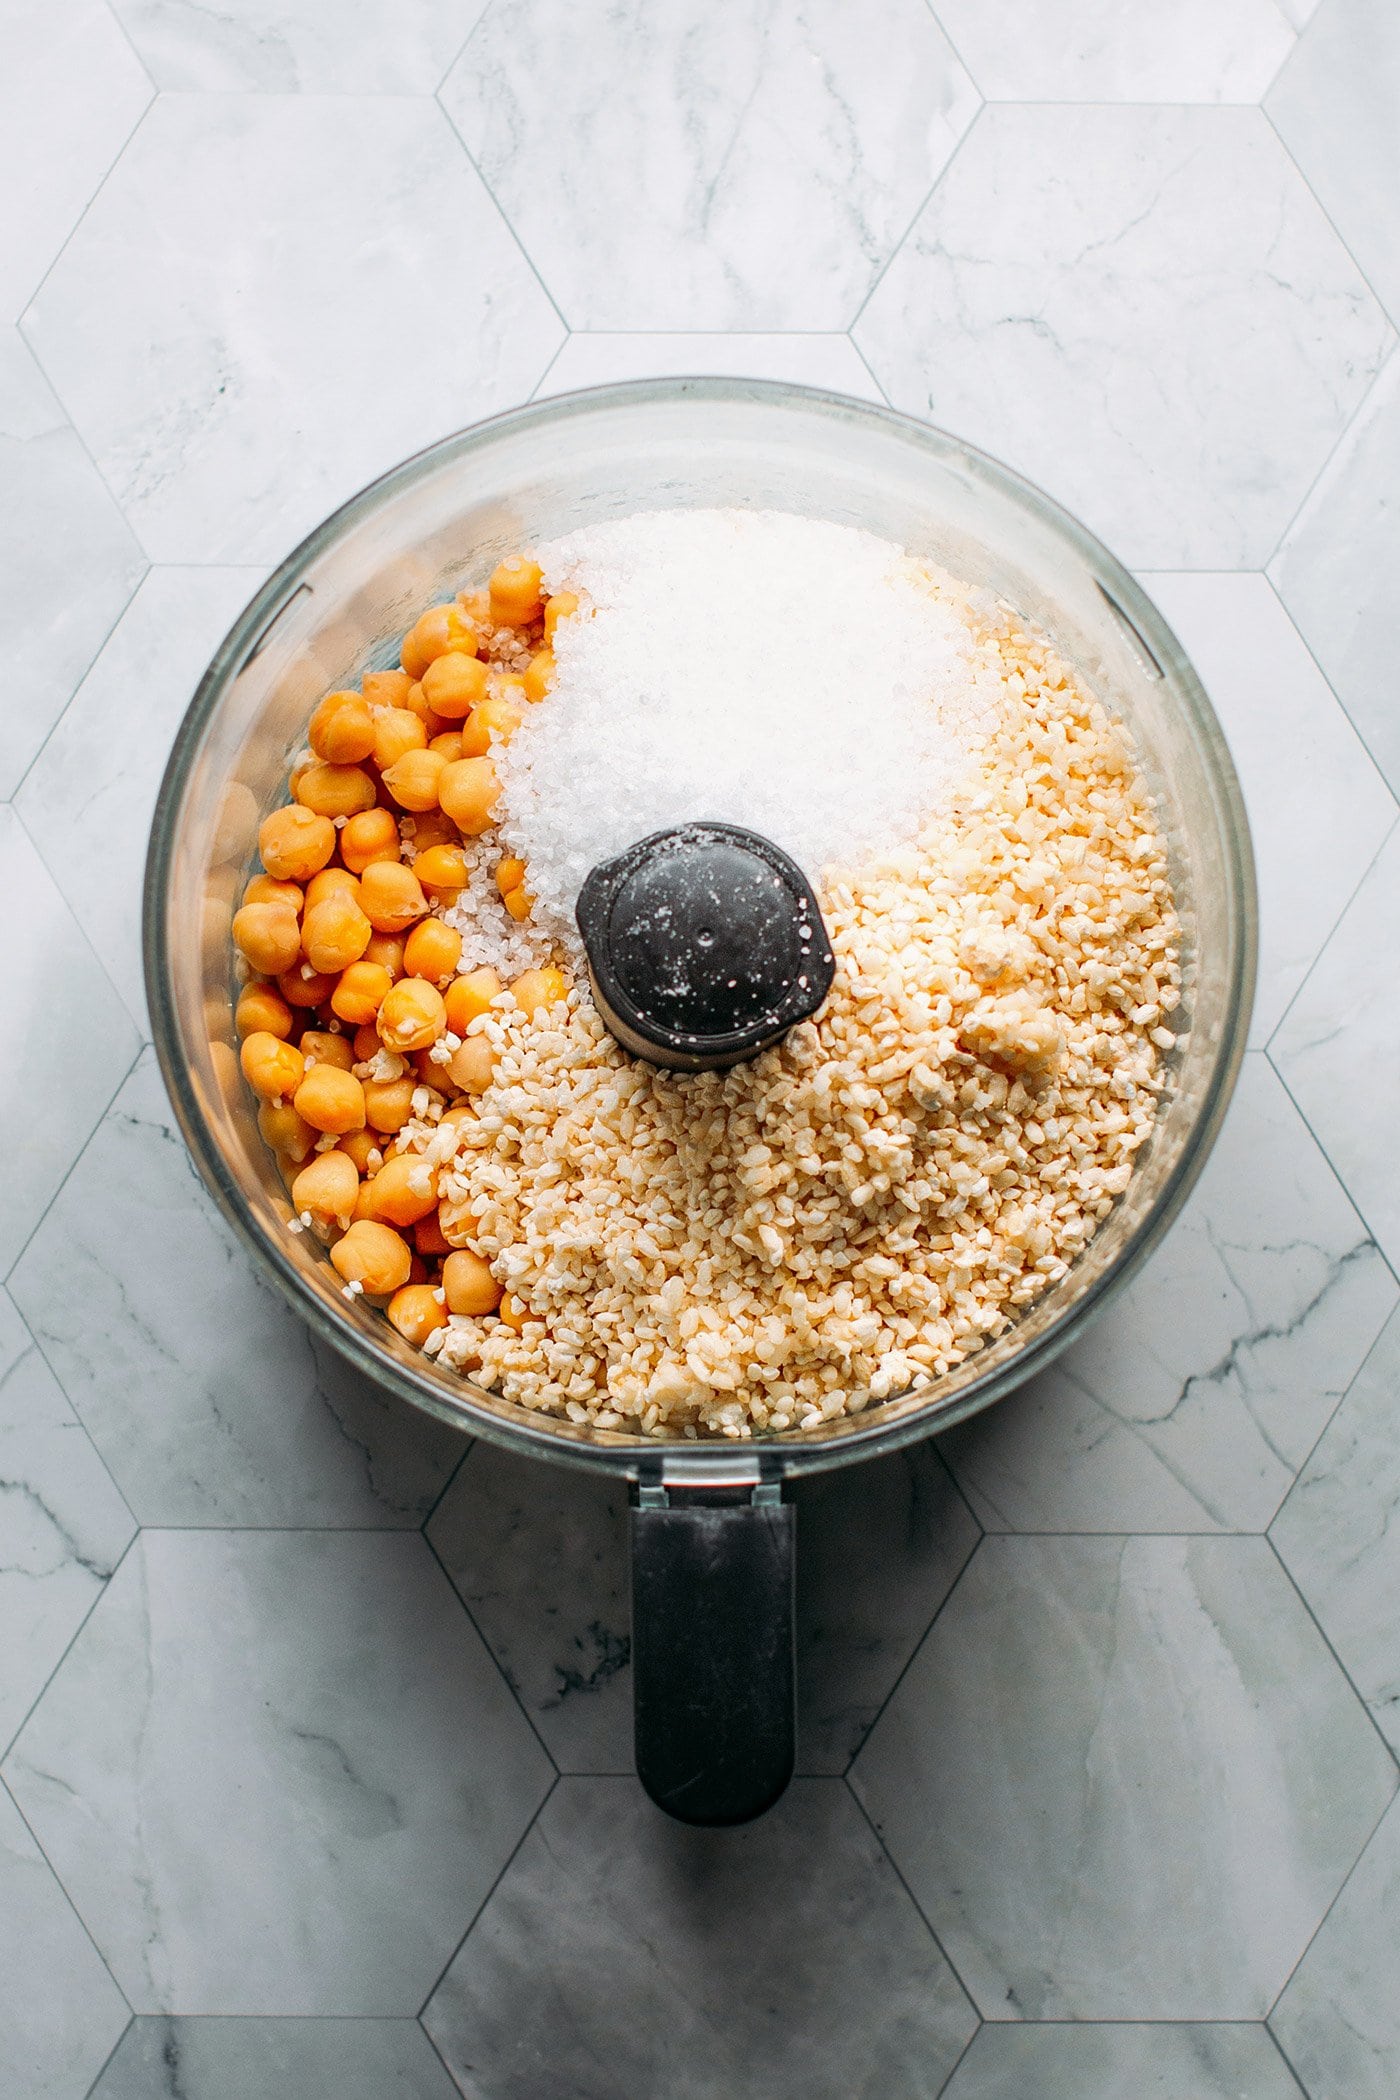
Then, all you have to do is process the chickpeas, soaked koji rice, and salt until you get a smooth paste.
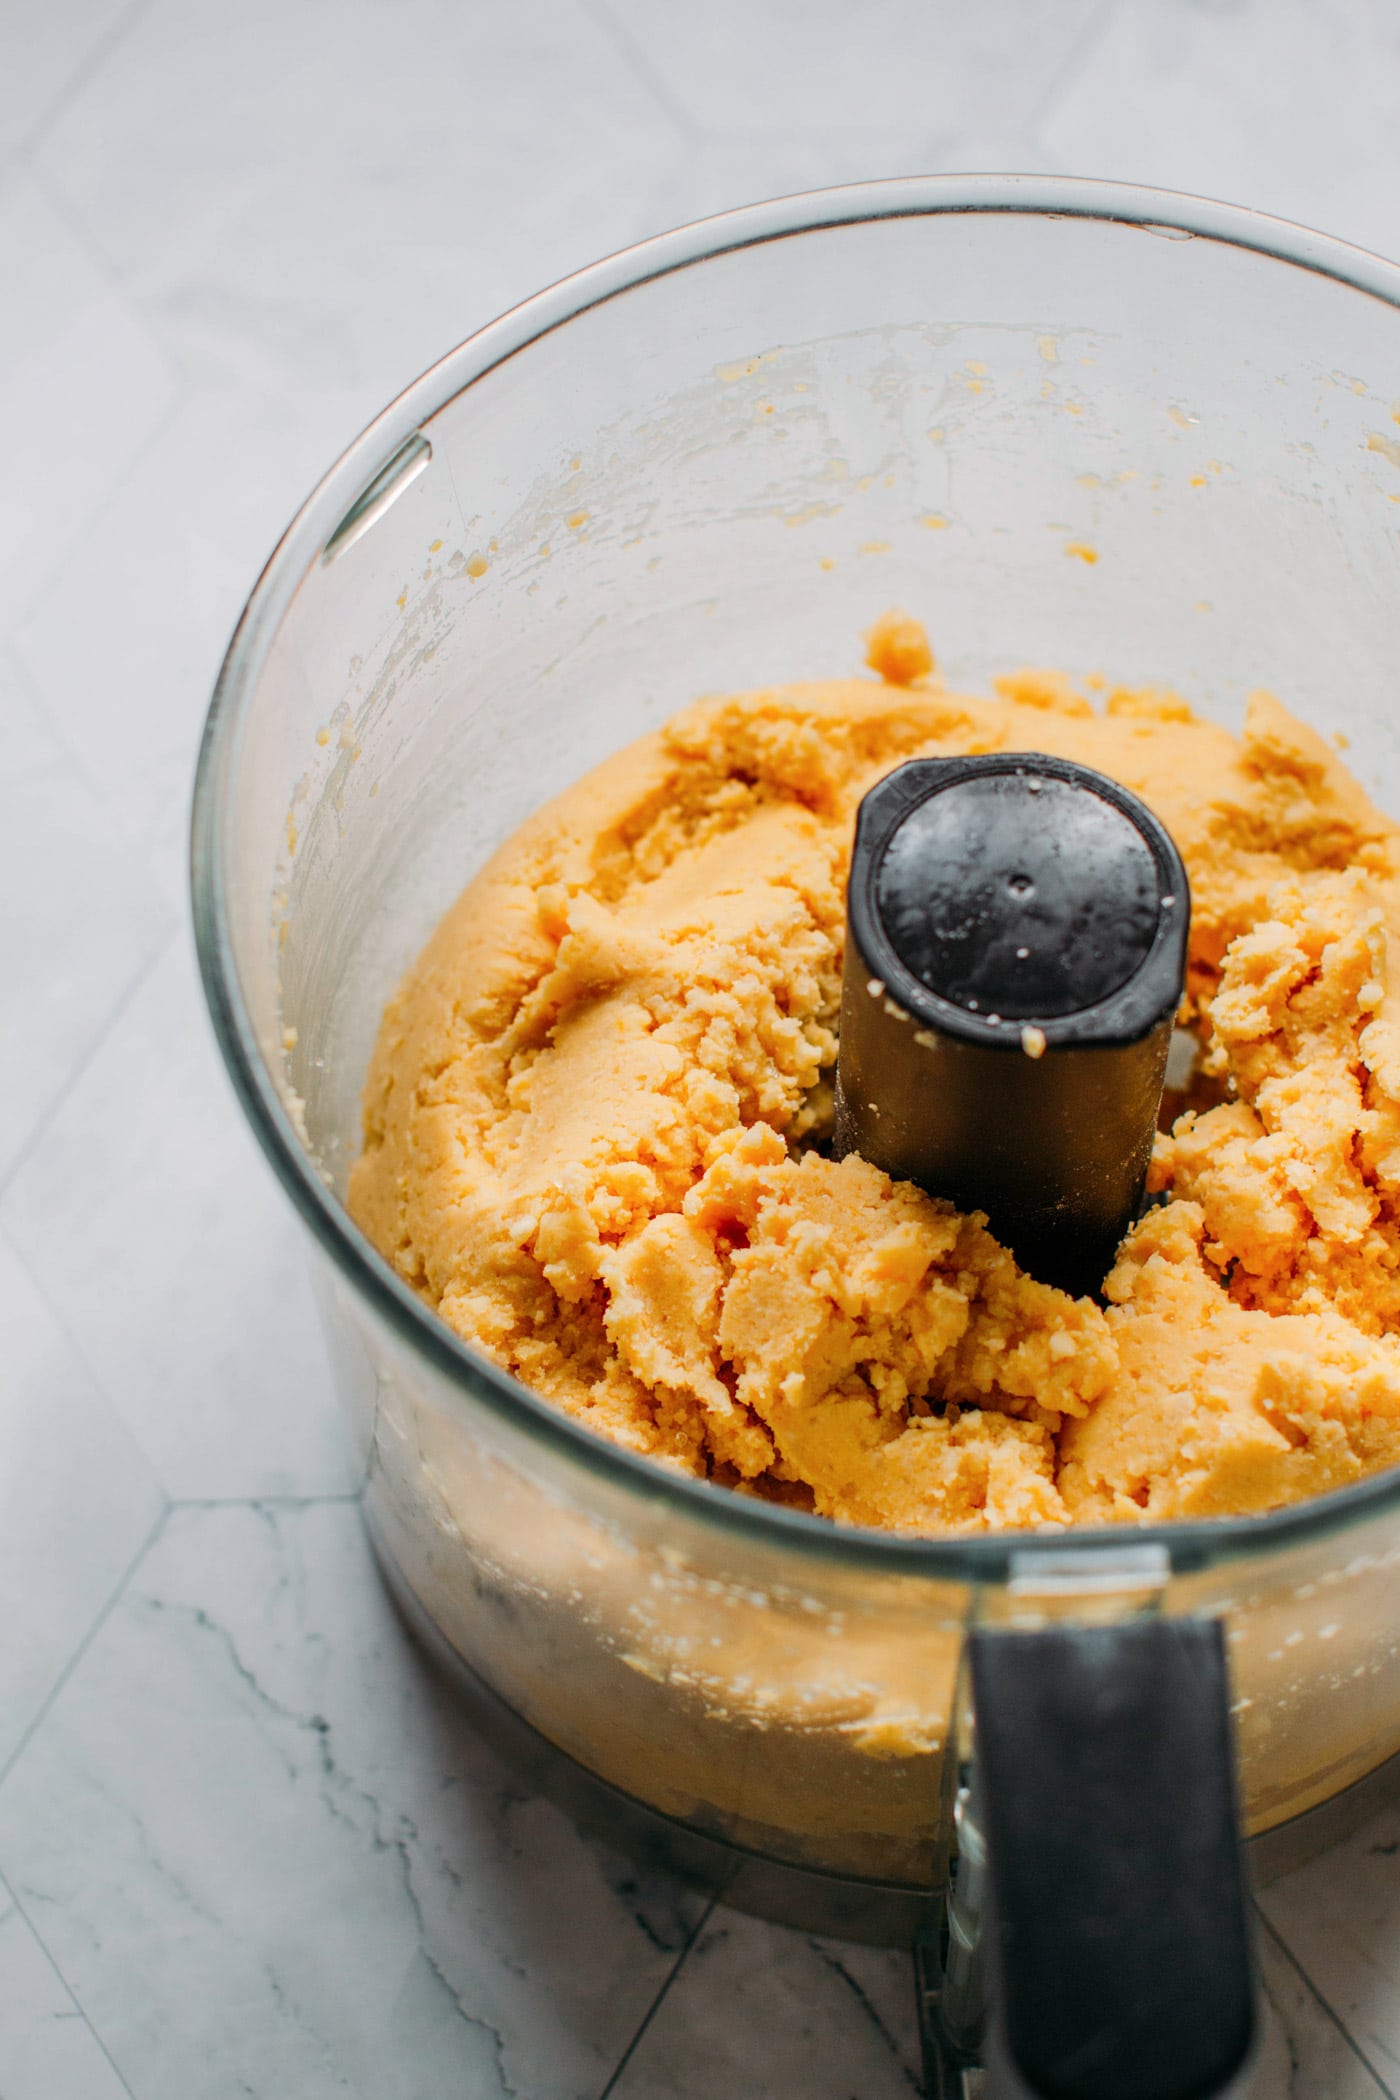
The miso is almost done! Transfer the mixture to clean jars and let it age in a dark place at room temperature for 6 months.
Important note: make sure to pack the mixture very tightly into the jars to have the least amount of air inside as possible. You also want to add a weight on top so the fermentation doesn’t create too much air bubbles. If you have air inside your jar, there is a high chance some mold will grow, and your miso will turn bad within a few weeks (I had that issue once).
One more thing, do not fill your jar as much as I did below. Only fill to the 3/4; otherwise, some liquid will overflow.
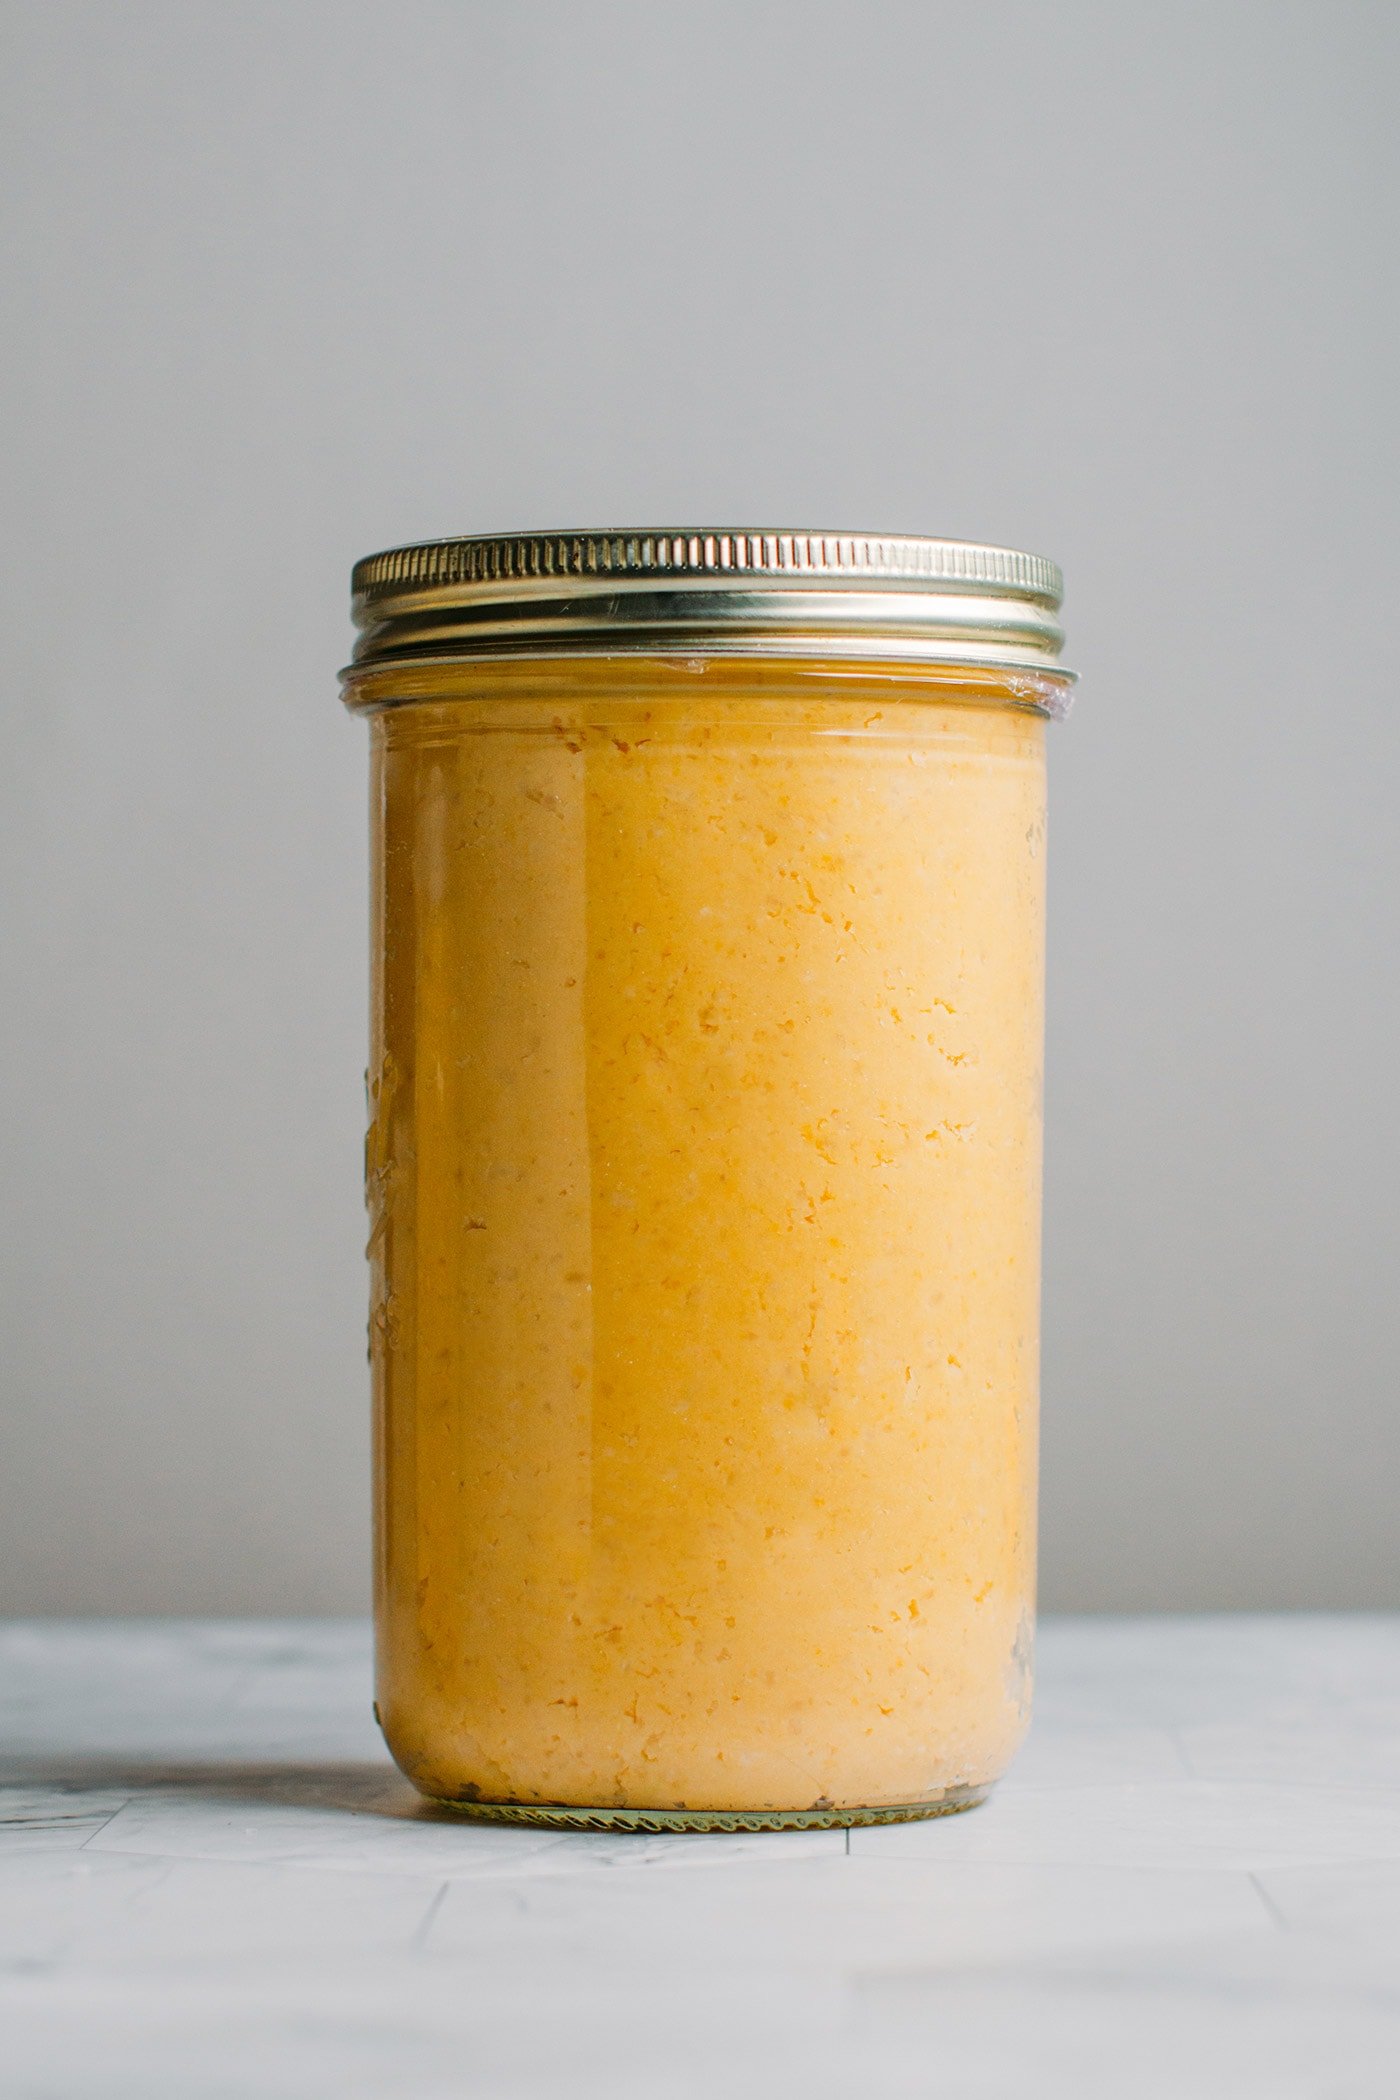
I opened the jar after 6 months, and I was incredibly surprised by how delicious this chickpea miso tasted! It’s sweet, salty, and packed with umami and buttery notes. Yes, it’s THAT good!
You could probably let it age for a few extra months, but I found that 6 months is already enough to get very high-quality miso, especially if you like sweet white miso. And if you are wondering, you can’t even taste the chickpeas. It’s pure miso flavor.
Can this work with other beans? Probably, but I have not personally tried.
💬 FAQ
While I haven’t tried it yet, I think this recipe will work with white navy beans as well.
Yes, koji rice is essential. It contains cultures that help the miso paste ferment and develop flavors.
Miso will keep for easily over a year in the refrigerator. The high salt content acts as a preservative.
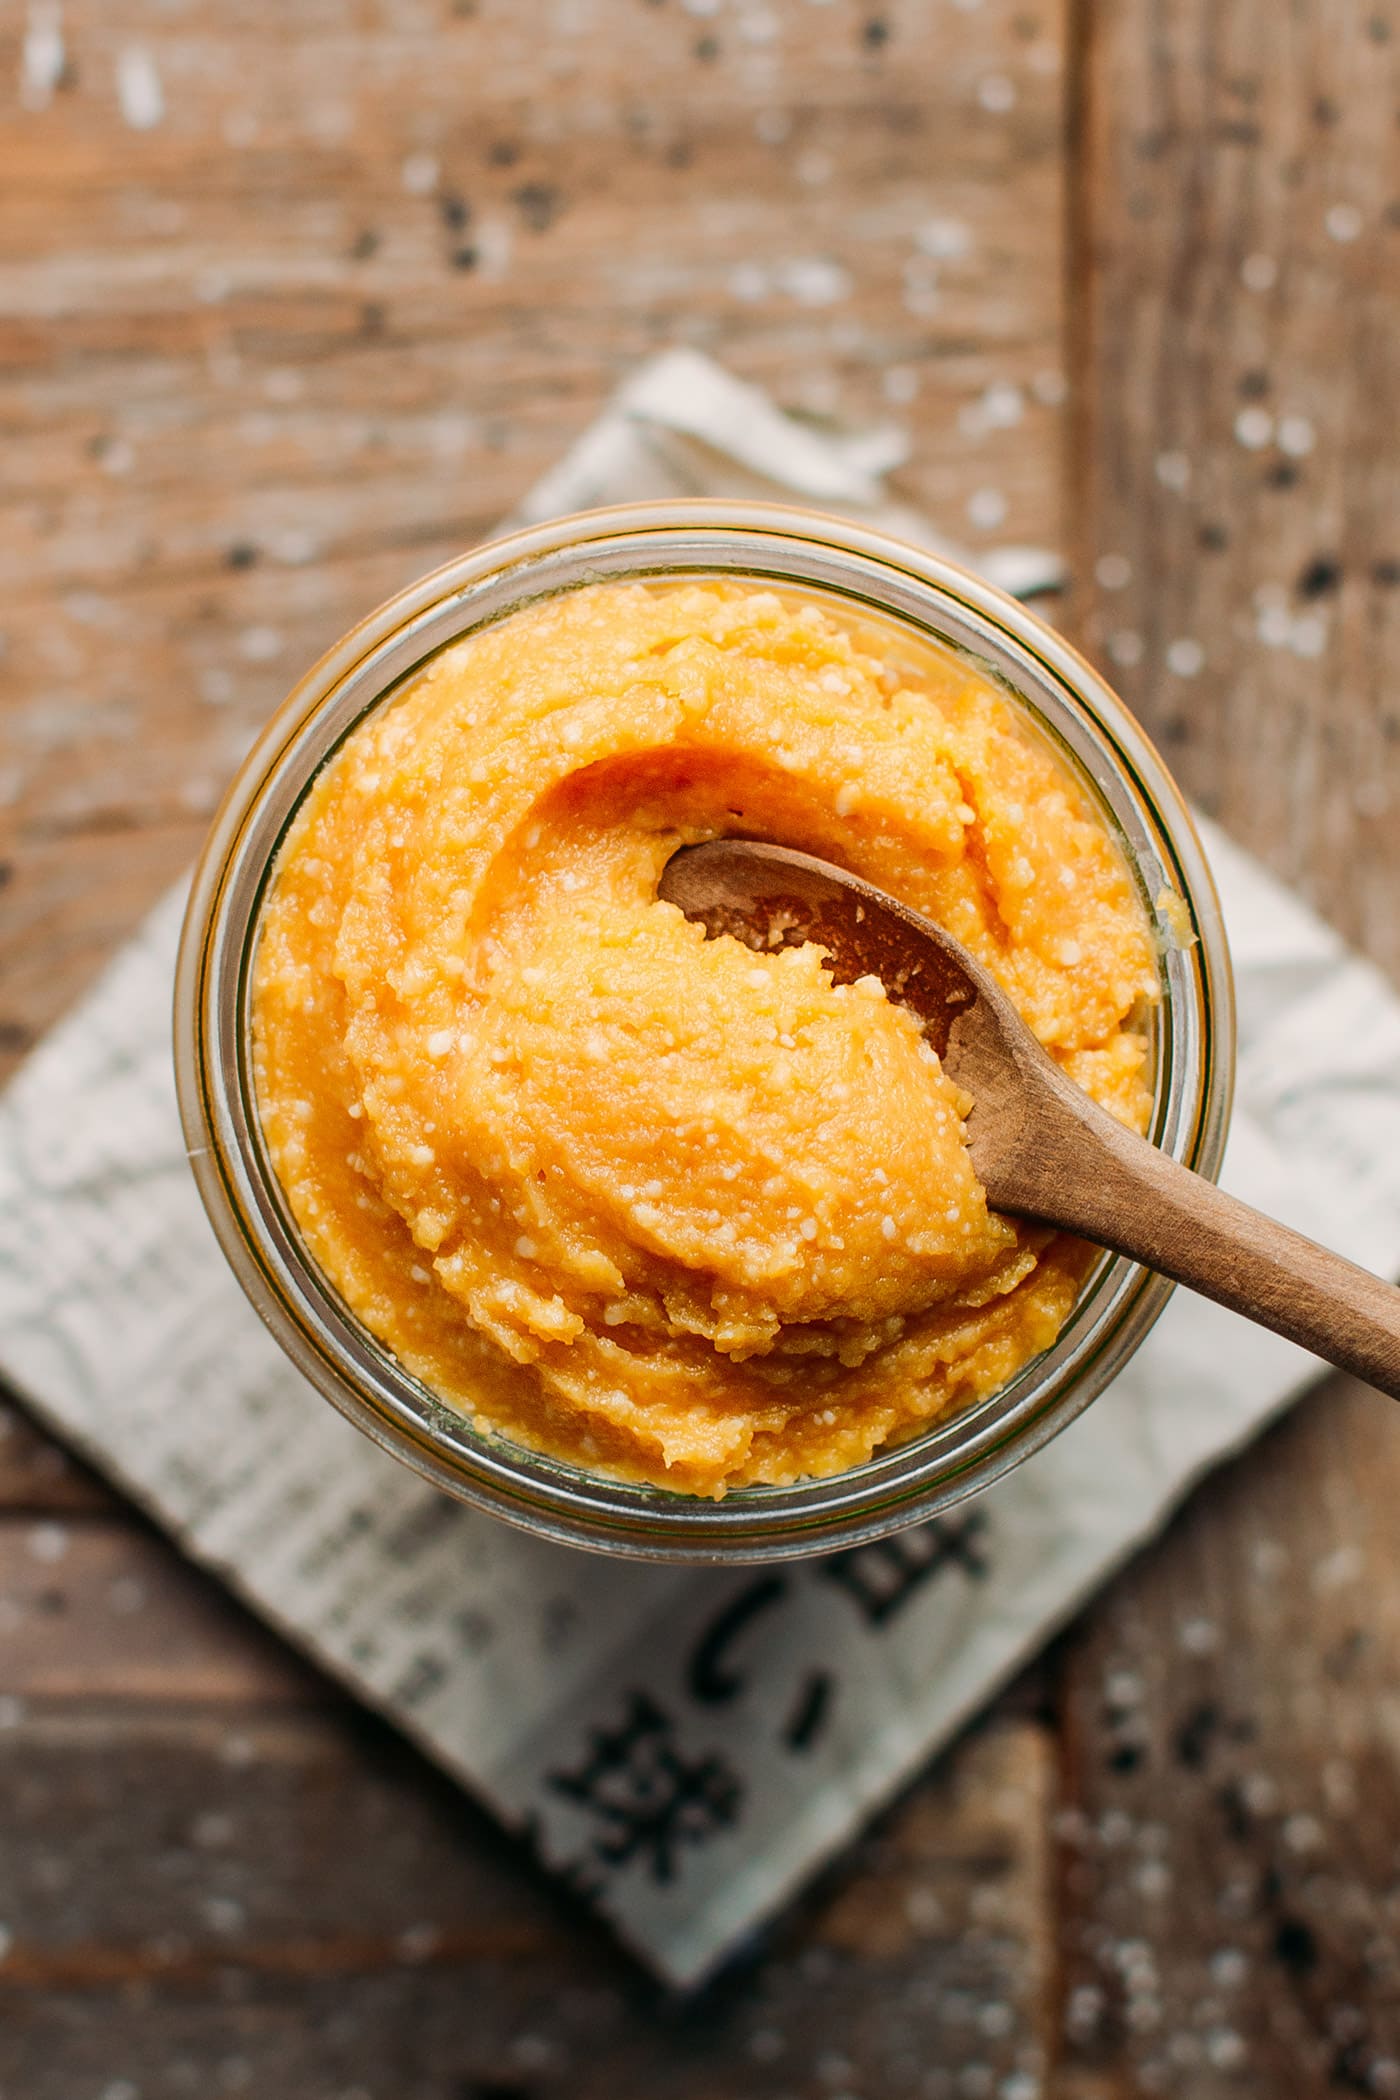
I hope you will love this recipe, it’s a super fun project to do, and you will have miso available for weeks if not months! It’s much more cost-effective than buying it if you are patient enough, of course!
🧀 More Fermented Recipes
Let me know in the comments if you try this recipe!
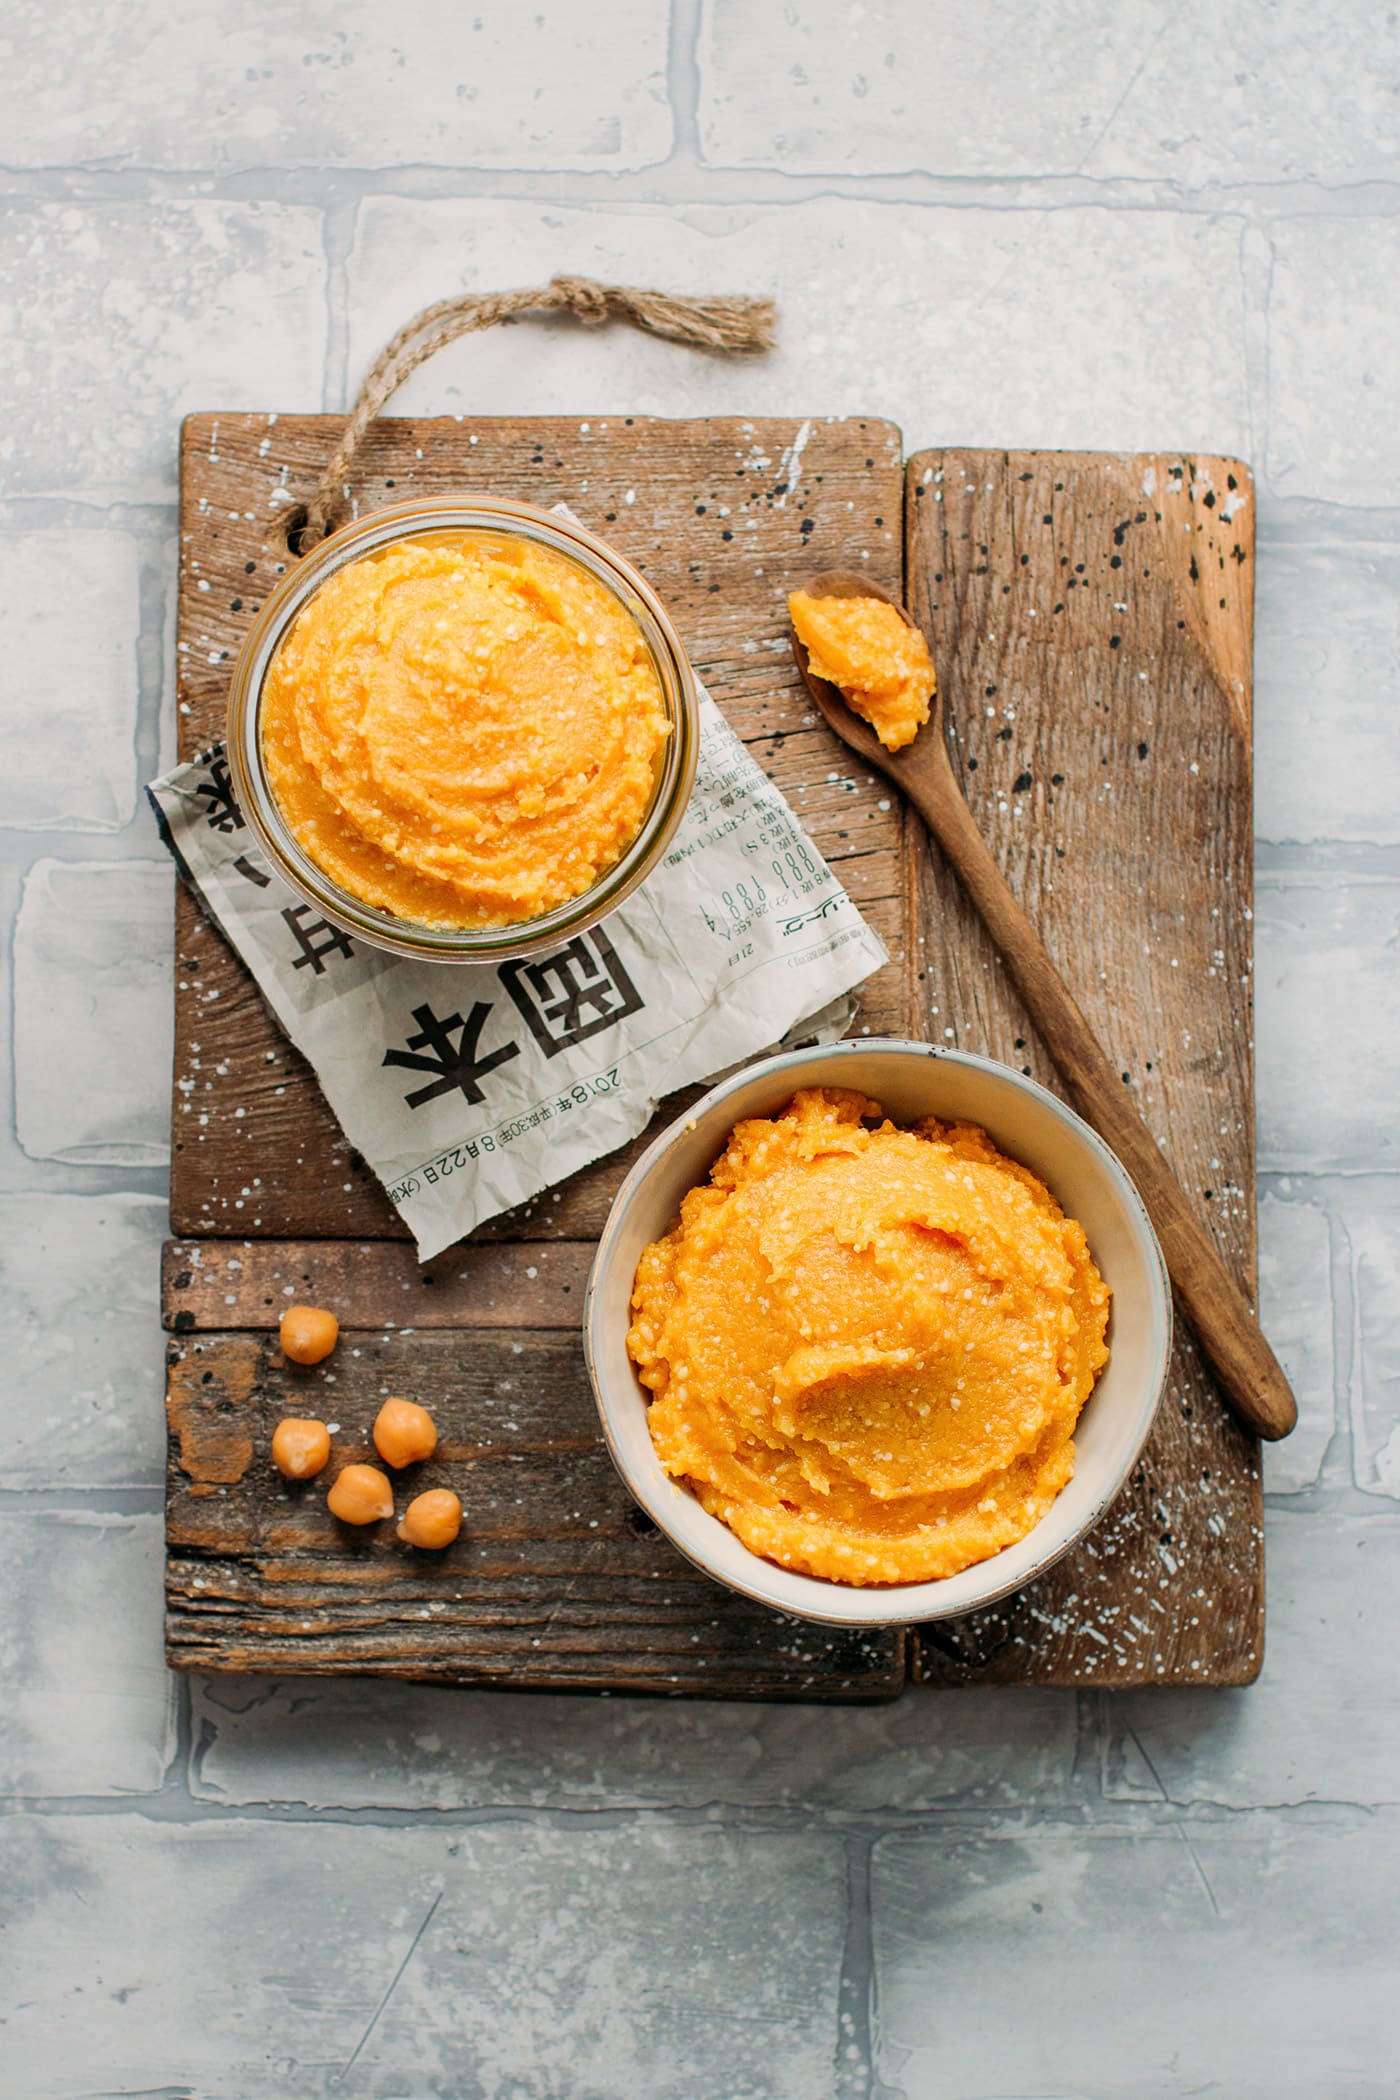

How to Make Chickpea Miso
Ingredients
- 18 ounces dried chickpeas soaked overnight
- 18 ounces koji rice
- 1 cup water
- 1/2 cup coarse salt
Instructions
Preparation
- Drain the dried chickpeas and add to an Instant Pot (or pressure cooker). Cover with about 8 cups (2L) of water and pressure cook for 5 minutes. Let the pressure release naturally for 20 minutes before opening the Instant Pot and draining the chickpeas. Set aside and let it cool at room temperature.Note: you can also cook the chickpeas in a large pot of water over the stovetop, but it will take much longer.
- Add one cup of water to a small saucepan. Heat over medium heat for 2-3 minutes. Do not bring it to a boil. Remove from heat and let it cool until it reaches about 122°F (50°C).
- Add the koji rice to a medium mixing bowl and pour in the warm water. Stir and let it sit for one hour.
Processing
- Next, transfer the cooked chickpeas, koji (and the water), and salt to a food processor. Process for 1-2 minutes or until it forms a paste. It should be almost smooth, and all the chickpeas should be puréed. If you have a small food processor, work in batches.
- Prepare two 1-quart (1L) glass jars: make sure your jars are perfectly clean. I recommend baking your empty jars at 300°F (150°C) for 20 minutes to kill possible bacteria and then let them cool completely.
- Using gloves or really clean hands, shape balls of the mixture and pack them very tightly into each jar, working one layer at a time to make sure there are no air holes. Repeat until your jars are 3/4 full.
- Flatten the top of the mixture and sprinkle with about 1/2 tablespoon of fine salt. Cover with plastic film to touch. Now, you want to place something very heavy inside the jar on top of the miso. I didn't have anything heavy that fitted inside, so I filled a plastic bag with coarse salt and placed it inside the jar, on top of the miso. It must be heavy enough to prevent the miso from creating air bubbles due to the fermentation.
Aging
- Close your jars with the lid and store them in a dark place at room temperature. Your miso will be ready in 6 months, you don't have to do anything else but wait! Do not open the jar in the meantime, or mold could grow.
- After 6 months, transfer the miso to smaller jars and store in the refrigerator. Miso will keep for months! Use in soups, marinades, sauces, dressings, etc!
Nutrition

About the Author
Thomas Pagot is the founder, photographer, and recipe developer behind Full of Plants. He created the blog in 2016 as a personal cookbook for vegan recipes. Through years of recipe development, Thomas has successfully grown Full of Plants into a trusted resource for plant-based recipes.

🧀 25 Mind-Blowing Vegan Cheese Recipes!
Sign up for the Full of Plants newsletter and you’ll get new recipes delivered by email weekly, PLUS your FREE 100-page printable eBook!


Thank you, Thomas! I look forward to trying this.
I don’t have anything against soy products, but sometimes tofu is very difficult to find (grocery stores don’t always order – or receive – enough). Soy beans themselves are even more difficult to track down. Garbanzo / chick peas, on the other hand? Abundant. Have you / would you consider trying your hand at non-soy tofu?
Best,
Rose_Anne
You’re welcome Rose Anne!
That’s true, tofu is not always easy to find if you don’t have an Asian store nearby.
I have never thought about non-soy tofu, but will definitely take it into consideration!
Thanks for your feedback 🙂
Hi Thomas! I just read a post that made a tofu substitute with chickpea flour. I don’t remember where, but I’m sure a quick search will yield results.
Hi K,
Chickpea flour “tofu” is not what I would consider a good substitute for tofu, it doesn’t have the same texture or flavor at all, so I’m not a huge fan of it.
Hi Rose, now you can use chickpeas and red lentils to make your own tofu. Just do a random search on youtube and you will find some great recipies.
Hi again. I received your auto-response, but could not “confirm.” The hyperlink is not active.
Hi Rose,
May I know which auto-response and link you are talking about?
Could one cut this recipe in half? Thanks.
No problem! 🙂
I just completed the 6 month fermenting period, and the taste is incredible! Silky smooth, with the perfect balance of sweet and salty! Can’t have soy, so this is the solution. Thank-you!
Awesome! Glad you liked this miso 😉
Are the chickpeas measured before rehydrating or after? That is,, are these 18 ounces of dried chickpeas?
Is the Komi rice measured as a dry ingredient?
Thank you
Yes, chickpeas and koji are measured dried.
I have been thinking of making azuki bean miso, one year fermenting time. Decided to make your chickpea miso instead. Will order the Koji rice, let the fun begin.
Thank you,
Trina
Great! Let me know how it goes 🙂
This looks like a fun project! Just curious about the chickpea cooking time. Normally I soak chickpeas overnight, then pressure cook for 20 minutes. Are the chickpeas supposed to be just barely cooked for this recipe?
I would guess it depends on the type of chickpeas used, the ones I used were quite small so 5 mins + 20 mins natural release, there were very tender. However, if using larger garbanzo beans, you might have to increase the cooking time. You want the chickpeas to be tender, not barely cooked.
Good to know. Thanks for the clarifying 🙂
hi, what does it mean: cover with plastic film “to touch”?
kind wishes, tanya
Hi,
It means the plastic film should be in contact with the mixture.
Looks fantastic! Is there any other rice I can use? Why do people use Koji rice?
Thanks Melissa!
I’m afraid there is not, koji rice is really mandatory for this recipe as it contains cultures.
My comment isn’t related to chickpea miso but I couldn’t work out how else to contact you.
I’ve just smoked the smoked hickory cheese (using native New Zealand woodchips from a manuka tree. You say to put it in the refrigerator for a week or two. Is that still at 10-12 degrees or in the normal refrigerator?
Thanks Thomas – your recipes are magic!
Hi Robin,
For related questions to the hickory smoked cheese I would recommend posting on the actual recipe page.
To answer your question: Once smoked, I would recommend placing in a slightly colder refrigerator (6-8°).
I came across your blog after researching “chickpea miso” from my list of recipes 🙂
I don’t think I will be able to find Koji here in Trinidad and Tobago but I’ll try.
This seems like a very useful recipe because I really love channa (what we call it in the West Indies).
Thank you and looking forward to your content.
You’re welcome Wendy! Hope you will be able to find Koji 😉
Hi Wendy, I’ve just bought koji from eBay, so it might be worth having a look to see if you can find a seller who ships internationally. Hope that helps I’m hoping to visit T&T next year, I hear wonderful things!
Rachel
Hi Thomas,
I was wondering about the room temp for this, as my house goes down to about 16c at night when my heating is off in the winter. Would this be too low. Thank you for your.help
Hi Ruth,
Yes 16°C will be too low, you want the temperature to be around 30°C for good mold growth.
Thank you Thomas for that help
If I use brown rice Koji powder, would I need to use a different measurement? Maybe less since it’s powdered?
I’m afraid I am not familiar with koji powder. I am not sure you will be able to use it to make this recipe.
This recipe was terrific. Plus, it was cheaper than buying from stores. Finally, I have my homemade miso to use for months.
A big hug from Japan!
Thanks for your feedback and rating, Rin!
I have a soy allergy and sodium restriction, so I’d like to try making this with half the salt called for in the recipe. Any thoughts on this?
Also, I’m wondering if you could seal the paste in in a vacuum bag rather than a jar for the fermentation?
I’m afraid this would completely change the recipe. It’s the high salt content that helps preserve the miso. I doubt using only half of the amount of salt will work.
Regarding sealing the paste, I also highly doubt it will work. Due to the fermentation, miso tends to expand over time, so if you vacuum seal it, I think you are at risk of the bag exploding.
Thanks for the recipe! I did a few things wrong but the results seem to be good! Haven’t used it in food just yet though…
First I made my mixture too wet, I realised that from the get go but thought, sure I’ll see if it works… Couldnt find effective weights and so my bag of salt ended up obviously soaking into the water, making it for sure saltier. With a sickly fall I left it fermenting for an extra month. So I’d say the excess water and extra month both ramped up the fermentation intensity, no issues with mold or anything. Squeezed out the water after fermentation. It ended up a little bit less sweet than my shop bought red miso and smells very spunky, but all that is justified by my unintentional adjustments. Tastes great even if its a bit on the salty side.
Brilliant base recipe! Seems hard to mess up 🙂 (if you avoid the mold!)
I do wonder, if I use a couple spoons of this this as extra starter mixed into a new batch will it ferment faster than 6 months? I’ve read regular misos fermentation time can be cut down by 50-66% by doing so…
You’re welcome! Thanks for your feedback!
Regarding using some of the miso as the starter for a new batch, I have to admit I have never tried it, so I can’t say for sure. Would love to hear how it turns out if you give it a try!
Thank you Thomas! I don’t take soy and am so happy to find your chickpea miso recipe. Thanks for sharing. After waiting for 6 months, it’s now ready to use. The taste is so yummy just like the regular miso. Only that the colour of my chickpea miso is unlike yours. I wonder why. Do check out my Instagram @loveshareglow for the picture.
You’re welcome Pris!
The color will depend on the temperature and aging time. Your miso looks great 😉
Can this recipe be doubled?
Yes!
Hi Thomas,
It looks like you don’t remove chickpea skins?
Hi Louis,
That is correct.