This post may contain affiliate links. Please read our disclosure policy.
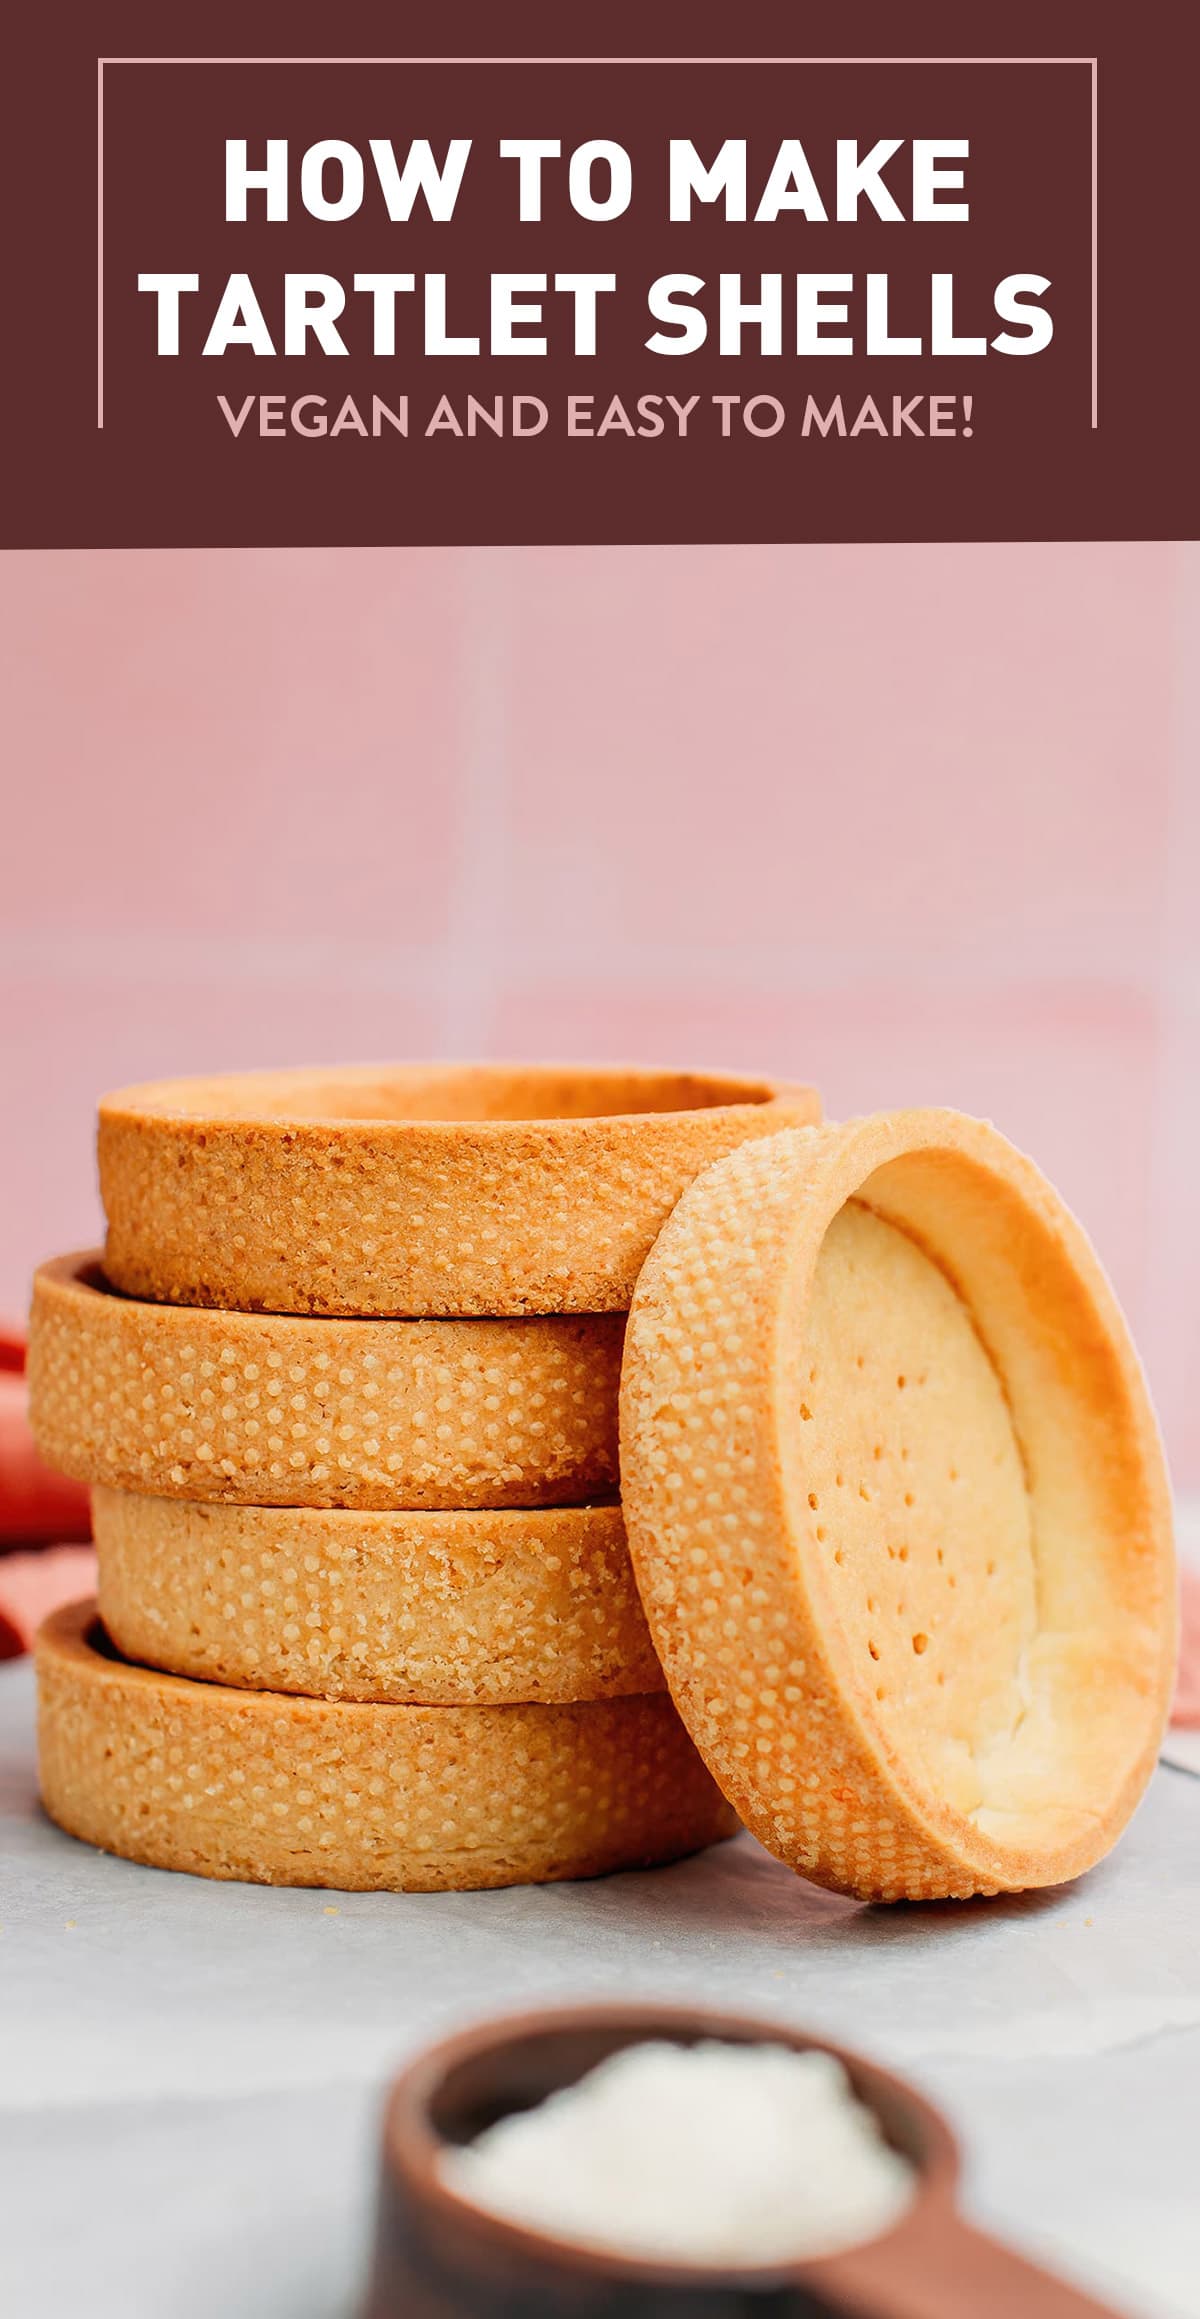

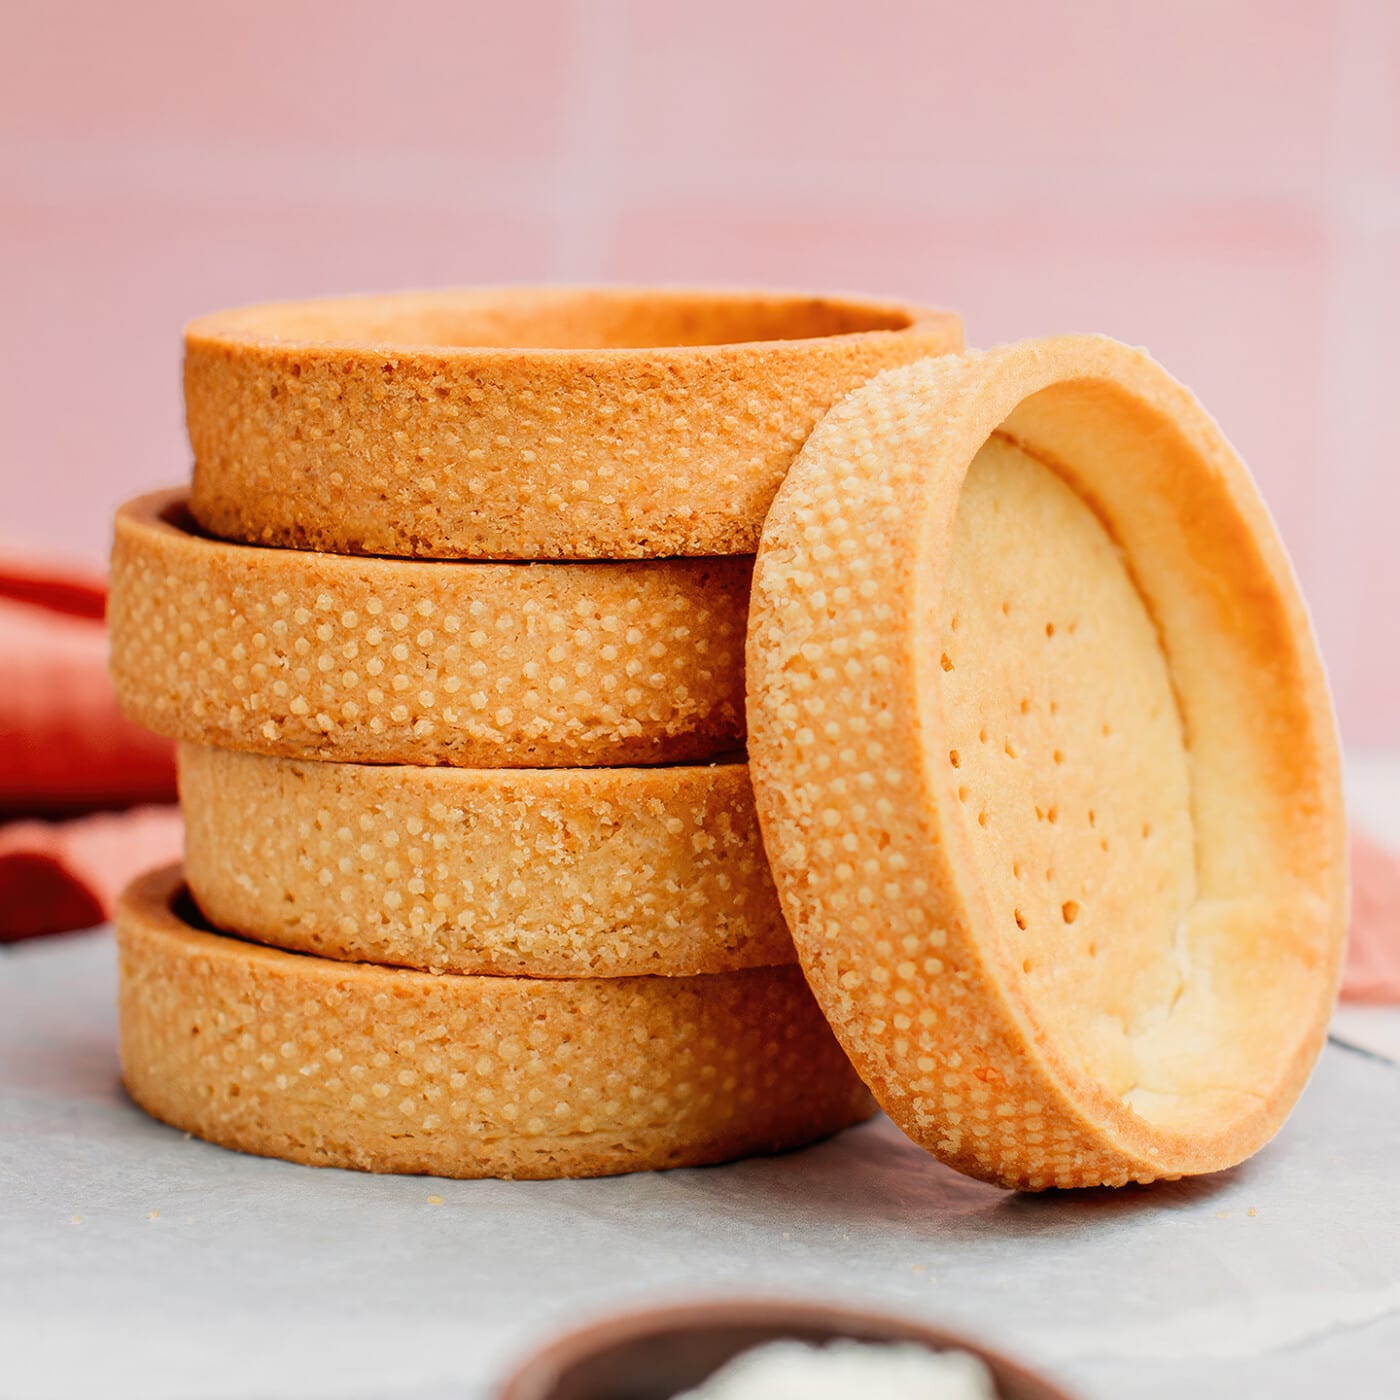
Learn how to make perfect tartlet shells from scratch! These tartlets are made with a buttery and sweet shortcrust pastry (pâte sablée) and can be used to prepare fruit tarts, chocolate tarts, or any entremets!

⭐️ Why You Should Try This Recipe
- Delicate texture & buttery flavor. These tartlet shells have a crisp, cookie-like texture and rich butter flavor. You will never believe these are eggless, dairy-free, and vegan!
- Bakery quality at home. These tartlet shells capture the essence of Parisian bakeries! They look just like the ones you can find in bakeries and taste just as good, if not better!
- The perfect vehicle for all of your dessert needs. Whether you plan on filling the shells with vanilla custard and fresh fruits, chocolate ganache, or lemon curd, this recipe is a must-have. Plus, it can be baked as a larger tart as well!
📘 What is Pâte Sablée
Pâte sablée is a classic French sweet shortcrust pastry prepared with flour, butter, and sugar. It has a crumbly and sandy texture that resembles shortbread cookies.
Pâte sablée is used to make all kinds of pastries, from fruit tarts to chocolate and lemon tarts. It also makes the base of many entremets.

🧈 Ingredient Notes
This sweet shortcrust pastry requires only 7 ingredients. Here is what you will need:
- Flour – Use all-purpose flour or pastry flour. Both yield great results.
- Cornstarch – The addition of cornstarch not only bends all of the ingredients together but also gives the shells a lighter texture.
- Almond flour – Almond flour brings a subtle nutty flavor and helps to create a richer texture.
- Butter – You can use store-bought butter or homemade vegan butter. Both work great. Make sure your butter is cold.
- Sugar – While you can use regular granulated sugar, I highly recommend powdered sugar. The texture and appearance of your tarts will be much better.
- Milk – Use your favorite unsweetened plant-based milk. If you don’t have milk on hand, cold water works too.
- Salt – To enhance the overall flavor. Omit if you are using salted butter.
🥣 How To Make Vegan Tartlet Shells
While this recipe is easy, it requires patience and meticulousness.
Prepare the shortcrust pastry dough
First, start by preparing the dough:
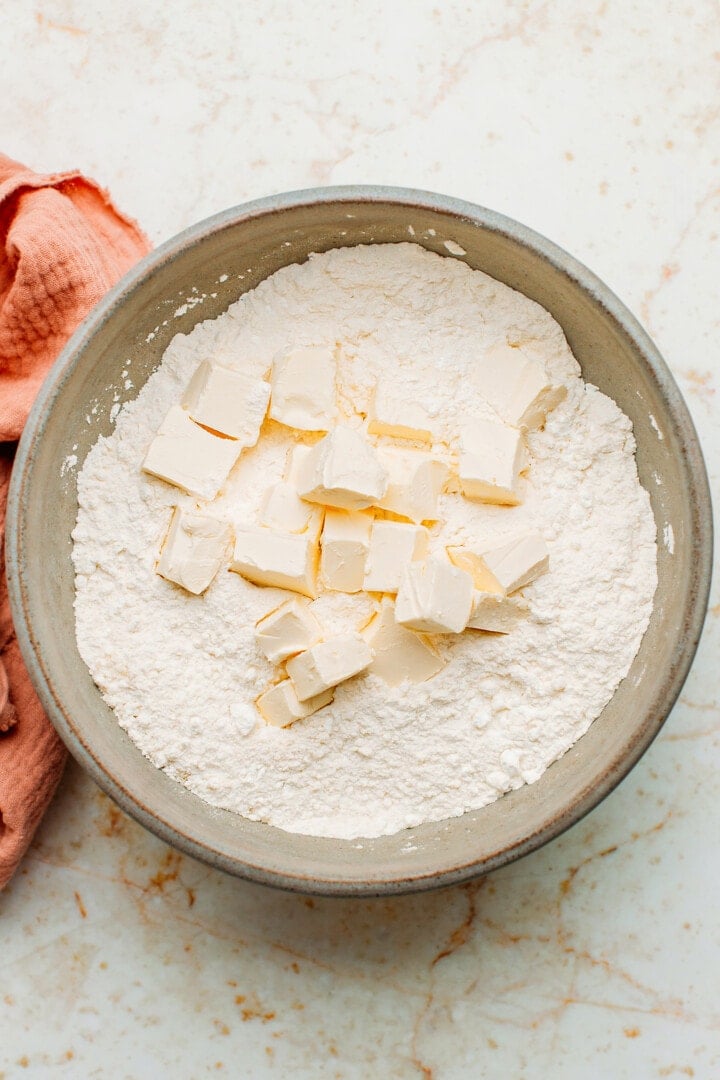
- Whisk the dry ingredients together. Add the flour, cornstarch, almond flour, powdered sugar, and salt to a bowl. Whisk until combined.
- Sand the dough. Next, to get a sandy and crumbly texture, we will use a technique called “sablage”. To do so, cut the cold butter into the dry ingredients until it forms a fine sandy texture.
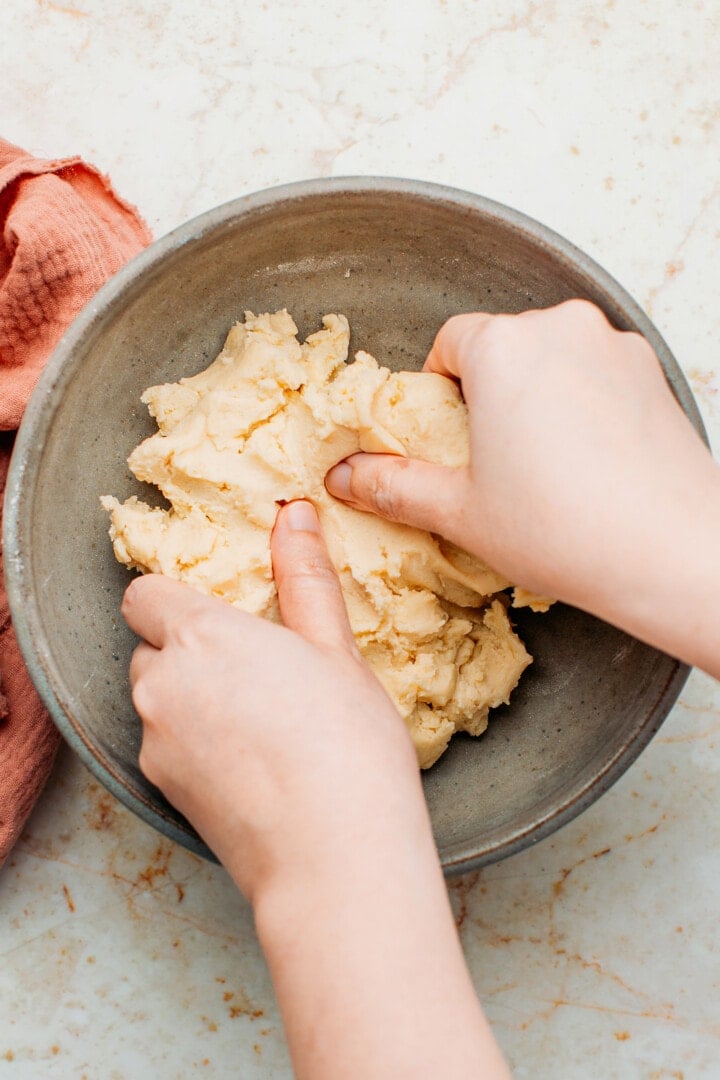
- Form a dough. Once the texture resembles sand, add the cold milk and knead until it forms a dough. Do not over-knead and stop as soon as the dough comes together.
Note: you can sand the dough with your hands or a stand mixer fitted with the paddle attachment.


Flatten the dough
Once the dough is ready:
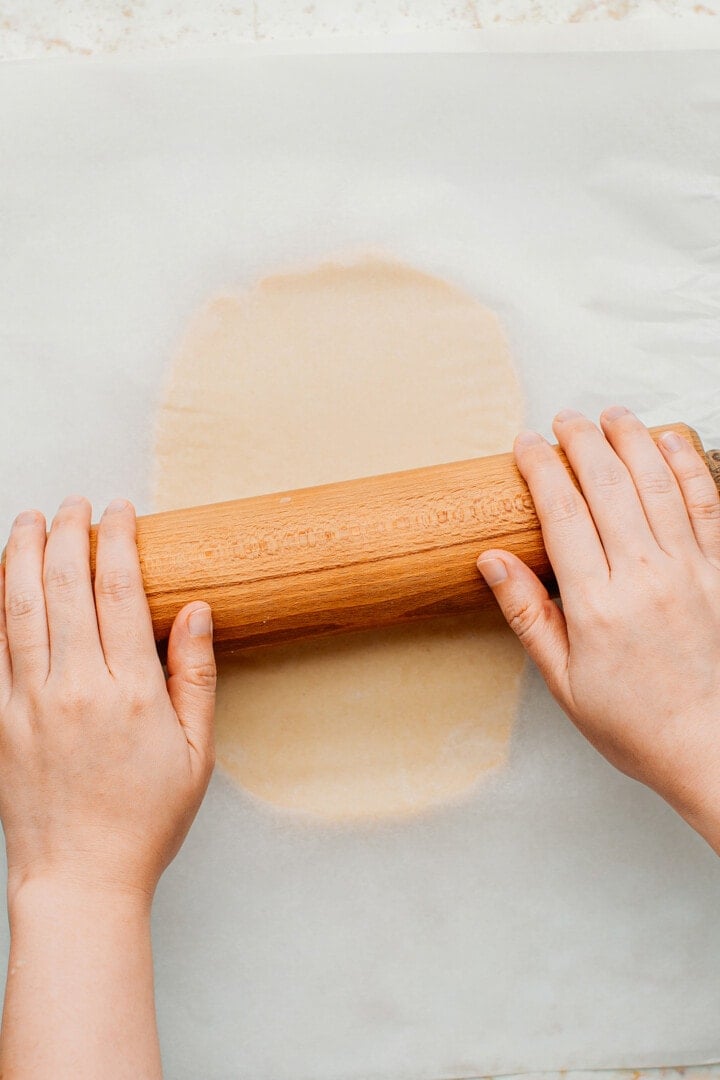
- Transfer to a working surface. Transfer the dough to a sheet of parchment paper and top with another layer of parchment paper. The dough is sticky and will stick to the rolling pin if you don’t sandwich it between parchment papers.
- Flatten. Flatten the dough to a 1/8-inch thickness (about 4mm) using a rolling pin. The thickness is up to you and will affect the baking time.
- Refrigerate. Once the dough is flattened, transfer it to a baking sheet and refrigerate it for at least 1 hour, preferably 2 hours.
Shape the tartlets
The fun can now begin: shaping the tartlets! To do so:
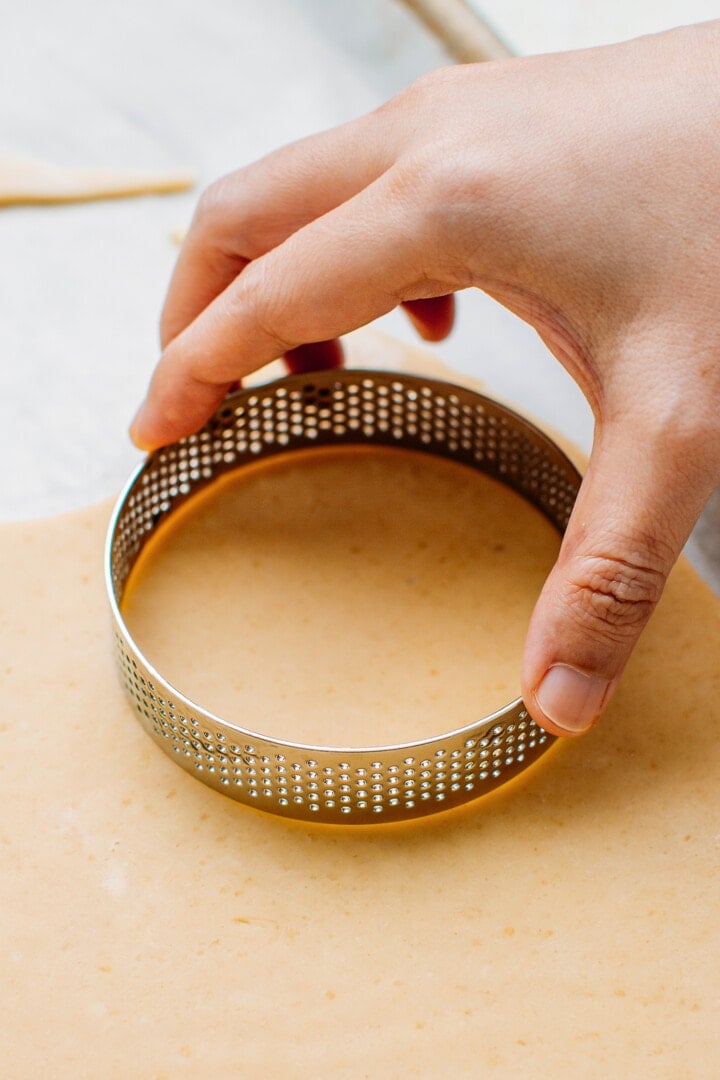
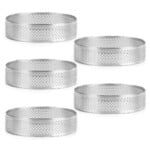
- Grease tart rings. Lightly grease 3-inch (8cm) perforated tart rings with butter. Place them on a baking sheet lined with parchment paper.
- Cut out circles. Using one of the tart rings, cut out 8 circles of dough. Using a thin spatula, transfer the circles into each tart ring.
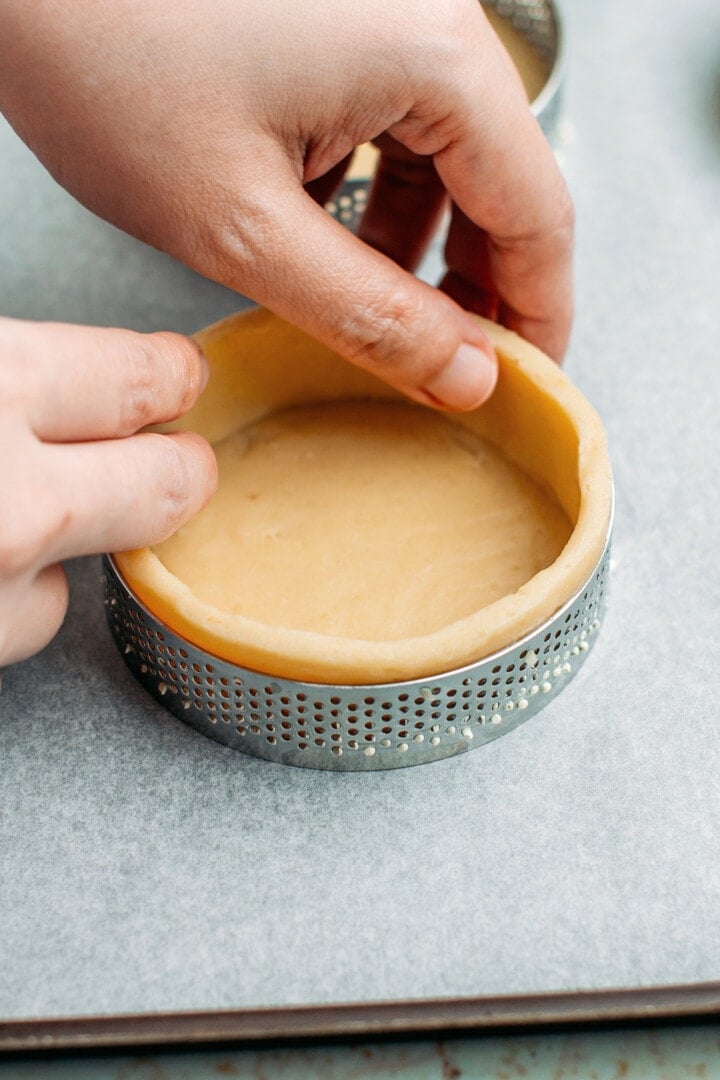
- Cut strips. Using a sharp knife, slice strips about 10 inches (25cm) long and 1 inch (2.5cm) thick. These strips will make the sides of each tartlet.
- Press them together. Working with one at a time, transfer a strip of dough to one of the tart rings and press it to the sides. Use your fingers to slightly push the bottom of the sides to the dough circle (to seal it). Repeat with the remaining strips of dough.
- Freeze. Transfer the baking sheet containing the tartlet shells to the freezer and freeze for at least 20 minutes.
Note: if the dough becomes too soft at any point, place it back in the freeze for 5-10 minutes. Also, be aware that you can re-roll the dough scraps if needed.

Bake
After chilling in the freeze, the tartlet shells are ready to be baked!
- Preheat the oven to 320°F (160°C).
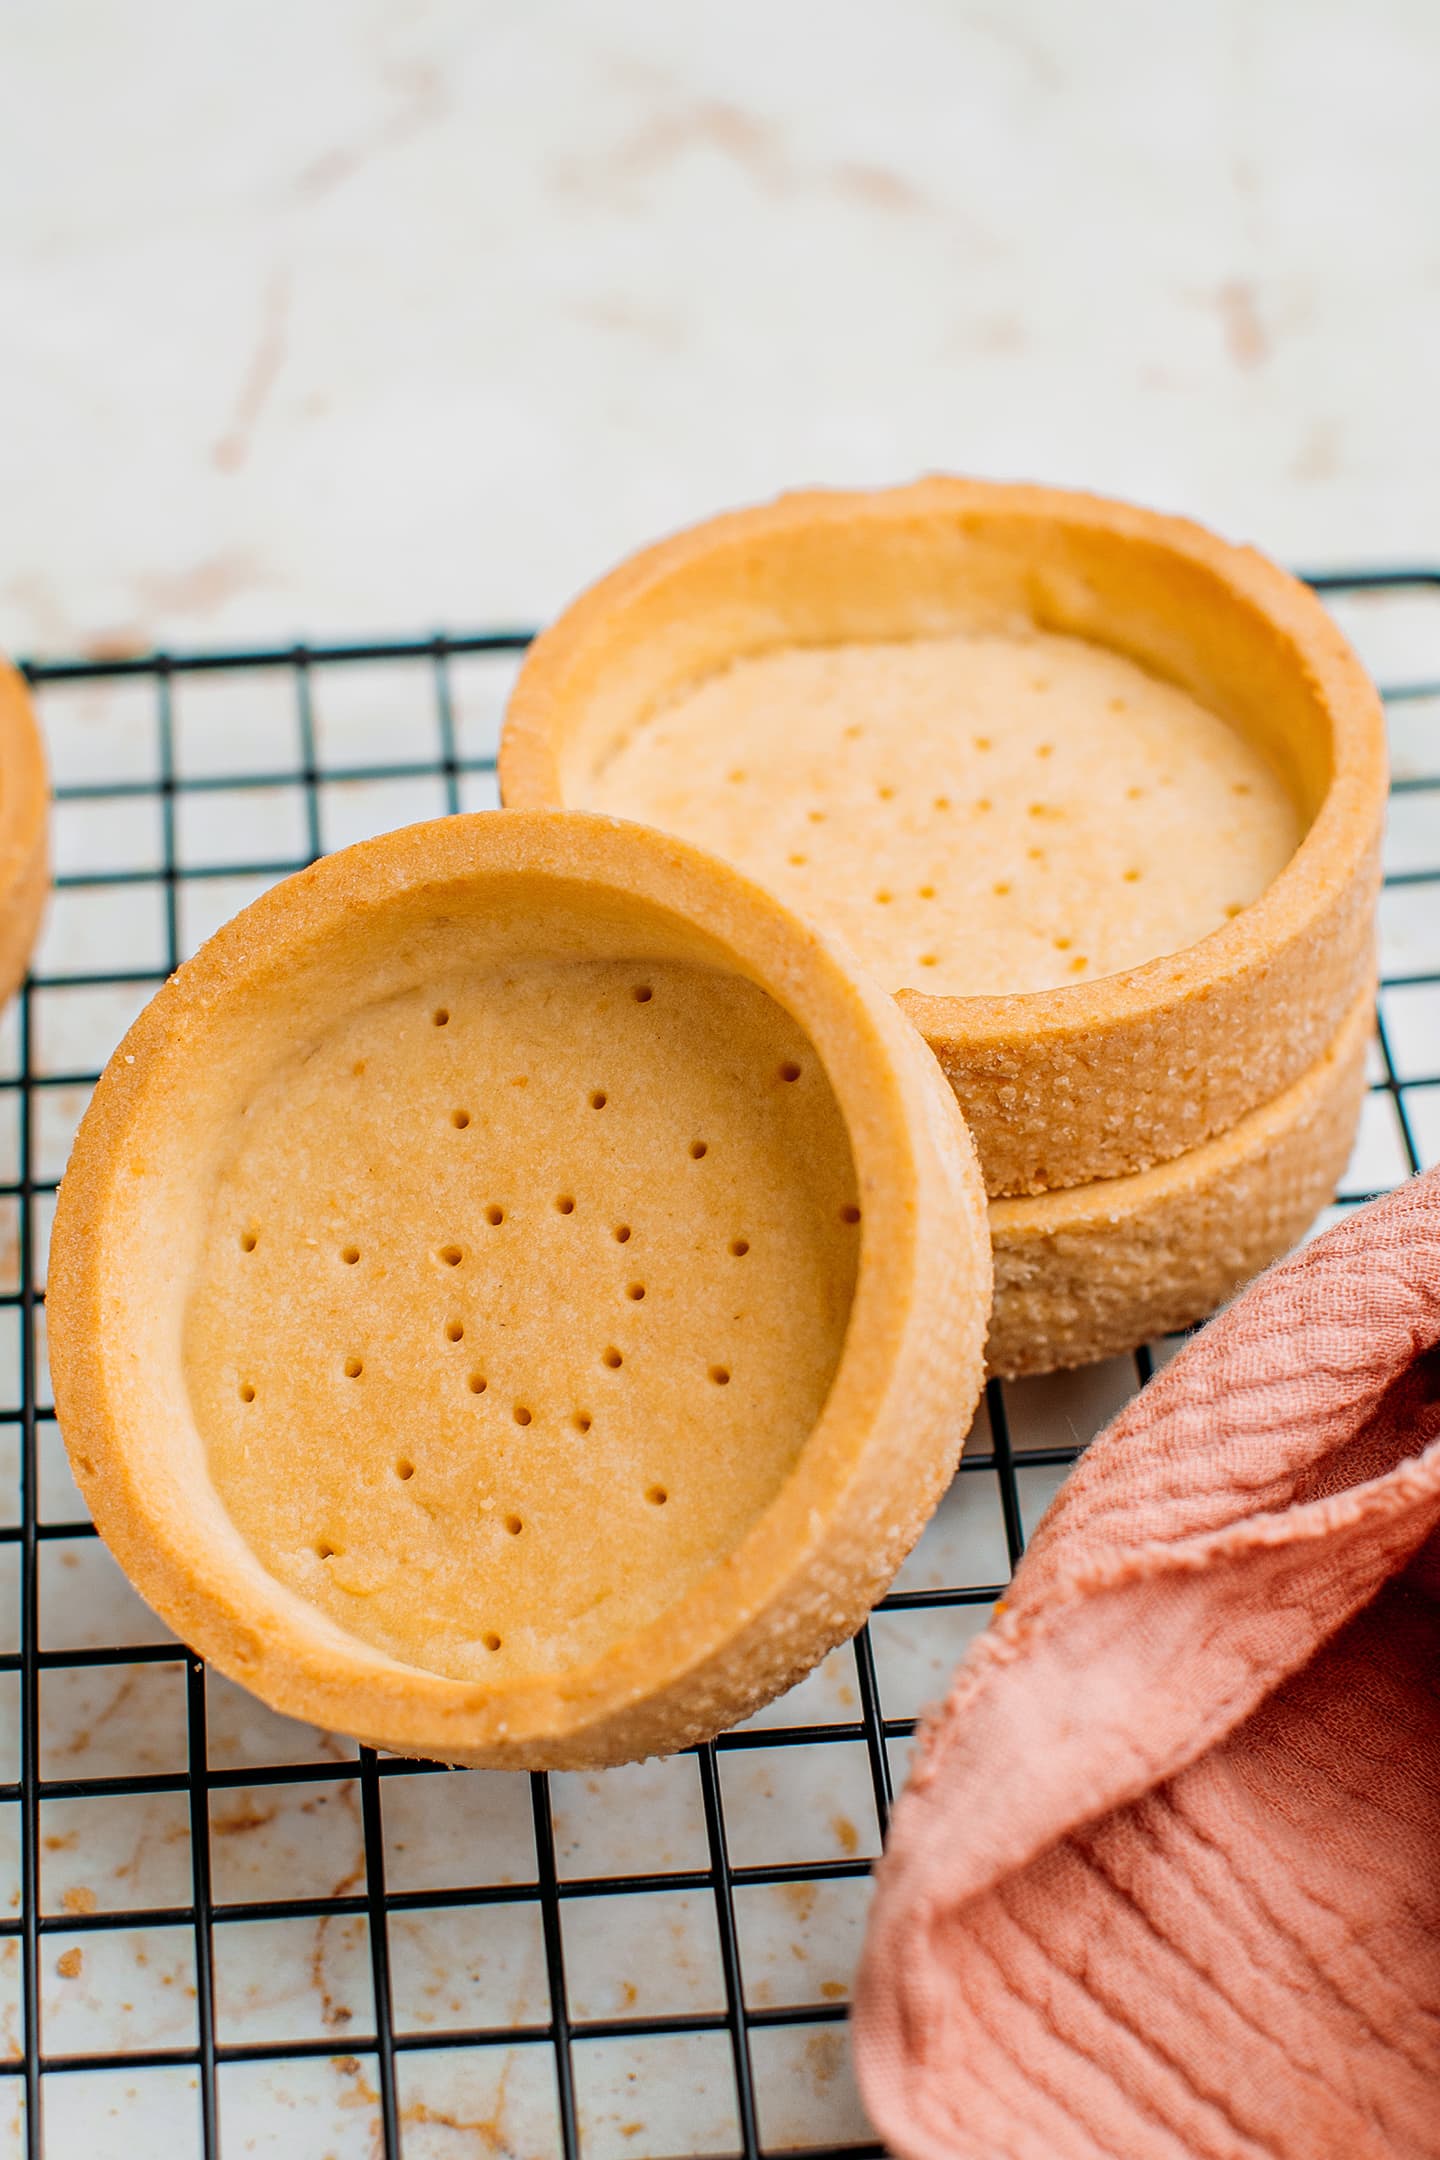
- Trim the sides and poke the bottom. Using a sharp knife, trim the top of the sides. Poke several holes into the bottom of each tartlet using a fork. This will prevent the dough from puffing up.
- Bake. Bake the shells for 20-22 minutes or until golden brown in the preheated oven.
- Remove from the rings. Next, using an oven mitt, carefully remove each tartlet from the tart rings. Place the tartlet shells back on the baking sheet.
- Finish baking. Finally, bake the tartlets for another 5 minutes or until evenly golden brown. Be aware that baking time will differ depending on the thickness of your dough and the type/brand of oven used.


❄️ Freezing
These tartlet shells freeze beautifully! You can freeze them baked or unbaked.
- To freeze the baked tart shells: Once cooled down, transfer the baked shells to a freezer bag and freeze for up to 3 months. Before using, let the tartlet shells thaw on the counter for 20 minutes.
- To freeze the tart shells unbaked: Line your perforated tartlet rings with the dough. Freeze the unbaked shells (with the rings) on a flat plate or baking sheet. To bake: Trim the top edges, prick the dough several times, and bake as noted in the recipe. There is no need to add extra baking time.
🍓 Where To Use It
These tartlet shells are so versatile! You can use them to make:
- Chocolate tart: fill each tartlet with chocolate ganache for a decadent dessert!
- Fruit tarts: fill the tartlets with vegan vanilla pastry cream and top with fresh fruits like strawberries, raspberries, or blueberries.
- Lemon tart: Fill these with lemon curd for a delicate summer dessert!
- Use a base for other desserts: Be creative and use tartlet shells as a base for fancy entremets!
📔 Tips
- Use tart rings or mini tart pans. You can use tart rings, tartlet pans, muffin pans, or fluted metal pans. If using pans, you do not need to cut out circles and sides separately. Simply cut out a larger circle and press it into the bottom and sides of each tart pan.
- Refrigerate the dough if it gets too soft. Since the dough contains a considerable amount of butter, it quickly gets soft at room temperature. If the dough gets too soft and hard to work with, put it back in the freezer for 10 mins.
- Handle gently. As with any shortcrust pastry, these shells are fragile, so handle them carefully.
- Trim after chilling in the freezer. Do not trim the tartlet shells before the freezing step. They would shrink slightly, and the sides would be shorter after baking.
- Make deep holes. While poking holes, make sure you are poking the dough all the way through.
- Do not substitute potato starch for the cornstarch. The crust would be more crumbly and harder to handle.
- Serve on the same day. If filling the tartlet shells with pastry cream, serve on the same day. After one day in the refrigerator, they will become soggy.
- Store in an airtight container. You can store tartlet shells for up to one week in a metal box or an airtight container.
💬 FAQ
Pâte sucrée usually contains less butter and has a flaky texture compared to pâte sablée which has a sandy crumb. Pâte sucrée is also sweeter and easier to work with. The other difference is in the process: pâte sucrée is made by creaming room temperature butter, while pâte sablée consists of cutting cold butter into the dry ingredients.
You can replace the almond flour with more all-purpose flour. Be aware that it will alter the flavor and texture slightly.
You can probably use a 1:1 gluten-free flour mix, but I haven’t tried it yet.
Yes, you can re-roll the dough up to two times.
Definitely! You might have to adjust the baking time slightly, though.
I hope you are going to love these mini tart shells! They are cute, crispy, and perfect for any single-serving dessert!
🥧 More Pastry Recipes
Let me know in the comments if you try this recipe!
How to Make Tartlet Shells (Vegan)
Equipment
Ingredients
- 170 g all-purpose flour
- 55 g powdered sugar
- 35 g cornstarch
- 20 g almond flour
- 1/4 tsp salt
- 100 g vegan butter diced and cold
- 45 ml unsweetened almond milk
- 1/2 tsp vanilla extract optional
Instructions
Prepare the dough
- Whisk the dry ingredients together. Add the flour, cornstarch, almond flour, powdered sugar, and salt to a mixing bowl or stand mixer fitted with the paddle attachment. Whisk until combined.
- Sand the dough. Add the diced cold butter and cut it into the dry ingredients until it forms a fine sandy texture.
- Form a dough. Once the texture resembles sand, add the cold milk (and vanilla extract if using) and knead until it forms a dough. Do not over-knead and stop as soon as the dough comes together.
Flatten the dough
- Transfer to a working surface. Transfer the dough to a sheet of parchment paper and top with another layer of parchment paper. The dough is sticky and will stick to the rolling pin if you don't sandwich it between parchment papers.
- Flatten. Flatten the dough to a ⅛-inch thickness (about 4mm) using a rolling pin. The thickness is up to you and will affect the baking time.
- Refrigerate. Once the dough is flattened, transfer it to a baking sheet and refrigerate it for at least 1 hour, preferably 2 hours. You can also leave it overnight in the refrigerator if you plan on baking it the next day.
Shape the tartlets
- Grease tart rings. Lightly grease 3-inch (8cm) perforated tart rings with butter. Place them on a baking sheet lined with parchment paper.
- Cut out circles. Using one of the tart rings, cut out 8 circles of dough. Using a thin spatula, transfer the circles into each tart ring.Cut strips. Using a sharp knife, slice strips about 10 inches (25cm) long and 1 inch (2.5cm) thick. These strips will make the sides of each tartlet.
- Press them together. Working with one at a time, transfer a strip of dough to one of the tart rings and press it to the sides. Use your fingers to slightly push the bottom of the sides to the dough circle (to seal it). Repeat with the remaining strips of dough.
- Freeze. Transfer the baking sheet containing the tartlet shells to the freezer and freeze for at least 20 minutes.
Bake
- Preheat the oven to
 320 °F (160°C).
 - Trim the sides and poke the bottom. Using a sharp knife, trim the top of the sides. Poke several holes into the bottom of each tartlet using a fork. This will prevent the dough from puffing up.
- Bake. Bake the shells for 20-22 minutes or until golden brown in the preheated oven.
- Remove from the rings. Next, using an oven mitt, carefully remove each tartlet from the tart rings. Place the tartlet shells back on the baking sheet.
- Finish baking. Finally, bake the tartlets for another 5 minutes or until evenly golden brown. Be aware that baking time will differ depending on the thickness of your dough and the type/brand of oven used.
- Let cool completely before using the tartlet shells to make chocolate tarts, fruit tarts, or other desserts. Tartlet shells will keep for up to 7 days stored in a metal box at room temperature.
Notes
- Use tart rings or mini tart pans. You can use tart rings, tartlet pans, muffin pans, or fluted metal pans. If using pans, you do not need to cut out circles and sides separately. Simply cut out a larger circle and press it into the bottom and sides of each tart pan.
- Refrigerate the dough if it gets too soft. Since the dough contains a considerable amount of butter, it quickly gets soft at room temperature. If the dough gets too soft and hard to work with, put it back in the freezer for 10 mins.
- Handle gently. As with any shortcrust pastry, these shells are fragile, so handle them carefully.
- Trim after chilling in the freezer. Do not trim the tartlet shells before the freezing step. They would shrink slightly, and the sides would be shorter after baking.
- Make deep holes. While poking holes, make sure you are poking the dough all the way through.
- Do not substitute potato starch for the cornstarch. The crust would be more crumbly and harder to handle.
- Serve on the same day. If filling the tartlet shells with pastry cream, serve on the same day. After one day in the refrigerator, they will become soggy.
- Store in an airtight container. You can store tartlet shells for up to one week in a metal box or an airtight container.
Nutrition

About the Author
Thomas Pagot is the founder, photographer, and recipe developer behind Full of Plants. He created the blog in 2016 as a personal cookbook for vegan recipes. Through years of recipe development, Thomas has successfully grown Full of Plants into a trusted resource for plant-based recipes.
🧀 25 Mind-Blowing Vegan Cheese Recipes!
Sign up for the Full of Plants newsletter and you’ll get new recipes delivered by email weekly, PLUS your FREE 100-page printable eBook!
This is what I miss for a long time. Thank you for sharing!
You are welcome Emy!
HI Thomas! These look fantastic. If I make your pastry cream, is 2 cups enough to fill the tarts? How much cream approximately does each tart use? Think chocolate pudding would work in these tarts? I do try not to use coconut milk/cream. Way to saturated in fat for me.
LOVE you as always and think you’re the best site on the internet. You’re forcing me to have a dinner party! LOL.
Thanks for all you do.
Hi Deb,
Yes it should be enough. For 3-inch tartlets, I usually only use 2-3 tbsp of pastry cream, so you will have enough to fill all the tartlet shells.
Thanks for your kind words, Deb ;))
Have a great day!